The ‘Cardboard Trick’ for Protecting Your New Shower Tray During Construction
The cardboard trick for protecting your new shower tray during construction
Most guys skip the leveling compound. They think the underlayment will hide the dip. It won’t. I spent three days grinding concrete on a job last month just so the floor wouldn’t click like a castanet. I saw a crew try to float a tray over a massive hollow with just a bit of mortar. It cracked within a week. That experience taught me that the physics of the floor do not care about your timeline. If the foundation is a lie, the finish is a failure. Protecting that finish starts the second the tray hits the floor. Most people think a shower tray is a tank. It is not. It is a precision engineered surface that can be ruined by a single screw stuck in the tread of a work boot. This is where the cardboard trick comes in. It is the simplest and most effective way to ensure your expensive shower base survives the chaos of a construction site.
The hidden physics of shower tray damage
A shower tray is a structural component that faces extreme point-load stress during the installation phase. While these units are designed to hold the weight of a person standing on a flat surface, they are vulnerable to impact and abrasion from debris. When drywallers or plumbers step onto an unprotected tray, the grit under their boots acts as an industrial abrasive against the acrylic or resin surface. This creates microscopic scratches that eventually trap soap scum and hard water minerals. A scratched floor is a failed floor in my book. You have to treat the shower tray as if it were a piece of fine furniture until the very last day of the job. The chemical composition of the tray also matters. Acrylic trays are flexible and can handle some flex, but resin stone is brittle and will snap if the subfloor is not perfectly level. One pebble under a heavy boot can create a pressure point that exceeds the material’s tensile strength.
“A floor is only as good as the subfloor beneath it; deflection is the enemy of every joint.” – Master Flooring Axiom
The precise cardboard protocol for clean finishes
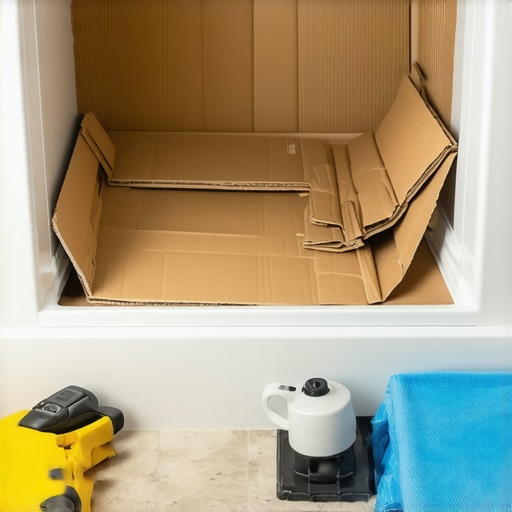
The cardboard trick requires double-wall corrugated cardboard to create a sacrificial layer that absorbs impact and prevents surface scratches. You do not just throw a random box into the tray. You must cut the cardboard to fit the exact dimensions of the floor area of the shower. Use the original packaging if it is heavy enough. Secure the edges with painter’s tape, not duct tape. Duct tape leaves a residue that is a nightmare to clean off acrylic and can actually damage some finishes. The goal is to create a floating buffer. If a hammer falls from a ladder, the fluted structure of the cardboard collapses, absorbing the energy of the impact. This protects the tray from spiderweb cracks. I have seen guys use old towels or plastic film. Those are useless. A towel does nothing for impact, and plastic film gets punctured in seconds. High-density cardboard is the only real solution for a professional job site.
Why your subfloor is lying to you
Subfloor levelness is the most ignored variable in shower and laminate floor installations. Most subfloors have a dip or a crown that the naked eye cannot see. If you install a shower tray on a subfloor that is out of level by more than 1/8 inch over 10 feet, you are asking for trouble. The tray will flex every time someone steps in it. That constant movement will eventually break the seal of the silicone at the perimeter. This leads to water leaking into the subfloor, which causes rot and mold. For a carpet install, a dip might just be a soft spot, but for laminate or a shower tray, it is a structural death sentence. I always use a 6-foot level and a bag of high-quality floor leveling compound before I even think about setting a tray. You want the tray to sit on a bed of mortar that is fully supported by a flat, rigid substrate. Anything less is just a ticking time bomb.
| Flooring Type | Recommended Subfloor Levelness | Acclimation Time |
|---|---|---|
| Laminate | 1/8 inch over 10 feet | 48 to 72 hours |
| Solid Hardwood | 3/16 inch over 10 feet | 7 to 14 days |
| Luxury Vinyl Plank | 3/16 inch over 10 feet | 24 to 48 hours |
| Shower Tray Base | Zero tolerance level | None required |
The 1/8 inch that ruins everything
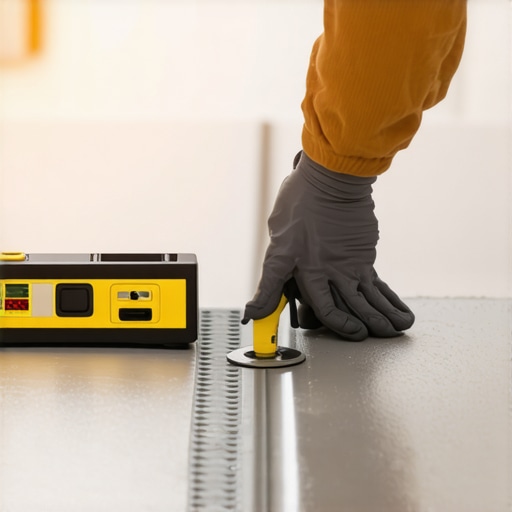
Precision measurement is the difference between a floor that lasts thirty years and one that fails in three. If your shower tray is not perfectly level, the water will not drain toward the waste outlet. It will pool in the corners. Standing water leads to mineral buildup and slippery surfaces. This is an engineering failure. When I am working with floor leveling, I am looking for perfection. I use a laser level to map the entire room. If I find a low spot, I prime the concrete and pour a self-leveling underlayment. This stuff is expensive, but it is cheaper than ripping out a shower a year later. The same logic applies to laminate. If the floor is not flat, the locking mechanisms will snap. You will hear a clicking sound every time you walk across the room. That is the sound of your investment breaking apart because you were too lazy to use a level.
The ghost in the expansion gap
Expansion gaps are the lungs of a floor, and if you do not leave them, the floor will suffocate and buckle. Whether it is a shower tray meeting the wall or a laminate floor meeting the baseboards, you need space. For showers, this gap is usually filled with a high-grade silicone that allows for micro-movements. For laminate, you need at least 1/4 inch around the entire perimeter. If the floor hits the wall during a humid summer, it has nowhere to go but up. I have seen laminate floors tent six inches off the ground because some installer forgot the expansion gap. They pinned the floor under the baseboards. In a shower, the expansion gap is equally critical. If the tray is wedged tight against the studs, the expansion and contraction of the house framing can actually crush the tray or crack the tile above it.
“Deflection is not an option when dealing with moisture-sensitive assemblies; rigidity is the cornerstone of durability.” – TCNA Standards Handbook
- Check subfloor levelness with a 6-foot straight edge.
- Clear all debris and grit before setting the shower tray.
- Apply a mortar bed for full support even if the tray says it is self-supporting.
- Cut double-wall cardboard to fit the tray floor exactly.
- Tape edges with blue painter’s tape to prevent movement.
- Do not remove the protection until the final clean-up.
The chemistry of the bond
The bond between the shower tray and the subfloor depends on the chemical compatibility of the mortar and the tray material. Most installers just grab the cheapest bag of thin-set they can find. That is a mistake. You need a modified thin-set with high polymer content to bond to the underside of many modern trays. This polymer allows for a slight bit of flexibility without the bond breaking. If you use a rigid, unmodified mortar, the vibration of the house can cause the bond to shear. Once the bond is broken, the tray will start to squeak. A squeaky shower tray is the hallmark of an amateur. I want my installations to feel like they are part of the bedrock of the home. That only happens when the chemistry is right and the physical preparation is perfect. The cardboard trick is just the final layer of a very complex engineering process that ensures the homeowner gets exactly what they paid for. Avoid the big-box shortcuts. Use real materials and take the time to level the world beneath your feet.