The ‘Flashlight Test’ for Spotting Improperly Sealed Grout
The shadow play of a failing shower
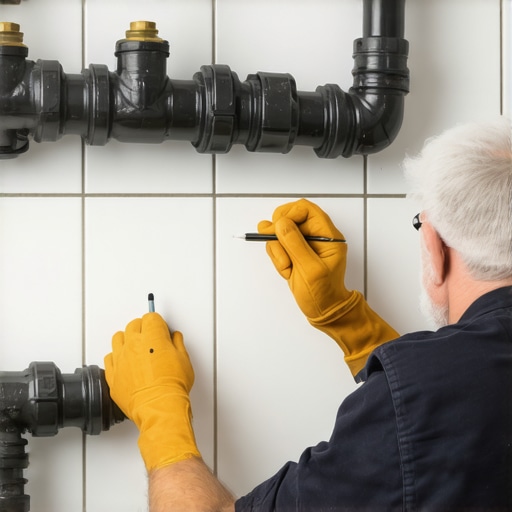
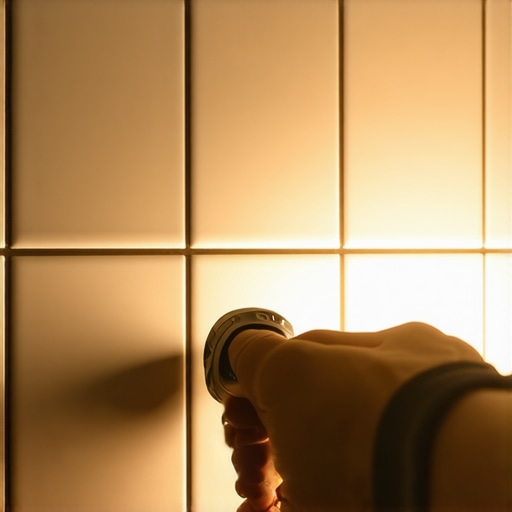
I spent three days grinding concrete on a job last month just so the floor wouldn’t click like a castanet. Most guys skip the leveling compound. They think the underlayment will hide the dip. It won’t. I can smell the dampness in a subfloor before I even put the moisture meter down. It is that sour, earthy scent of rotting plywood mixed with old carpet glue. I once walked into a house where a $15,000 wide-plank walnut floor was cupping so bad it looked like a potato chip because the installer did not check the crawlspace humidity. The flashlight test is the only way to catch these disasters before they become a mold-infested nightmare. You need a high-lumen LED light held at a low angle to see the truth. If the grout is sealed, the light reflects off the surface tension. If the grout is porous, you will see the shadows of every micro-pore waiting to drink in soapy water. [image_placeholder_1]
Why your subfloor is lying to you
The **floor leveling** process is the foundation of every **shower** or **carpet install** project because it eliminates **deflection**, ensures **proper drainage**, and prevents **grout cracking**. Without a **perfectly flat substrate**, **laminate** locking systems fail and **tile** installations suffer from **lippage** which creates **moisture traps** and **structural instability**.
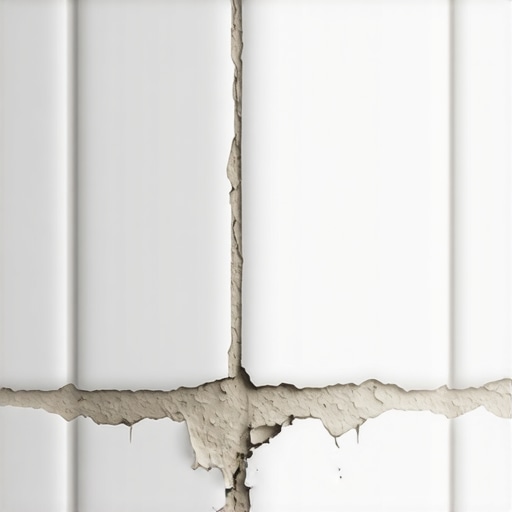
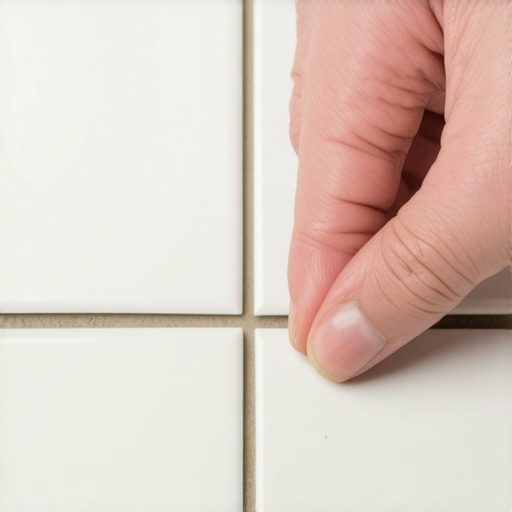
When you stand on a floor, you are exerting hundreds of pounds of pressure per square inch through your heels. If there is a void of even 1/8 inch beneath the tile or the plank, that material is going to flex. For a rigid material like ceramic or porcelain, that flex translates directly into the grout line. Grout has almost zero tensile strength. It is a compressive material designed to sit still. When the subfloor moves, the grout shears. This creates microscopic fissures. You might not see them standing up, but when you lay a flashlight on the floor, the shadows cast by those cracks look like the Grand Canyon. I have seen guys try to fix this by smearing more sealer on top. That is like putting a band-aid on a broken leg. The failure is structural. It is about the chemistry of the bond between the thin-set and the substrate. If you used a cheap, non-modified thin-set over a high-gloss concrete slab without a primer, you have already lost the battle. The flashlight will show you the results of that laziness within six months.
“A floor is only as good as the subfloor beneath it; deflection is the enemy of every joint.” – Master Flooring Axiom
The chemistry of a permanent bond
The **grout sealer** creates a **hydrophobic barrier** by filling the **capillary pores** of the **Portland cement matrix** with **silane** or **siloxane** resins. This **chemical protection** prevents **efflorescence**, **staining**, and **water intrusion** into the **thin-set bed** and **subfloor**, which is vital for **showers** and **damp areas**.
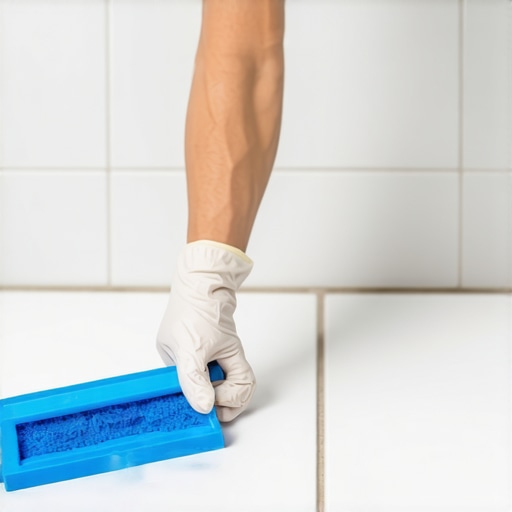
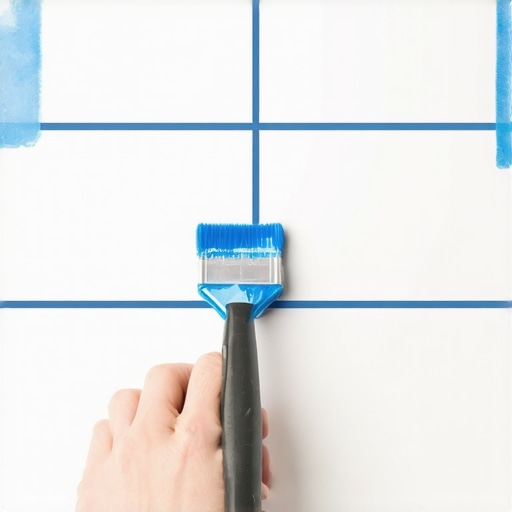
Grout is essentially a mixture of sand and cement. On a molecular level, it is a sponge. When water hits it, the water is pulled deep into the matrix through capillary action. This is where the physics of surface tension comes into play. A high-quality penetrative sealer changes the surface energy of the grout. Instead of the water being pulled in, it beads up. This is the first part of the flashlight test. You spray a fine mist of water and shine the light. If the water beads and reflects the light like a diamond, you are golden. If the water vanishes and the grout turns a dark, dull shade, the sealer is either absent or it was a cheap water-based product that evaporated before it could cross-link with the cement molecules. I have seen installers use a rag to wipe on sealer, but they never check if the grout was actually saturated. You need to flood the joint and let it soak. If the grout is thirsty, it will drink it up. If it is full, the sealer will sit on top. That is the only way to ensure that the shower pan does not become a breeding ground for bacteria.
The 1/8 inch that ruins everything
Proper **floor leveling** requires a **self-leveling underlayment** with at least **4000 PSI compressive strength** to support the **static load** of **tiled showers** or **laminate floors**. Ignoring a **dip of 1/8 inch** leads to **hollow spots**, **clicking noises**, and eventual **mechanical failure** of the **flooring locking mechanisms**.
I have spent twenty-five years on my knees with a straightedge. People think a little dip does not matter for carpet install work. They are wrong. A dip in the subfloor causes the carpet to stretch unevenly. Over time, you get those ugly ripples that look like waves in the ocean. For laminate, a dip is a death sentence. Laminate is a floating floor. It needs to bridge the subfloor perfectly. If it dips, the tongue and groove joint is stressed every time you walk on it. Eventually, the plastic or HDF core snaps. Now you have a gap where moisture can get in. In a kitchen or near a bathroom, that moisture will cause the edges to swell. Once that happens, the floor is ruined. You cannot sand out a swollen laminate edge. You have to rip it out. All of this could be avoided with a few bags of high-quality leveling compound and a spiked roller to get the air bubbles out. The flashlight test works here too. Shine it across the subfloor before you lay your underlayment. The shadows will show you exactly where the low spots are.
| Metric | Sanded Grout | Unsanded Grout | Epoxy Grout |
|---|---|---|---|
| Porosity Level | High | Medium | Near Zero |
| Joint Width Requirement | Over 1/8 inch | Under 1/8 inch | Any width |
| Sealing Frequency | Every 6 months | Every 12 months | Never |
| Chemical Resistance | Low | Low | Extreme |
Laminate locks and the physics of failure
The **locking mechanisms** of **laminate flooring** rely on **consistent subfloor topography** to maintain **lateral tension** and **vertical alignment**. When **subfloor moisture levels** exceed **3 percent**, the **HDF core** expands, causing the **joints to peak** and the **wear layer** to delaminate from the **decorative paper**.
Modern laminate is marketed as a DIY miracle, but it is a complex engineering product. The click-lock system is a marvel of milling, but it is fragile. If the floor is not leveled to within 3/16 of an inch over a 10-foot radius, you are asking for trouble. I have seen people put down two layers of foam underlayment thinking it will cushion the floor. That is a rookie move. Too much cushion allows the floor to bounce. That bounce is what kills the locks. You want a firm, dense underlayment that provides sound dampening without allowing vertical movement. The chemistry of the core also matters. Cheap laminate uses a low-density fiberboard that sucks up humidity like a sponge. In a place like Houston or Miami, that floor will be buckled in a week if you do not acclimate it. I tell my clients to leave the boxes in the room for at least 72 hours. You need those fibers to reach equilibrium with the house’s humidity. If you rush it, you are just throwing money down the drain.
- Check subfloor moisture with a pin-less meter.
- Grind down high spots in the concrete slab.
- Fill low spots with fiber-reinforced leveling compound.
- Vacuum every speck of dust before laying underlayment.
- Maintain a 1/2 inch expansion gap around the perimeter.
“Deflection in the subfloor is the primary cause of grout failure in residential showers; rigidity is the only path to longevity.” – TCNA Technical Bulletin
Carpet install secrets the big stores hide
A professional **carpet install** requires a **power stretcher** to reach the **optimal tension** defined by the **CRI 104 standards**, which prevents **delamination** and **premature wear**. Relying on a **knee kicker** alone leaves the **carpet backing** loose, leading to **tripping hazards** and **permanent buckling** over time.
Big-box retailers hire subs who want to get in and out in two hours. They use a knee kicker, which only stretches the carpet a few inches around the perimeter. I use a power stretcher that spans the entire room. It hooks onto one wall and pushes against the other. You can actually hear the carpet backing groan as it gets tight. That is how you know it is done right. A tight carpet does not move. If it does not move, the fibers do not rub against each other and wear out. This is especially true over a high-quality pad. People spend all their money on the carpet and buy the cheapest pad available. That is a mistake. The pad is the shock absorber. It protects the carpet backing from the friction of the subfloor. If the subfloor was not leveled properly before the carpet install, you will feel every bump and ridge through the pad. It feels like walking on gravel. I always tell homeowners to let me prep the floor correctly. It might cost an extra few hundred dollars, but it doubles the life of the carpet.
Shadows never lie on a wet surface
The **Flashlight Test** for **showers** involves placing a **high-output LED** at a **15-degree angle** to the **tiled surface** to highlight **pinholes** and **missed spots** in the **grout sealer**. This **optical verification** ensures the **integrity** of the **waterproof assembly** before the **wet area** is put into service.
The final walk-through is the most important part of the job. I take my flashlight, turn off the overhead lights, and crawl across the floor. I am looking for the ‘ghosts’ in the grout. These are the areas where the sealer did not take. Maybe there was some dust in the joint. Maybe the grout was still too damp when the sealer was applied. Whatever the reason, if I see a dull spot, I know water will find it. In a shower, water is a persistent enemy. It will find the smallest hole and use it to get behind the tile. Once it is behind the tile, it starts eating the drywall or the plywood. By the time you see the mold on the baseboards, the damage is already done. You are looking at a $5,000 tear-out. That is why I am so obsessive about the flashlight. It is a simple tool, but it reveals the truth that a glossy finish hides. If you want a floor that lasts thirty years, you have to look at it from the floor’s perspective. You have to care about the molecules of the adhesive and the physics of the subfloor. Flooring is not just a surface to walk on. It is an engineering challenge that starts from the ground up.