The Secret to Tiling Over a Previously Leveled Concrete Subfloor
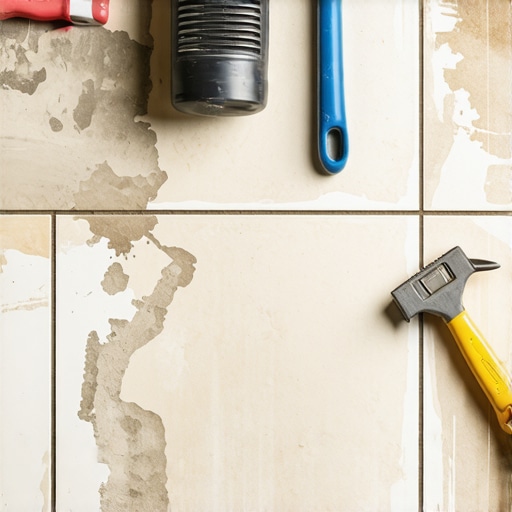
Most guys skip the leveling compound. They think the underlayment will hide the dip. It won’t. I spent three days grinding concrete on a job last month just so the floor wouldn’t click like a castanet. That slab had a three quarter inch birdbath right in the middle of the kitchen. The previous installer had just poured a cheap leveler without priming the base. It was flaking off like old paint. I had to take it all down to the raw aggregate before I could even think about laying a single tile. If you don’t respect the bond between the old leveler and the new thin set, your floor is a ticking time bomb. I have seen fifteen thousand dollar installations fail because of a five cent mistake in surface preparation. I smell like wood dust and floor wax most days, and I have learned that the subfloor is the only part of the job that actually matters. [IMAGE_PLACEHOLDER]
The illusion of the flat slab
Tiling over a previously leveled concrete subfloor requires a deep assessment of the existing leveler bond, surface porosity, and structural integrity. You must verify that the existing compound is not chalky, delaminating, or cracked before applying new mortar. Proper preparation involves mechanical abrasion and a specific secondary primer to ensure a permanent bond. This is the technical reality that most homeowners ignore. When you walk onto a job site and see a floor that was leveled a year ago, you cannot just trust it. You have to get down on your knees and hit that floor with a hammer. You are listening for a hollow thud. A hollow sound means the original leveling compound has detached from the concrete slab. If you tile over that, the weight of the ceramic or porcelain will cause the leveler to crack, and your grout lines will snap like dry twigs. We are talking about the difference between a floor that lasts fifty years and one that fails in five months. The chemistry of the bond is everything. Standard Portland cement levelers are thirsty. They will suck the water out of your thin set so fast that the mortar never actually cures. It just dries out. When it dries instead of curing, it loses all its strength. You end up with a powdery mess under your tile that has the structural integrity of a cracker.
The chemical reality of the secondary bond
A secondary bond occurs when you apply a new layer of adhesive or leveler over an existing substrate that has already fully cured. To succeed, you must use a high quality acrylic or epoxy primer that creates a bridge between the old leveler and the new tile mortar. You have to understand how these molecules interact. A previously leveled floor is essentially a closed pore surface. The original leveling compound has filled all the nooks and crannies of the concrete. You are no longer bonding to raw concrete; you are bonding to a chemical cocktail of polymers and cements. If you do not use a primer, the thin set will sit on top of the leveler like water on a waxed car. It will not penetrate. I always tell my guys that we are looking for a mechanical key. We want the thin set to reach its fingers into the subfloor. On a previously leveled floor, those fingers have nowhere to go unless you prep the surface. You might need to use a diamond cup wheel to scuff the surface. It is messy, and it smells like a rock quarry, but it is the only way to be sure. I have seen too many guys try to save time by skipping the primer. They think they can just use a modified thin set and call it a day. They are wrong. Modified thin set is great, but it is not magic. It still needs a clean, porous, or primed surface to grab onto.
“A floor is only as good as the subfloor beneath it; deflection is the enemy of every joint.” – Master Flooring Axiom
Why your subfloor is lying to you
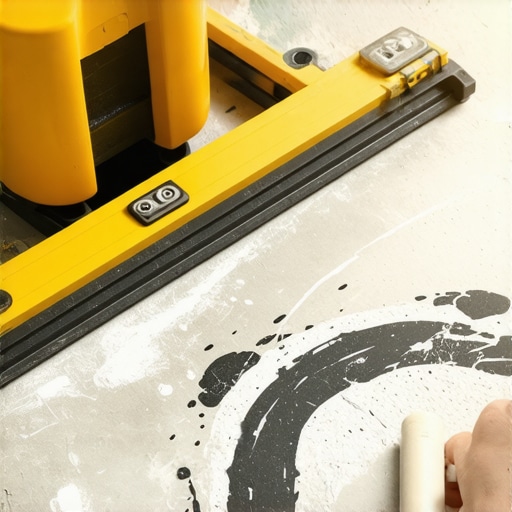
Concrete slabs often look flat to the naked eye while hiding significant variations that exceed the industry standard of one eighth inch over ten feet. You must use a straight edge or a laser level to map the high spots and low spots across the entire room. Even if a floor was leveled previously, house settling and concrete shrinkage can create new dips. I have seen slabs in Phoenix that were dead level when the house was built, but the dry heat and soil contraction caused the whole thing to tilt. This is even more essential if you are transitioning from a carpet install to a tile floor. Carpet is a liar. It hides everything. You pull up that old shag and you find a disaster area underneath. If you are planning to install laminate or tile, you need to be within very tight tolerances. For large format tile, which is anything with one side longer than fifteen inches, you need that floor to be flat within one eighth of an inch over ten feet. If it is not, you will get lippage. Lippage is when the edge of one tile is higher than the edge of the next. It is a trip hazard, and it looks like a cheap motel floor. I refuse to install over a floor that has not been verified. I will spend the extra time with the grinding wheel or the self leveler because my name is on that floor. I do not want a phone call in six months about a cracked tile in the doorway.
The physics of the mechanical key
The mechanical key is the physical interlocking of the tile mortar into the microscopic pores of the subfloor and the back of the tile. Without this interlocking, the tile is merely resting on the surface rather than being integrated into the structure. Think about the way a burr sticks to your wool socks. That is a mechanical bond. Now think about two pieces of glass pressed together. They might stay for a second, but they slide apart easily. That is what happens when you tile over a dusty or unprimed leveler. You are trying to bond two pieces of glass. To get a real bond, you need to break the surface tension. This is why I am a stickler for the water drop test. You drop a few beads of water on the leveled floor. If the water beads up, the floor is sealed or contaminated. If it soaks in, you have a chance. If it beads up, you are grinding. There is no middle ground. I have had architects argue with me about this, saying the specs do not call for grinding. I tell them the specs do not have to live with the floor, I do. The National Wood Flooring Association and the Tile Council of North America have these standards for a reason. They are written in the blood of failed installations.
“Substrate preparation is the most important part of any tile installation; failures are rarely the fault of the tile itself.” – TCNA Handbook Logic
Surface prep requirements for tile vs carpet
Different flooring types require varying levels of subfloor perfection to ensure long term performance and warranty compliance. Tile is the least forgiving material, requiring a rigid and flat substrate, whereas carpet can accommodate minor dips and peaks without structural failure. If you are moving from a soft surface like carpet to a hard surface like tile, you are increasing the demand on your subfloor by ten times. Carpet is flexible. It moves with the floor. Tile is a giant sheet of rock glued to the ground. It does not move. If the ground moves, the tile breaks. This is why we talk about deflection. Deflection is how much the floor bends when you walk on it. For tile, we want L over 360. That is a fancy way of saying the floor cannot bend more than one three hundred and sixtieth of its span. If you are doing a heavy stone install or showers, that requirement gets even tighter. I have seen showers where the installer leveled the floor but forgot to maintain the slope to the drain. They ended up with a beautiful, flat, level floor that held two inches of standing water. That is a failure of engineering. You have to think three steps ahead of the mortar.
Comparing subfloor preparation methods
| Method | Tensile Strength | Moisture Tolerance | Cure Time |
|---|---|---|---|
| Self-Leveling Underlayment | 3000 PSI | High | 24 Hours |
| Portland Patching Compound | 2500 PSI | Moderate | 4 Hours |
| Traditional Mud Bed | 4000 PSI | Moderate | 72 Hours |
| Sand and Cement Topping | 2000 PSI | Low | 28 Days |
Essential data for subfloor engineering
Engineering a subfloor involves calculating the load capacity and the moisture vapor emission rate of the concrete slab. You must ensure the substrate can handle the weight of the finished floor and any live loads like furniture or foot traffic. Most people think about the color of the tile, but I am thinking about the Janka scale and the wear layer. If we are talking about laminate or engineered wood, I am looking at the core density. But with tile, it is all about the bond. Here is a specific point that most guys miss. While people want the thickest underlayment possible for sound, too much cushion actually causes the locking mechanisms on LVP or the grout lines in tile to snap under pressure. You want a firm, stable base. A floor should not feel like a sponge. It should feel like the earth itself. If I walk across a room and I feel the floor give under my boots, I am not laying a single tile until we stiffen that subfloor up. It might mean adding a layer of exterior grade plywood or it might mean more concrete work. Whatever it takes to make it solid.
Essential tools for subfloor verification
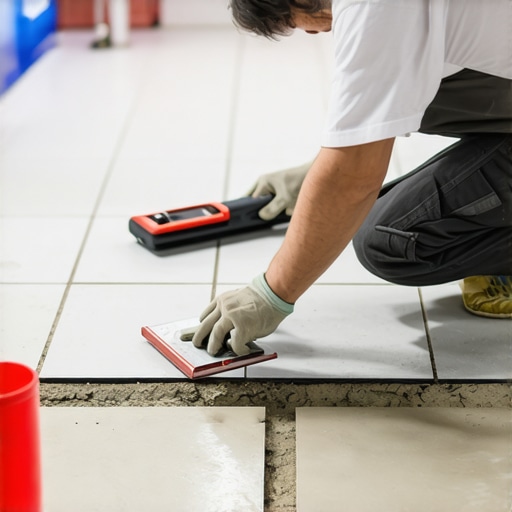
- Ten foot straight edge for flatness testing
- Pinless moisture meter for concrete humidity levels
- Hammer or chain drag for hollow spot detection
- Diamond cup wheel for surface decontamination
- Acrylic primer for secondary bond enhancement
- Laser level for whole room elevation mapping
The moisture vapor transmission threat
Moisture vapor transmission is the movement of water through a concrete slab in the form of gas, which can de-bond leveling compounds and adhesives. You must measure the Moisture Vapor Emission Rate or MVER before proceeding with any installation over concrete. This is the invisible killer. You look at a slab and it looks dry. But that concrete is a giant sponge sitting on the wet earth. Water is constantly trying to move from the ground through the slab and into your house. If you seal that slab with a leveling compound and then tile, that moisture gets trapped. It builds up pressure. Eventually, that pressure is high enough to blow the leveler right off the concrete. This is why we use moisture barriers. In high humidity areas like Houston or Florida, skipping a moisture barrier is professional suicide. You are basically gambling that the ground will stay dry. It won’t. I have seen slabs that were fifty years old still pumping out enough moisture to ruin a floor. You have to use a calcium chloride test or an in-situ probe. If the numbers are high, you need an epoxy moisture mitigation system. It is expensive, but it is cheaper than doing the job twice.
The thermal expansion trap in large format tile
Thermal expansion refers to the tendency of materials to change in volume in response to a change in temperature. Tile and concrete expand and contract at different rates, which creates stress at the bond line. This is why expansion gaps are non negotiable. Every room needs a gap around the perimeter. If you are tiling a large area, you need movement joints every twenty feet or so. If you do not provide a place for that energy to go, the floor will tent. Tenting is when the tiles push against each other until they pop up off the floor in a V shape. It sounds like a gunshot when it happens. I have seen it happen in the middle of the night and scare homeowners half to death. A previously leveled floor can make this worse because you have multiple layers of material all moving at different rates. You have the original slab, the primer, the leveler, the thin set, and the tile. That is five different materials that all have to play nice together when the sun hits the floor through a big picture window. If you do not account for that movement, the physics of the universe will win every single time. Hardwood floors have the same issue with humidity. They grow and shrink. If you lock them in too tight, they will cup or crown. It is all about giving the material room to breathe. I always leave a quarter inch gap at the walls. The baseboard covers it anyway, so there is no excuse for skipping it.
Building a floor is like building a house. You start with the foundation. If the foundation is garbage, the rest of the work is just lipstick on a pig. I have spent my life learning the chemistry of these mortars and the physics of these slabs. It is not just about making it look pretty. It is about making it last. When I walk away from a job, I want to know that floor will be there long after I am gone. That starts with the subfloor. It starts with the grind, the prime, and the level. Do not trust the guy who says he can do it faster and cheaper. He is the one who skips the prep. And he is the one whose floors fail.