The Proper Way to Seal a Shower Bench Corner
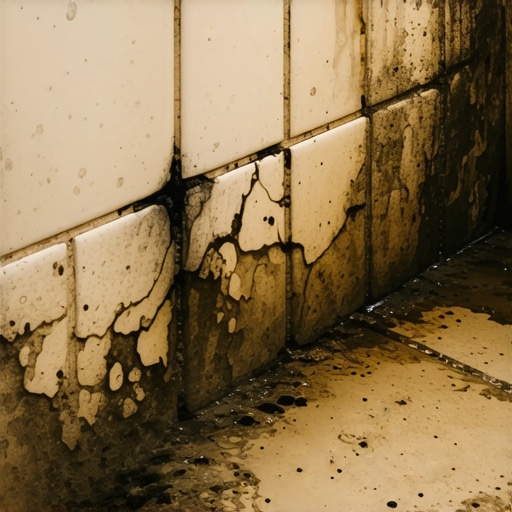
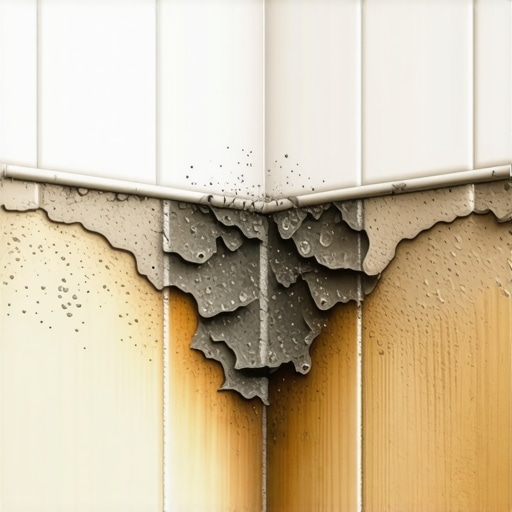
I spent three days grinding concrete on a job last month just so the floor wouldn’t click like a castanet. Most guys skip the leveling compound. They think the underlayment will hide the dip. It won’t. I have seen that same lazy attitude destroy more shower benches than I can count. I once walked into a luxury master suite where the homeowner spent twenty thousand dollars on Carrara marble. Six months later, the baseboard in the bedroom was rotting. Why? Because the installer didn’t understand that a ninety degree corner on a shower bench is a mechanical invitation for water migration. Water is a persistent enemy. It doesn’t just fall. It wicks. It climbs. It finds the path of least resistance through capillary action. If your corner isn’t hermetically sealed with the right chemistry and geometry, you aren’t building a seat. You are building a slow motion leak. I smell like oak dust and WD-40 today because I just finished fixing a botched shower where the bench was built out of wood studs and wrapped in cheap plastic. It was a mushy mess. To do this right, you have to think like an engineer and act like a chemist.
The geometry of water migration at the bench transition
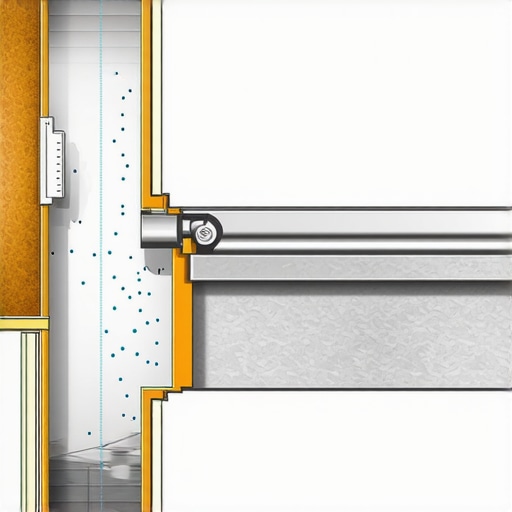
Sealing a shower bench corner requires a multi-layer approach using ANSI A118.10 compliant membranes and reinforced corner seals to prevent moisture infiltration. You must ensure the bench has a two percent slope toward the drain and that every ninety degree transition is bridged with a flexible membrane that can handle structural movement. The transition point where the vertical bench wall meets the horizontal seat is the most common failure point. This is where the physics of the house fight the chemistry of your tile. Houses move. They breathe. They expand and contract with the seasons. If your waterproofing is rigid, it will crack at the corner. This is why we use pre-formed corners or fabric reinforcement. You are creating an uninterrupted barrier that can stretch without breaking. I have seen guys try to use just thin-set and tape. That is a recipe for a callback. You need the specific mil thickness of a liquid membrane or the guaranteed thickness of a sheet membrane to ensure that the water stays on the surface of the tile assembly where it belongs.
“A floor is only as good as the subfloor beneath it; deflection is the enemy of every joint.” – Master Flooring Axiom
The microscopic bond of modified thin-set
Modified thin-set mortars use liquid polymers to increase bond strength and flexibility which is essential for sealing the intricate corners of a shower bench. These polymers act as bridge builders at the molecular level. When you are applying a membrane to a bench corner, the thin-set is not just glue. It is a structural component of the waterproofing system. You need to achieve ninety five percent coverage in wet areas. If you leave voids behind the membrane, you are creating pockets where condensation can collect. I always use a small V-notch trowel for my corner bands. It ensures that I have enough material to embed the fabric but not so much that I create a hump that will throw off my tile layout. If you get a hump in the corner, your tile will kick out and you will be left with a massive grout joint that looks like a hack job. I despise sloppy work. Every millimeter counts when you are working with large format tile on a bench. If the corner is bulky, the whole aesthetic is ruined. It is about precision and patience.
| Membrane Type | Perm Rating | Flexibility | Installation Speed |
|---|---|---|---|
| Liquid Applied | 0.5 to 1.0 | High | Moderate |
| Fabric Sheet | 0.1 to 0.5 | Medium | Fast |
| Pre-formed Poly | 0.05 | High | Immediate |
Why the 1/8 inch gap is a non negotiable safety net
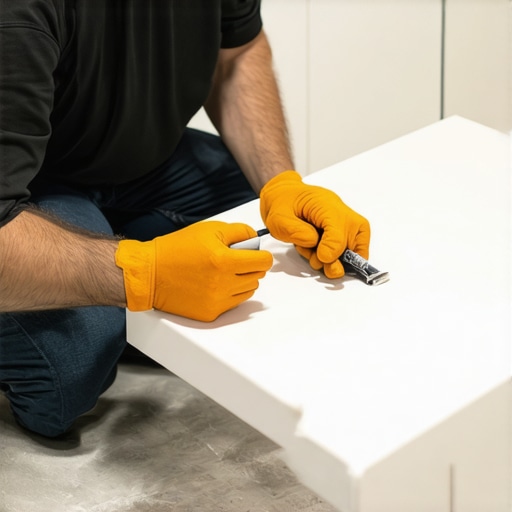
Maintaining a one eighth inch expansion gap at all change of plane transitions prevents the tile from tenting or cracking during building shifts. This gap must be filled with a one hundred percent silicone sealant rather than hard grout. Grout has zero movement capability. Silicone is the suspension system for your shower. When the bench settles or the wall studs flex, the silicone compresses. If you have hard grout in that corner, it will crack within the first year. Once it cracks, water finds its way behind the tile. Even if your membrane is solid, water sitting behind the tile can lead to mold and efflorescence. It is a mess that no homeowner wants to deal with. I tell my apprentices all the time that the best looking grout joint is a failed joint if it is in a corner. Use color matched caulk. It looks better and it actually performs. The physics of the shower demand flexibility. Without it, the assembly is brittle and destined for the dumpster.
The chemical reality of liquid membranes
Liquid waterproofing membranes must be applied in multiple coats to reach the required dry mil thickness for a waterproof rating. Most manufacturers require a thickness similar to a credit card. If you spread it too thin, it becomes porous. If you apply it over a dusty surface, it will peel off like a sunburn. I always wipe down my substrate with a damp sponge before I start. This opens up the pores of the cement board and allows the membrane to bite in. In humid climates like the Gulf Coast or the swampy parts of the South, drying times are extended. You cannot rush the second coat. If you trap moisture between layers, the membrane will bubble and fail. I have seen guys try to blow dry a membrane to speed up the job. That is bush league. Let the chemistry work on its own timeline. If you don’t have the patience for liquid, use a sheet membrane. It is more expensive but the thickness is guaranteed out of the box.
“The integrity of the waterproofing layer is the only thing standing between a beautiful shower and structural rot.” – TCNA Handbook Wisdom
The bench sealing workflow checklist
- Verify the bench seat has a minimum two percent slope toward the drain for proper runoff.
- Clean the substrate of all dust, debris, and drywall compound which will break the bond.
- Apply a primary layer of liquid membrane or thin-set to the corner transition.
- Embed pre-formed inside and outside corner seals to ensure no pinholes exist.
- Extend the waterproofing at least six inches beyond the bench in all directions.
- Perform a twenty four hour flood test to verify the integrity of the seals.
The physics of the 90 degree angle
A ninety degree corner is the most vulnerable point in a shower because stress concentrates at the intersection of planes. This is why we use reinforcing mesh. The mesh dissipates the stress across a wider area. Think of it like a bridge. You don’t just bolt two pieces of steel together; you use gusset plates. The corner tape or pre-formed corner is your gusset plate. It ensures that the tension is shared by the entire wall assembly. I have seen installers skip the corners and just try to go heavy with the liquid. It never works. The liquid shrinks as it cures, and in a tight corner, it will pull away from the wall. This creates a microscopic gap. It might not leak today, but in three years, that gap will be a highway for water. You have to respect the materials. If you treat a shower bench like a piece of furniture, you will fail. You have to treat it like a dam. It is a containment vessel for water. Anything less than a total seal is a failure.
Testing the integrity before the first tile drops
Flood testing the shower pan and the bench is the only way to prove your waterproofing is successful before you hide it with tile. I don’t care how many years you have been doing this. If you don’t flood test, you are gambling with the homeowner’s money. You plug the drain and fill the pan up to the top of the curb. You mark the water line. If it drops after twenty four hours, you have a problem. Usually, it is a corner that wasn’t sealed correctly. It is a lot easier to fix a leak when it is just a membrane than it is when you have to tear out five thousand dollars of tile. I have no respect for guys who skip the flood test. They are the ones who give the flooring industry a bad name. They are the ones who think waterproof LVP means you can flood a house. It is all about the preparation. If you spend the time on the subfloor and the corners, the tile is the easy part. The tile is just the dress. The waterproofing is the skeleton. Without a good skeleton, the whole thing collapses.