How to Fix a Squeak in the Floor Under Your New Laminate
You spent three grand on a new laminate floor and now it sounds like a haunted house every time you walk to the kitchen for a glass of water. It is frustrating, but it is not magic. It is physics. Most installers treat a floor like a rug, something you just throw down and walk away from. But a floor is a structural system. When you hear a squeak, you are hearing the sound of friction between two components that should be stationary. Most guys skip the leveling compound. They think the underlayment will hide the dip. It won’t. I spent three days grinding concrete on a job last month just so the floor wouldn’t click like a castanet. That is the reality of the trade. You ignore the foundation and the foundation ignores you right back. If you want a silent floor, you have to respect the subfloor. Laminate is a floating floor system, which means it is not nailed down, but that does not give it a license to move vertically. Vertical movement is the enemy. It stresses the locking mechanisms and eventually snaps the tongues off the planks. I have seen thousand dollar floors ruined in six months because the installer was too lazy to pull a string line across the room. We are going to look at why your floor is screaming and how to perform surgery on it without ripping the whole thing out.
The ghost in the expansion gap
Fixing a laminate floor squeak requires identifying the source of friction, which usually stems from a lack of perimeter expansion space or a subfloor deflection issue. When laminate planks are jammed against a wall, they have no room to expand or contract with humidity changes. This causes the floor to arch slightly, creating a hollow space beneath it. When you step on that arch, the floor moves down and rubs against the subfloor or the wall, creating a sharp chirp or a dull groan. This is why the NWFA specifies a minimum expansion gap around the entire perimeter. If the floor is tight against the drywall or the baseboard, you have a locked floor. A locked floor is a noisy floor. You can fix this by removing the baseboards and using a vertical toe-kick saw or a vibrating multi-tool to trim back the edges of the laminate. You need a clean quarter inch of space. This allows the entire floor assembly to breathe. If you do not give it that space, the pressure will find the weakest point in your floor, which is usually the click-lock joint, and it will eventually fail. I have seen planks literally pop out of their grooves because the sun hit them and they had nowhere to expand. It is not a suggestion, it is a requirement for a floating system.
“A floor is only as good as the subfloor beneath it; deflection is the enemy of every joint.” – Master Flooring Axiom
Why your subfloor is lying to you
Subfloor deflection occurs when the wooden structure beneath your laminate bends under your weight, often caused by loose nails or poorly spaced joists. You might think your subfloor is flat because it looks flat, but a moisture meter and a ten-foot straightedge will tell a different story. If your subfloor is 3/4 inch OSB or plywood, it is subject to the humidity of the crawlspace or basement below. Over time, the fasteners that hold the subfloor to the joists can pull away. This creates a tiny gap. When you walk over it, the plywood slides down the shaft of the nail, making a metal on wood screech. That is the classic floor squeak. To fix this through laminate, you are looking at a more invasive process. You can use specialized repair kits like the Squeeeeek No More system, which uses a breakaway screw designed to go through the carpet or even some hard surfaces. For laminate, however, I usually recommend going from below if you have access. You want to use a subfloor adhesive and shims or a Squeak-Relief brace to pull the subfloor tight against the joist. If you cannot get underneath, you might have to pull up a few rows of laminate to get to the wood and drive some three-inch deck screws into the joists. Do not use drywall screws. Drywall screws are brittle and the heads will snap off under the stress of a walking load. You need high-tensile steel with a coating that prevents corrosion.
| Subfloor Material | Typical Density | Flexibility Rating | Fastener Recommendation |
|---|---|---|---|
| Plywood (CDX) | 34 lbs/cu ft | Moderate | Ring-shank nails or screws |
| OSB (Oriented Strand Board) | 40 lbs/cu ft | Low | Structural wood screws |
| Concrete Slab | 150 lbs/cu ft | Zero | Tapcon or powder-actuated |
| Particle Board | 45 lbs/cu ft | High (Brittle) | Replacement recommended |
The physics of the fastener rub
Friction between the subfloor and a joist fastener is the primary cause of floor noise, often rectified by securing the subfloor with structural screws. When you hear that high-pitched metallic rubbing sound, you are hearing the sound of a nail that has lost its grip. In the old days, we used smooth-shank nails. Those things are useless. They have no withdrawal resistance. After a few years of the house settling and the wood drying out, they just sit there like a loose tooth. Every time the joist flexes, the nail stays put and the wood moves. This is why I advocate for a glue-assist installation on every subfloor I touch. If you are doing a carpet install or a floor leveling job, take the time to screw down the subfloor first. It takes an extra hour and costs fifty bucks in screws, but it saves you a lifetime of headaches. When you are dealing with laminate, the underlayment can sometimes mask the sound, but the friction is still happening. Over time, that vibration will wear down the foam or cork underlayment, turning it into dust. Once the underlayment is gone, the laminate is hitting the wood directly. That is when the noise gets really loud. I always check for joist spacing. If your joists are 24 inches on center instead of 16, you are going to have more deflection than any laminate can handle. In those cases, you need to add blocking between the joists to stiffen the structure. It is about mass and stability.
“Standard wood flooring requires a subfloor that is flat to within 3/16 inch in a 10 foot radius to prevent structural noise.” – NWFA Technical Guidelines
The 1/8 inch that ruins everything
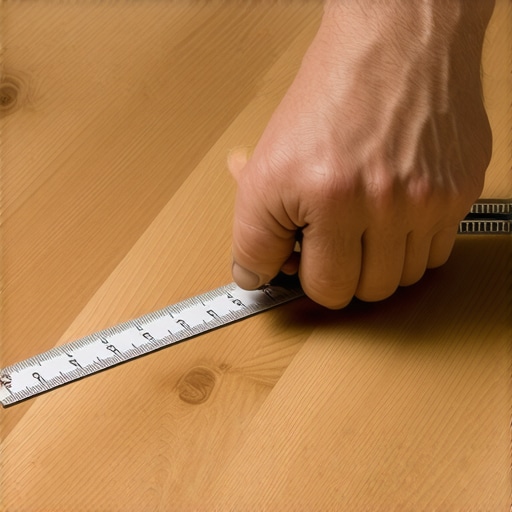
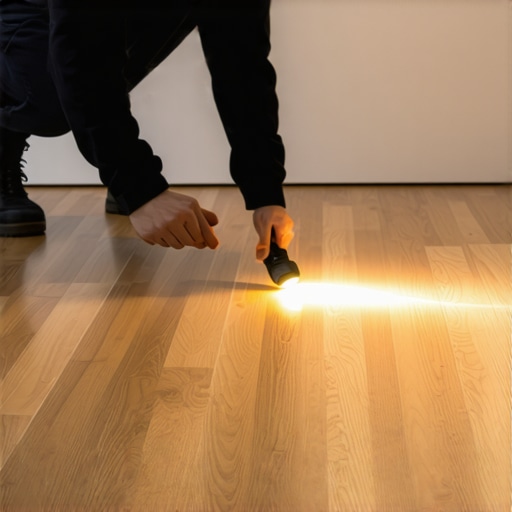
Dips in the subfloor exceeding one-eighth of an inch over a six-foot span create a trampoline effect that causes laminate joints to click. This is the most common issue in new construction. Builders are in a rush. They slap down the subfloor and don’t check for level. Then the flooring guy comes in and just rolls out his underlayment. When the homeowner walks across the floor, the laminate spans across those low spots. It is literally hanging in mid-air. When you step on it, the tongue and groove joint is forced to bend. If it is a cheap laminate, the HDF core will crack. If it is a decent one, it will just make a clicking sound as the plastic locking mechanism rubs together. You cannot fix this with a spray or a screw. You have to fill the hole. This means pulling up the floor and using a self-leveling compound or a Portland-based floor patch. If you use a cheap, gypsum-based patch, it will eventually crumble under the vibration of foot traffic and you will be right back where you started. I prefer the high-strength stuff that dries in four hours. You trowel it out, let it feather to nothing, and then your floor has a solid base. No air, no noise. It is simple math. If the floor is fully supported by the subfloor, it cannot move. If it cannot move, it cannot squeak. Do not let a salesman tell you that a thick underlayment will fix a dip. It won’t. Too much cushion actually makes it worse because it allows for even more vertical travel, which snaps the locks.
- Check perimeter expansion gaps at every wall and doorway.
- Measure subfloor moisture levels to ensure they are within 4 percent of the flooring.
- Inspect the integrity of the joists from the crawlspace or basement.
- Identify if the noise is a metallic squeak or a plastic click.
- Apply a dry lubricant like graphite powder to the joints if the noise is superficial.
- Drive screws through the subfloor into the joists to eliminate fastener rub.
- Use a level to find low spots that require floor leveling compound.
The chemical failure of cheap underlayment
Underlayment serves as a vapor barrier and sound dampener, but low-quality foam can compress over time and lose its effectiveness. I have seen floors where the underlayment was basically reduced to a thin film of plastic. When that happens, you lose the acoustic break between the laminate and the subfloor. Now you have two hard surfaces vibrating against each other. This is especially bad in areas like showers or kitchens where moisture can get under the floor and degrade the foam. If you are installing in a basement, you need a 6-mil poly film at the minimum to prevent vapor from the concrete from attacking your floor. But for noise, you want something with a high IIC rating. A high IIC rating means the material is good at absorbing impact sound. I prefer heavy rubber or high-density cork. These materials do not compress like the cheap blue foam you see at big-box stores. They provide a firm base that supports the click-lock joints while still dampening the sound of footsteps. If your floor sounds hollow, like you are walking on a drum, that is an underlayment problem. You can sometimes mitigate this by injecting a low-expansion foam into the hollow spot, but it is a risky move. If the foam expands too much, it will lift the floor and create a hump. I have spent many nights trying to fix humps caused by guys who got too happy with the canned foam. It is better to do it right the first time by using a heavy, high-quality underlayment that stays put. Your ears and your joints will thank you for it in ten years. “