How to Fix a Chip in a Brand New Laminate Plank Without Replacing It
The physics of the impact site
Fixing a laminate chip requires understanding that the surface is a brittle melamine resin layer over a compressed wood fiber core. When a heavy object drops, it creates a fracture that separates these layers. A successful repair involves cleaning the crater and filling it with a hard-curing polymer or specialized resin. Most guys skip the leveling compound. They think the underlayment will hide the dip. It won’t. I spent three days grinding concrete on a job last month just so the floor wouldn’t click like a castanet, and that is where the real work happens. If the floor is not level, every step causes micro-flexing. That flexing makes the brittle wear layer of your laminate more likely to shatter when you drop a coffee mug. I have seen it happen a thousand times. A homeowner spends thousands on a new floor, skips the floor leveling prep, and then wonders why the edges are chipping within a month. It is not the laminate’s fault. It is the subfloor beneath it. Laminate is essentially a photograph of wood glued to a high-density fiberboard (HDF) core and topped with a layer of aluminum oxide. When you chip it, you are exposing the thirsty HDF core to the elements. If you do not seal it fast, moisture from your mop or even the humidity in the air will cause that core to swell. Once it swells, the repair becomes ten times harder. You are no longer just filling a hole; you are fighting a structural deformity.
Why your subfloor is lying to you
Floor leveling is the foundation of a durable laminate surface. If the subfloor has a dip greater than 3/16 of an inch over 10 feet, the laminate planks will flex when walked upon. This deflection stresses the wear layer and makes the floor significantly more prone to chipping under impact. You can try to hide the problem with a thick carpet install in the next room, but the transition point will always be the weakest link. In bathrooms or near showers, this is even more dangerous. Water finds the path of least resistance. If your laminate is flexing because the floor is not level, the tongue and groove joints will eventually open up. A chip in the middle of a plank is an aesthetic nightmare, but a chip at the joint is a structural failure. I have seen brand new floors ruined because the installer thought a bit of foam underlayment would act like a bridge over a valley in the concrete. It does not work that way. Physics always wins. The weight of a human body will compress that foam, the laminate will bend, and the surface tension of the wear layer will snap. [IMAGE_PLACEHOLDER]
“A floor is only as good as the subfloor beneath it; deflection is the enemy of every joint.” – Master Flooring Axiom
The molecular bond of the repair kit
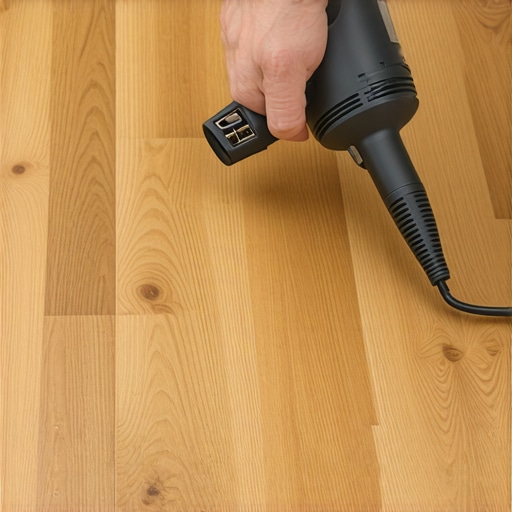
Hard wax repair kits are the gold standard for laminate restoration because they mimic the density and expansion rate of the original material. These waxes are not the soft stuff you find in a crayon. They are engineered polymers that require a heat source to melt and a specific cooling time to bond. When you apply the melted wax into the chip, you are creating a mechanical bond with the jagged edges of the HDF core. The chemistry of these waxes is designed to be hydrophobic, meaning they will repel water and protect the core from swelling. This is vital if the floor is anywhere near a kitchen or a bathroom with high-moisture showers nearby. You need to choose a color that is slightly darker than the base color of the wood grain. Why? Because wood grain has depth. If you pick a color that is too light, the repair will stand out like a sore thumb. I always tell my apprentices to mix three different colors of wax in the crater. Use a base tone, a mid-tone for the grain, and a tiny bit of black or dark brown to simulate the natural imperfections of the wood. This is how you make a repair disappear. You are not just filling a hole; you are painting with melted plastic.
Tools for a professional restoration
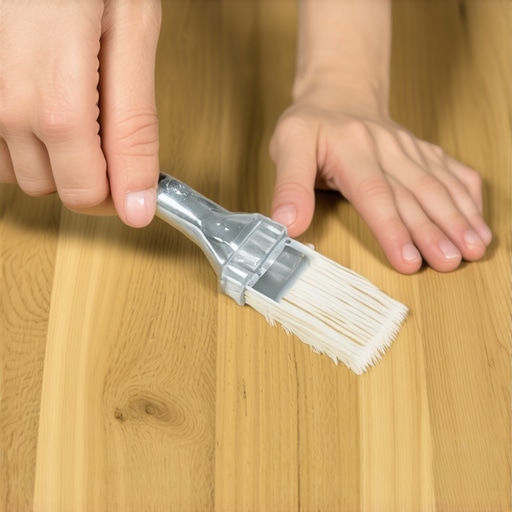
The equipment used determines whether the fix lasts for ten years or ten minutes. Professional-grade hard wax melters, plastic leveling spatulas, and 90 percent isopropyl alcohol are the mandatory components for a permanent repair. Avoid using metal scrapers or putty knives. Metal is harder than the laminate wear layer and will leave scratches that you can only see when the light hits the floor at a certain angle. Use a specialized plastic tool with a serrated edge to shave off the excess wax without marring the surrounding finish. This process requires patience. You cannot rush the cooling phase. If you try to scrape the wax while it is still warm, you will pull the plug right out of the hole. You need to wait until it is room temperature and feels like a hard plastic shell. Then, and only then, do you level it off.
- 90 percent Isopropyl alcohol for degreasing the site
- Butane-powered wax melter for consistent heat
- Hard wax blocks in at least three shades
- Plastic leveling spatula with deburring edges
- Lint-free micro-fiber cloth
- Clear lacquer pen for restoring the sheen
Comparing repair methods for laminate surfaces
Choosing the right repair method depends on the depth of the chip and the location of the damage. While soft putty is cheap and fast, it lacks the durability required for high-traffic areas or spots near heavy furniture. Hard wax remains the superior choice for brand new floors where the aesthetic must remain perfect. Acrylic fillers are decent for small scratches, but they shrink as they dry. This shrinkage creates a dip in the surface that catches dust and eventually turns black. I have replaced entire rooms of flooring because a homeowner tried to fix twenty chips with cheap acrylic filler and ended up making the floor look like it had the measles. If you are dealing with a chip larger than a quarter, you might need to reconsider plank replacement, but for the average drop-impact chip, hard wax is king. The Janka hardness scale does not directly apply to laminate in the same way it does to oak or walnut, but the impact resistance is roughly equivalent to a 1200 rating. When that resistance is breached, the repair must be just as tough.
| Method | Durability | Color Match | Complexity |
|---|---|---|---|
| Soft Wax | Low | High | Simple |
| Hard Wax | High | High | Medium |
| Acrylic Filler | Medium | Low | Simple |
| Plank Replacement | Maximum | Perfect | Expert |
“The structural integrity of a floating floor depends entirely on the flatness of the substrate and the integrity of the locking mechanism.” – Flooring Industry Standard
The phantom of the expansion gap
Expansion gaps are the silent guardians of your laminate floor. Every floating floor must have a gap of at least 1/4 inch to 3/8 inch around the entire perimeter to allow for seasonal movement. If you lock the floor in place with heavy cabinetry or by running it tight against the baseboards, the boards will buckle. When boards buckle, they create high spots. These high spots are the first things hit by falling objects or dragged furniture. I once saw a floor where the installer forgot the expansion gap under the door casings. The whole floor shifted two inches over a summer and the tension was so high that a dropped car key actually caused a three-inch shard of the wear layer to explode off the surface. It looked like a grenade went off. You can fix the chip, but if the tension is still in the floor, more chips will follow. Always check your perimeters before you spend time on cosmetic repairs. If the floor cannot breathe, the repair will not hold. The movement of the planks will eventually pop the wax plug right out of the crater.
The final verdict on the repair
Repairing a chip is a surgical procedure for your home. It requires a steady hand and an eye for color. You start by cleaning the area with alcohol to remove any floor wax or oils. If you leave even a trace of skin oil in that hole, the wax will not stick. Once clean, you melt your wax and drip it in, building it up slightly higher than the surface. Let it cool. This is the hardest part for most people because they want to touch it. Leave it alone. Once cold, shave the excess off with your plastic tool. If the sheen does not match, use a lacquer pen or a bit of fine-grade steel wool to dull the shine. This is the difference between a patch and a restoration. You want people to walk over that spot and never know you were there. If you do it right, the repair will be the strongest part of the plank. It will resist water better than the original joints and stay put until the day you decide to rip the whole thing out for a new project. Just remember, keep your floor level and keep your wax hot, and you will never have to worry about a single dropped object ruining your investment again.