How to Remove Dried Floor Leveler from Your Metal Drains
How to Remove Dried Floor Leveler from Your Metal Drains
Most guys skip the leveling compound. They think the underlayment will hide the dip. It won’t. I spent three days grinding concrete on a job last month just so the floor wouldn’t click like a castanet. But that was a walk in the park compared to a job I saw in a high-rise last year. A DIY enthusiast had poured three buckets of self-leveling underlayment to prep for a laminate install and let the excess slurry run right into the floor drain. By the time I arrived, it wasn’t a drain anymore. It was a solid block of polymer-modified stone. Removing dried floor leveler from metal drains is an exercise in patience, physics, and chemical warfare. If you approach it with a sledgehammer, you will be replacing the entire plumbing stack. If you approach it with the wrong chemicals, you will eat through the copper or cast iron before you even dent the leveler. This is a battle against a material designed to be permanent.
The structural bond of self leveling underlayment
Self leveling underlayment consists of high-strength Portland cement, silica sand, and liquid polymers that create a dense and incredibly hard mass upon curing. To remove it from metal drains, you must break the mechanical bond between the cement and the pipe wall using targeted vibration or specific acidic softening agents. This material is not like the soft mud you find in a garden. It is engineered to have a compressive strength often exceeding 5,000 PSI. When it enters a drain, it undergoes a hydration process that causes it to expand slightly, locking it into the grooves and imperfections of metal pipes. Cast iron is particularly problematic because its internal surface is rough, providing thousands of microscopic anchor points for the leveler to grip. Modern levelers are also hydrophobic once they set, meaning water alone will never soften them. You are dealing with a material that is technically superior to the concrete subfloor itself. Understanding the molecular density of these polymers is the first step in realizing that a simple drain snake will merely scrape the surface and do nothing to clear the blockage.
Mechanical extraction methods for hardened cementitious plugs
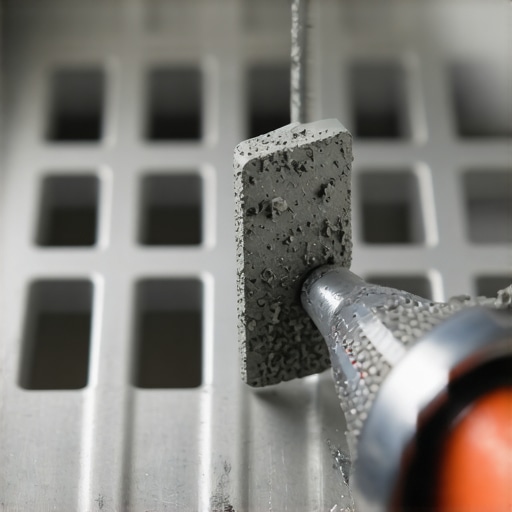
Mechanical extraction requires a combination of cold chisels, long reach masonry bits, and a heavy duty wet dry vacuum to remove debris as you break it loose. You should avoid using excessive force that could crack the metal pipe, focusing instead on Creating a pilot hole through the center of the clog. Start by using a long masonry drill bit. Slowly drill several holes into the center of the leveler plug. Do not use the hammer setting on your drill initially. The vibration of a hammer drill can sometimes crack old cast iron pipes or loosen the lead-and-oakum joints found in older homes. Once you have a few holes, the structural integrity of the plug is compromised. Use a narrow cold chisel and a small hammer to tap at the edges. You are looking for the sweet spot where the leveler meets the metal. Because the leveler and the metal have different expansion coefficients, a sharp, localized shock can often pop the leveler clean off the pipe wall. [IMAGE_PLACEHOLDER] Use the vacuum constantly. If you let the small chips fall further down the drain, you are just moving the problem deeper into the plumbing system where it becomes unreachable.
“A floor is only as good as the subfloor beneath it; deflection is the enemy of every joint.” – Master Flooring Axiom
Chemical softeners and the risk to metal piping
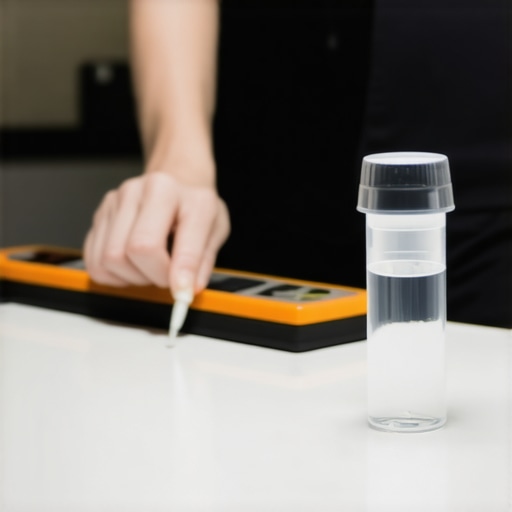
Chemical removal involves using buffered acids or specialized cement dissolvers that break down the calcium silicate hydrate bonds within the leveler without instantly corroding the metal drain. You must select a product specifically labeled for use in metal pipes and flush the system thoroughly after the application. Many old-timers will tell you to pour muriatic acid down the drain. Do not listen to them. Muriatic acid is far too aggressive for copper and even cast iron. It will cause immediate pitting and can lead to pinhole leaks. Instead, look for products containing sulfamic acid or phosphoric acid. These are slower but safer. They work by reacting with the calcium carbonate in the cement, turning it into a soft paste. You will need to apply the chemical, let it sit for the manufacturer’s specified time, and then scrape away the softened layer. This is a repetitive process. You might only remove an eighth of an inch at a time. It is tedious work, but it preserves the plumbing. The goal is to weaken the outer ring of the plug so the entire mass can be pulled out or broken into manageable chunks. If you are working in a region with high humidity, like Florida or the Gulf Coast, the leveler may actually cure harder over time due to the moisture, making chemical intervention even more necessary.
Comparison of removal techniques for drain blockages
| Method | Effectiveness | Risk Level | Required Tools |
|---|---|---|---|
| Drilling Pilot Holes | High | Moderate | Masonry bits, Variable speed drill |
| Chiseling | Moderate | High (Pipe damage) | Cold chisel, Ball-peen hammer |
| Buffered Acid | Slow but steady | Low (If monitored) | Sulfamic acid, PPE |
| Mechanical Descaling | High | Moderate | Flexible shaft descaler |
The plumbing physics of internal pipe descalers
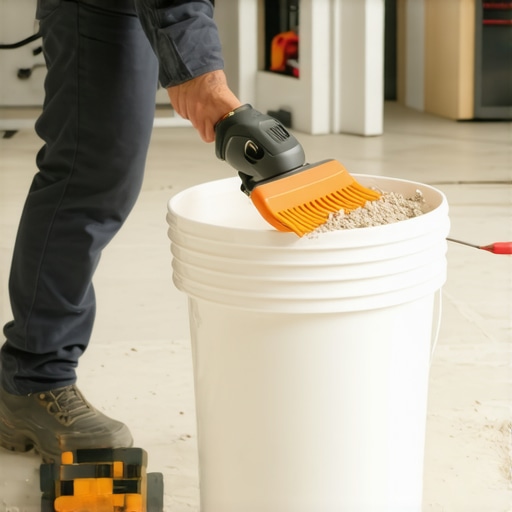
Internal pipe descalers are specialized tools featuring a flexible shaft and a chain flail head that spins at high speeds to grind away deposits from the inside of a pipe. This is the most effective professional grade solution for removing floor leveler from metal drains without excavation. These machines are different from standard snakes. A snake is designed to push through soft clogs like hair or grease. A descaler is an abrasive tool. As the chain flails spin, they knock the brittle leveler off the walls of the pipe. You must use this tool with a constant stream of water to wash away the grit. However, you have to be careful. If the leveler is thicker than an inch, the flails might just bounce off. You need that pilot hole first. The physics of the spinning chain allows it to target the hard leveler while being somewhat forgiving to the metal pipe walls, provided the operator knows when to stop. If you see metal shavings in your rinse water, you have gone too far. This process is often what I have to recommend when a carpet install or a shower renovation goes sideways because someone didn’t tape off their drains.
The post removal inspection checklist
- Inspect the pipe walls using a borescope camera to ensure no leveler remains.
- Check all downstream traps for settled sediment or chips.
- Perform a high-volume flow test to ensure the drain can handle peak capacity.
- Look for signs of weeping or moisture around the pipe joints.
- Neutralize any residual acid with a baking soda and water solution.
- Verify that the drain cover can be reinstalled flush with the floor surface.
The ghost in the expansion gap
When leveler enters a drain, it often migrates into the expansion gaps and crevices where the pipe meets the subfloor, creating a bridge that transfers vibration and noise. You must clear these gaps to maintain the structural isolation of the plumbing system from the flooring. This is a detail most people miss. If the leveler bonds the pipe directly to the subfloor, you will hear every drop of water throughout the house. It creates a mechanical bridge. When I’m doing a high-end laminate or hardwood install, I make sure the area around the drain is clean. If there is a bridge of dried leveler, I use a dremel with a diamond wheel to cut it back. This ensures the floor can expand and contract independently of the plumbing. Neglecting this leads to clicking sounds or, in extreme cases, the floor buckling around the drain. It is not just about the clog; it is about the entire architectural integrity of the floor system. A floor is a living thing that moves. If you lock it to a cast iron pipe with cement, something is going to break, and it usually isn’t the pipe.
“Proper substrate preparation is the primary factor in the longevity of any floor covering system.” – Master Flooring Axiom
When the damage requires professional intervention
If the floor leveler has migrated past the P-trap or into the main sewer line, you must stop all DIY efforts and call a professional plumber with hydro-jetting equipment. Attempting to clear deep blockages with hand tools can lead to catastrophic pipe failure buried within your slab. Hydro-jetting uses high-pressure water at 4,000 PSI to blast away obstructions. It is one of the few things that can effectively clear dried leveler once it gets into the horizontal runs of your plumbing. I have seen guys try to use long rebar rods to poke through deep clogs. All they did was punch a hole through an elbow joint. Now you are talking about jackhammering your slab to fix a five-cent mistake. Know your limits. If you have removed the top three inches and the water still won’t go down, the problem is in the trap. Most metal P-traps are not accessible without cutting the ceiling below or breaking the floor. A pro can save you thousands by using the right camera and jetting setup before you start destroying your property in a fit of frustration.
Preventing drain contamination in future projects
The only way to effectively manage floor leveler near drains is to use a physical barrier such as plumbers putty, foam expansion strips, or heavy duty duct tape to seal the opening completely. You should also create a dam around the drain using scrap wood or foam to keep the slurry at a distance. Before you mix your first bag of leveler, the drain should be the most protected part of the room. I use a expandable rubber plug, the kind they use for pressure testing, and then I tape over that. I also take a piece of 1/2 inch foam and wrap it around the perimeter of the drain assembly. This creates a built-in expansion gap once the leveler sets and I pull the foam out. It is a simple step that takes five minutes. If you are doing a shower pan or a wet room, this is even more vital. The TCNA guidelines are very specific about weep holes in drains. If you clog those with leveler, your shower will grow mold under the tile within six months. Being a master installer means thinking three steps ahead of the liquid. Once that powder hits the water, the clock is ticking, and gravity is not your friend. Keep your drains sealed, keep your subfloor level, and keep your tools clean. If you find yourself staring down a grey plug of dried leveler in your metal pipe, remember that patience is the only tool that actually works.