The Secret to Making Floor Leveler Stick to Old Concrete Subfloors
I spent three days grinding concrete on a job last month just so the floor wouldn’t click like a castanet. The homeowner thought I was overcharging for the prep work until I showed him the water bead test. Most guys skip the leveling compound. They think the underlayment will hide the dip. It won’t. I have seen thousand dollar laminate jobs ruined because the installer thought a bit of foam could compensate for a valley in the slab. You walk across it and you hear that hollow tick-tock sound. That is the sound of your floor dying a slow death. My hands still smell like the diesel from the generator and the fine grey dust of 40-year-old concrete. If you want your floor to last, you have to treat it like a structural engineering project, not a weekend craft session. Old concrete is a fickle beast. It is porous, likely contaminated with decades of oils, and probably has a layer of carbonation that will reject any new bond. Making a self-leveling underlayment stick to a slab from 1970 is not about the brand of leveler you buy at the big box store. It is about the microscopic war you wage on the surface of that concrete before a single drop of water hits the bucket.
The hidden danger of surface laitance
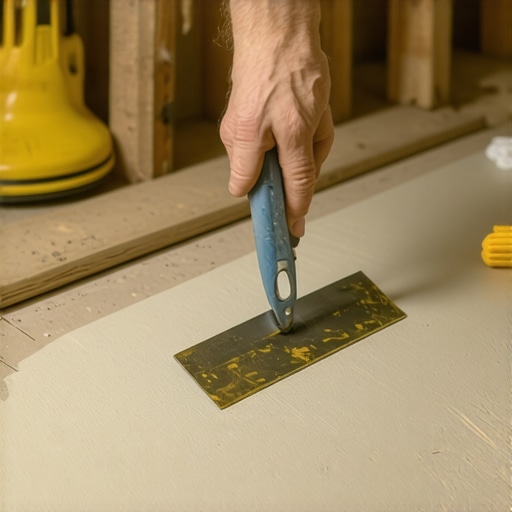
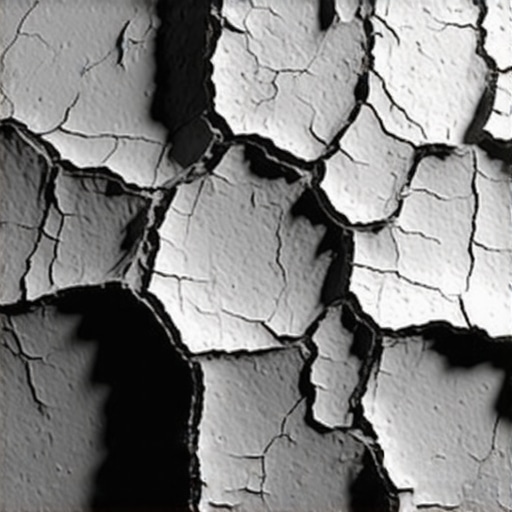
Concrete floor leveling requires more than a broom. To ensure self-leveling underlayment sticks to old concrete, you must achieve a specific Concrete Surface Profile (CSP) of 1 to 3. This involves removing laitance, sealers, and oils through mechanical grinding or shot blasting to expose open pores. Laitance is that weak, milky layer of cement and sand that rises to the surface during the original pour. On old concrete, it has often turned into a brittle crust. If you pour leveler on top of it, the leveler will bond to the laitance, but the laitance will peel away from the structural slab. You end up with a floating sheet of expensive rock that cracks the moment you put a heavy sofa on it. You have to get beneath that layer. I use a diamond cup wheel on a seven-inch grinder. It is messy, it is loud, and it is the only way to be sure. You are looking for a surface that feels like 60-grit sandpaper. If the concrete is shiny, the leveler will fail. There are no shortcuts here. I have seen guys try to use acid etching, but that just creates more problems with pH balance and moisture retention. Stick to mechanical abrasion. It is the gold standard for a reason.
Why your subfloor is lying to you
A subfloor may look flat to the naked eye but possess dramatic dips that exceed the 3/16 inch over 10 feet industry standard. Old concrete slabs often settle or curl at the edges, creating structural voids that must be filled with high-compressive strength underlayments to prevent floor failure. When you are prepping for a laminate or carpet install, the floor needs to be flat, not level. There is a massive difference. A floor can be slanted like a ramp and still be fine, as long as it is a flat plane. It is the waves that kill you. In showers, this is even more vital. If you are prepping a subfloor for a shower pan, the bond between the leveler and the slab is the only thing standing between you and a catastrophic leak. Water finds the path of least resistance, and a delaminated leveler creates a highway for moisture.
“A floor is only as good as the subfloor beneath it; deflection is the enemy of every joint.” – Master Flooring Axiom
This axiom is the first thing I teach my apprentices. If the subfloor moves, the finish floor breaks. It is that simple.
The molecular reality of primer chemistry
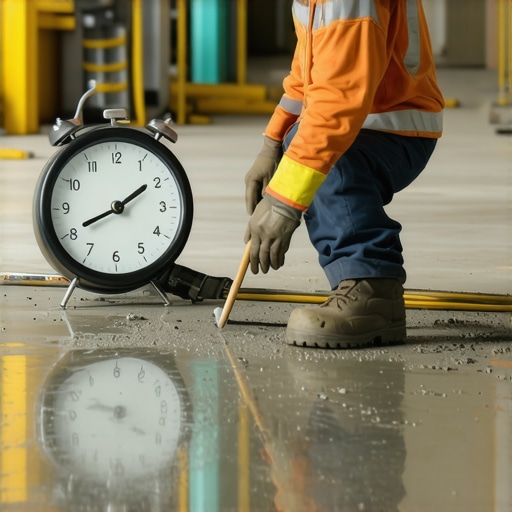
Primers act as the essential bridge between the old, dry concrete and the wet, polymer-modified leveler. They prevent the concrete from sucking the water out of the leveler too quickly, which causes shrinkage cracks and bond failure, while also sealing pores to prevent air bubbles known as pinholes. Think of old concrete like a dry sponge. If you pour leveler on it, the concrete will drink the water right out of the mix before the chemical hydration process can finish. This leaves the leveler brittle. I always use a high-quality acrylic primer. I don’t just pour it on. I scrub it into the pores with a stiff-bristle broom. You want to see the primer change the color of the concrete, soaking in deep. Sometimes on really old, thirsty slabs, I have to do two coats. The first one seals, and the second one creates the tacky surface the leveler needs to grab onto. Wait for the primer to go from milky white to completely clear and tacky. If you pour while it is still wet, you are just diluting your leveler and ruining the bond. This is the part where most DIY guys fail. They are in a rush. They don’t wait for the tack. They end up with a floor that sounds like a drum when they walk on it.
| Surface Condition | Recommended CSP | Tooling Choice |
|---|---|---|
| Dusty Tightly Troweled | CSP 1-2 | 30-40 Grit Diamond Grinding |
| Paint or Adhesive Residue | CSP 3 | Scrapers or Shot Blasting |
| Oil Contaminated | N/A | Degreasing or Removal |
The 1/8 inch that ruins everything
Thickness matters when dealing with self-leveling underlayment because the material needs enough mass to flow and find its own level. Most products require a minimum of 1/8 inch thickness to maintain structural integrity, as thinner layers are prone to cracking under the weight of furniture. I have seen people try to feather-edge leveler down to a paper-thin layer. It never works. It just turns back into dust. If you have a high spot, you grind it down. Do not try to level up to it with a thin smear of product. If you are doing a carpet install, you might get away with minor imperfections because the pad hides a lot. But for laminate or LVP, the locking mechanisms are tiny. They have no room for error. If the floor dips 1/4 inch, that plastic tongue-and-groove joint is under constant tension. Eventually, it snaps. Then you have a gap in the middle of your floor that no amount of wood filler can fix. I always aim for a pour that is at least 1/4 inch thick across the lowest points. It gives the floor a solid, stone-like feel that people notice the second they step on it. It feels expensive. It feels permanent.
“Subfloor preparation is 90 percent of the labor but 100 percent of the success in any tile or wood installation.” – TCNA Guidelines
The physics of expansion and moisture vapor
Concrete is a living material that breathes moisture vapor and expands with temperature changes. When applying leveler, you must install foam expansion strips around the perimeter of the room to allow the new floor to move independently of the walls, preventing stress fractures. People forget that the house moves. The slab moves. If you pour leveler wall-to-wall without a gap, the first time the temperature shifts, the leveler will have nowhere to go but up. It will hump in the middle of the room. I use 1/4 inch polyethylene foam strips. They are cheap insurance. Also, you have to check the moisture. If you have a slab with high hydrostatic pressure, no leveler in the world will stay stuck. The moisture will push it right off the surface. I use a calcium chloride test or an in-situ RH probe. If the moisture is too high, you need a moisture vapor barrier before you even think about leveler. This is the difference between a pro and a handyman. A pro knows when the conditions are wrong and refuses to pour until the site is ready. [image placeholder]
A checklist for subfloor perfection
- Mechanically grind the entire surface to remove laitance and contaminants.
- Vacuum the floor twice with a HEPA filter to remove every grain of dust.
- Perform the water drop test to ensure the concrete is porous and ready for primer.
- Apply the acrylic primer with a brush or broom to ensure deep penetration.
- Install foam expansion strips around all walls, pipes, and vertical obstructions.
- Mix the leveler with a high-speed drill using the exact water ratio specified.
- Use a gauge rake to spread the material and a spiked roller to release air bubbles.
The chemistry of the perfect mix
Mixing leveler is a science of ratios where even an extra cup of water can ruin the compressive strength of the cured product. Over-watering causes the polymers to separate from the cement, resulting in a soft, chalky surface that will not support a finish floor. I use a dedicated measuring bucket. I never eyeball it. I also use cold water. If the water is warm, the chemical reaction happens too fast and the leveler sets up in the bucket. You want the longest working time possible so the product can find its own level. You start at the furthest corner and work your way out. You need a partner. One guy mixes, one guy pours. If you stop to mix a second bag by yourself, the first bag has already started to skin over. You get a ridge where the two pours meet. That ridge is a nightmare to sand down. Keep the