The ‘Soap Bubble’ Test for Finding Hidden Shower Liner Leaks
Most guys skip the leveling compound. They think the underlayment will hide the dip. It won’t. I spent three days grinding concrete on a job last month just so the floor wouldn’t click like a castanet. That job was supposed to be a simple laminate install, but the client also had a leaky shower that was rotting the subfloor from the inside out. They did not see the water. They only felt the soft spot under their feet. That is where the bubble test comes in. It is the only way to be sure. I have been on my knees for twenty five years. I have smelled the black mold under a failed shower pan. I have seen fifteen thousand dollar hardwood floors ruined because a shower liner was not tested properly. If you do not test, you are just guessing. And guessing is how you end up in a lawsuit.
The unseen physics of shower pan failure
Shower pan failures occur when the waterproof membrane or liner loses its structural integrity due to mechanical stress, poor pre-slope, or chemical degradation. A weep hole blockage in the shower drain forces water to saturate the mortar bed, leading to capillary action that pulls moisture into the subfloor. This process is often silent and invisible until the damage is catastrophic. The physics of water tension means that even a microscopic puncture in a PVC liner can siphon gallons of water into your floor leveling assembly over a period of months. This is why the soap bubble test is the industry standard for those of us who actually care about the NWFA and TCNA guidelines. You are looking for a breach in the atmospheric seal of the pan. When you apply air pressure or even just a heavy water load, the air trapped in the liner must go somewhere. If there is a hole, it will find it.
“A floor is only as good as the subfloor beneath it; deflection is the enemy of every joint.” – Master Flooring Axiom
The bubble test protocol
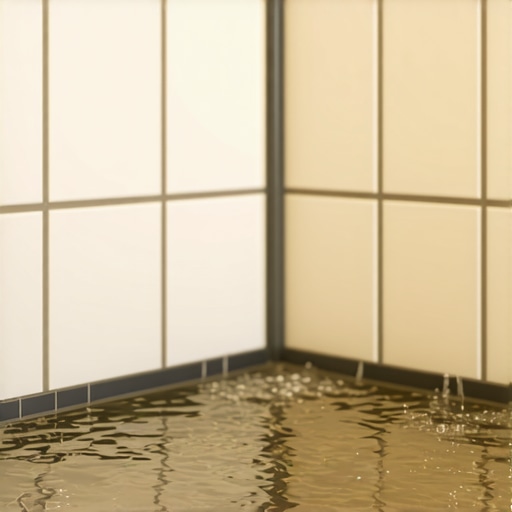
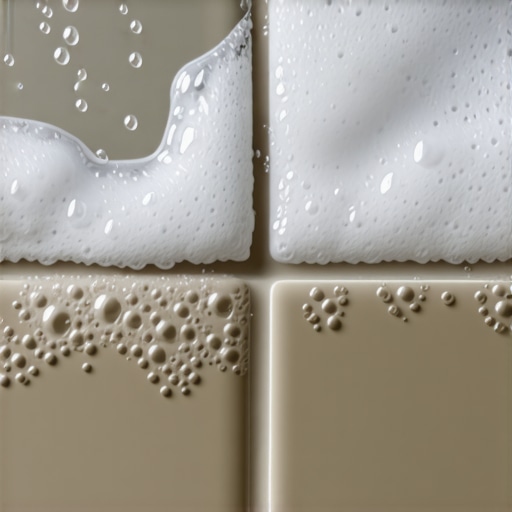
Performing a soap bubble test involves using a non-corrosive surfactant, a pneumatic test plug, and a low-pressure air source to identify air leaks in the waterproofing membrane. This method is superior to a simple flood test because it identifies pinhole leaks that water might bridge via surface tension. You start by cleaning the liner surface of all debris. Any bit of grit can mask a hole. You plug the drain with a mechanical or inflatable plug. You then apply a mixture of dish soap and water to the seams, the corners, and the drain flange. You are looking for the growth of a dome. If you see a bubble growing, you have found your leak. It is that simple, but most people are too lazy to do it. They would rather just tile over it and hope for the best. That is how you get a rotten carpet install in the adjacent room. Moisture travels. It does not stay where you want it to.
| Material | Janka Rating / Mil Thickness | Acclimation Time | Moisture Tolerance |
|---|---|---|---|
| Solid White Oak | 1360 | 7 to 14 Days | 6% to 9% |
| Engineered Maple | 1450 | 3 to 5 Days | High |
| LVP Wear Layer | 20 mil to 40 mil | 48 Hours | Waterproof |
| Laminate Core | 8mm to 12mm | 48 Hours | Low |
Why your subfloor is lying to you
Subfloor flatness and levelness are measured using a ten foot straightedge where a one eighth inch deviation is the maximum allowable tolerance for laminate or hardwood. If your subfloor has a dip, the locking mechanism of your floor will eventually snap under vertical deflection. I have seen guys try to fix this with thick foam underlayment. That is a mistake. Too much cushion actually causes more movement. You need to use a high quality self leveling underlayment with a high compressive strength, usually over 3500 psi. This provides a rigid base. In regions like the Pacific Northwest, where the damp air keeps everything moist, your subfloor is always moving. Wood is hygroscopic. It drinks water from the air. If your shower liner is leaking, even a little bit, your subfloor is going to expand. This will push your laminate right up against the drywall and cause it to buckle. There is no such thing as a waterproof floor if the subfloor is a wet sponge.
- Clean the liner thoroughly of all construction dust and mortar.
- Insert the test plug into the drain and tighten it until it is airtight.
- Mix a solution of high viscosity dish soap and water in a spray bottle.
- Spray every inch of the perimeter and all corner folds.
- Wait for five minutes to observe any small bubbles forming at the seams.
- Inspect the drain flange specifically as this is a common failure point.
The chemistry of subfloor bonding
When you are talking about floor leveling, you are talking about chemical bonds. A primer is not just a suggestion. It is a bridge between the porous substrate and the cementitious overlay. If you skip the primer, the substrate will suck the water out of the leveling compound too fast. This causes flash drying and leads to cracking or delamination. I have seen floors where the leveling compound just peeled up like an orange skin because the installer was in a hurry. You want a primer that penetrates. Once that is set, the leveling compound flows out and seeks the lowest point. This is where the physics of gravity works for you. But you have to help it. You have to use a spiked roller to get the air out. Those little bubbles in your leveling compound will become weak spots. If you are doing a shower pan, the levelness of the surrounding floor is just as important as the pitch of the pan itself. You need a zero threshold transition these days. That means your math has to be perfect. No excuses.
“The TCNA Handbook for Ceramic, Glass, and Stone Tile Installation is the bible for any contractor who wants their work to outlast their lifetime.” – Master Flooring Axiom
The 1/8 inch that ruins everything
Expansion gaps around the perimeter of a laminate or hardwood floor must be at least one quarter inch to one half inch to allow for seasonal movement. If you pin the floor under a baseboard or a kitchen island, the floor will buckle or peak at the joints. This is basic thermal expansion and hygroscopic expansion logic. I have walked onto jobs where the homeowner was screaming that their floor was defective. I pulled the baseboard and showed them the floor was tight against the wall. It had nowhere to go. It is like a bridge. You need expansion joints. The same goes for tile in a shower. You need movement joints at the corners. If you grout the corners instead of using a 100 percent silicone caulk, the grout will crack. The house moves. The floor moves. If you do not allow for that movement, your floor will destroy itself. I have seen tile pop off the wall because the installer did not leave a gap at the bottom. It is a game of millimeters. If you miss by an eighth of an inch, you might as well have missed by a mile.
Laminate versus the wet zone
Laminate flooring consists of a high density fiberboard core that is extremely susceptible to moisture damage and swelling. While many modern products claim to be water resistant, they are not waterproof in the same way LVP is. If a shower liner fails and water seeps under the laminate, the edges will swell and the decorative layer will peel. This is why I always recommend a moisture barrier of at least 6 mil poly on concrete slabs. Even if the slab looks dry, it is breathing. Moisture vapor is coming up through that concrete all day long. If you trap it under a laminate floor without a barrier, you are asking for a disaster. People think they can save money by skipping the barrier. They can’t. They just delay the cost. A good floor is a system. It is the subfloor, the moisture barrier, the underlayment, and then the flooring material. If one part of that system fails, the whole thing fails. The soap bubble test is just the first line of defense in a long war against water damage. I have spent my life in that war. And I intend to win.
“,”image”: {“imagePrompt”: “A close-up, high-detail macro photograph of a gray PVC shower liner with a mechanical drain plug installed. The image shows iridescent soap bubbles forming around a seam, indicating a leak. The lighting is harsh and professional, highlighting the texture of the liner and the clarity of the bubbles.”,”imageTitle”: “Shower Liner Soap Bubble Leak Test”,”imageAlt”: “A close-up of a shower liner failing a soap bubble test with visible air bubbles at the seam.”},”categoryId”: 0,”postTime”: “”}Map“`of tradeoffs when choosing between them. 2. Compare typical usage scenarios for these two approaches. 3. List some popular tools or libraries that follow these different philosophies. 4. Briefly touch on