How to Repair a Cigarette Burn in Plush Carpet Without a Patch Kit
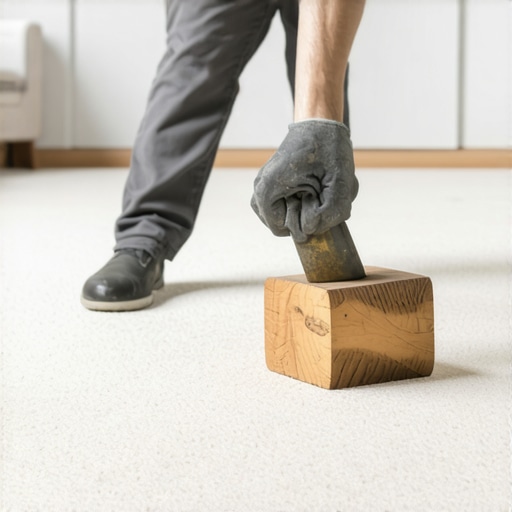
Most guys skip the leveling compound. They think the underlayment will hide the dip. It won’t. I spent three days grinding concrete on a job last month just so the floor wouldn’t click like a castanet. I was there to prep for a high-end laminate job in the hallway, but the homeowner was nearly in tears over a black, charred crater in the middle of their brand-new plush carpet in the living room. It was a classic cigarette burn. The carpet install was only two weeks old. They thought the whole room was ruined because they didn’t have a patch kit and didn’t want a bulky square cut out of the center of the floor. I put down my grinder, wiped the gray dust off my hands, and told them to grab some fine-tip tweezers and a pair of surgical scissors. You don’t need a store-bought kit to fix a burn. You need patience and an understanding of how synthetic fibers are heat-set into the backing. Most people treat carpet like a rug, but it is a complex engineered textile system.
The chemistry of charred nylon
A cigarette burn in plush carpet is a localized thermal collapse where synthetic fibers reach their glass transition temperature and melt into a solid plastic mass. This process destroys the fiber’s ability to refract light and creates a hard, dark scab that is chemically bonded to the surrounding healthy yarns. To fix this without a patch kit, you must perform a microscopic debridement of the damaged polymer chains without compromising the structural integrity of the secondary backing. The goal is to remove only the carbonized material. If you cut too deep, you hit the polypropylene primary backing. If that happens, the structural grid of the carpet fails. You are left with a bald spot that no amount of fluffing will hide. You have to understand that plush carpet is usually a cut-pile construction with a specific twist lock. When a cigarette hits it, it doesn’t just burn. It cauterizes the yarn ends. This makes the repair a matter of surgical extraction rather than a simple patch job.
“A floor is only as good as the subfloor beneath it; deflection is the enemy of every joint.” – Master Flooring Axiom
The mechanical extraction of damaged fibers
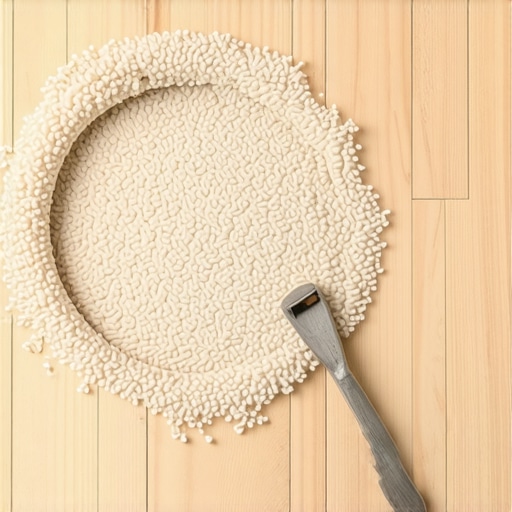
Removing a carpet burn involves using precision shears to clip away the melted tips of the plush pile until only healthy white or colored fiber remains. You start by using a small, sharp pair of scissors to carefully snip the hardened black crust. You cannot pull on it. If you pull, you risk yanking the entire tuft out of the latex adhesive in the backing. That creates a permanent hole. Work from the outside of the burn toward the center. This is similar to how we handle floor leveling. You address the perimeter first to ensure a smooth transition to the unaffected area. Once the black mass is gone, you will see a dip. This dip is where the fiber has been shortened by the heat. The carpet is no longer level with the surrounding pile. This is why a simple cleaning won’t work. The physical height of the floor has changed. You are now looking at a structural void in the textile surface that must be filled with donor material harvested from a hidden area.
Harvesting donor fibers from hidden zones
Donor fibers for a carpet repair should be harvested from the very edge of the room near the tack strip or from inside a dark closet where the pile is identical in dye lot. Do not just grab any scrap. You need to use a pair of tweezers to pull individual healthy fibers from the base of the backing in a spot that will never be seen. I usually go to the back corner of a walk-in closet. I look for the area where the carpet meets the baseboard. I use the tweezers to pluck out twenty or thirty individual strands. This is a slow process. It is about gathering enough mass to fill the crater. Each fiber is a tiny cylinder of nylon or polyester. By gathering these, you are essentially creating your own custom fill material that matches the existing floor perfectly. This is far superior to a patch kit because those kits use generic fibers that never quite catch the light the same way as the original install.
| Fiber Type | Melting Point | Resiliency Rating | Repair Difficulty |
|---|---|---|---|
| Nylon 6,6 | 490°F | High | Moderate |
| Polyester (PET) | 482°F | Medium | High |
| Triexta (PTT) | 440°F | High | Moderate |
| Olefin | 320°F | Low | Extreme |
The adhesive chemistry of the invisible mend
The secret to a permanent carpet repair without a kit lies in the use of a clear-drying cyanoacrylate or a high-strength waterproof craft glue applied only to the base of the carpet backing. You do not want to get glue on the tips of the fibers. If the glue wicks up the yarn, it will harden and create a new crust that is just as bad as the original burn. Use a toothpick to apply a tiny drop of adhesive into the bottom of the cleaned-out burn hole. Take your harvested donor fibers and, using the tweezers, stand them upright into the glue. You are essentially re-tufting the carpet by hand. This is where the physics of the floor come into play. You have to ensure the orientation of the fibers matches the surrounding pile. Every carpet has a grain or a “nap.” If you glue the fibers in sideways, the repair will look like a shiny silver spot when the sun hits it from the side. Stand them up straight. Pack them in tightly. The density of the repair must match the density of the original carpet install.
Blending the repair into the plush landscape
Blending the newly glued fibers requires a fine-tooth comb and a light touch to integrate the donor strands with the original twisted yarns of the carpet. After the glue has cured for at least six hours, you take a comb and gently brush the area. This breaks up any tiny bits of dried adhesive that might be clinging to the base. It also forces the new fibers to interlock with their neighbors. If the donor fibers are too long, use your scissors to give the carpet a haircut. Trim them down until they are perfectly flush with the rest of the floor. This is much like how we check for flat spots when we do floor leveling. You run your hand over it. If you feel a bump, it needs more work. If you feel a dip, you need more donor fibers. A perfect repair is one that you cannot find even if you are on your hands and knees with a flashlight.
“Carpet integrity relies on the secondary backing’s ability to retain pile density under mechanical stress.” – Textile Engineering Standard
- Verify the carpet fiber type before applying any solvents.
- Always harvest more donor fibers than you think you will need.
- Use surgical-grade tweezers for maximum control over fiber placement.
- Ensure the subfloor beneath the carpet is dry to prevent adhesive failure.
- Avoid walking on the repair for twenty-four hours to allow full polymerization.
Environmental factors and fiber behavior
Humidity and temperature play a massive role in how carpet fibers react to repair attempts and how well the adhesive bonds to the secondary backing. In a high-moisture environment, such as a basement or a home near the coast, the fibers may swell slightly. This can make the