The ‘Flashlight’ Trick for Finding Invisible Dust Before Tiling
The deceptive nature of a clean floor
The flashlight trick involves placing a high lumen LED light source directly on the subfloor at a low angle to reveal microscopic dust and debris. This grazing light technique highlights particles that are invisible from a standing height, ensuring a perfect bond for thin-set or leveling compounds.
Most guys skip the leveling compound. They think the underlayment will hide the dip. It won’t. I spent three days grinding concrete on a job last month just so the floor wouldn’t click like a castanet. That job taught me that what you cannot see will eventually bankrupt you. I remember standing in a high-end kitchen where the homeowner had spent forty thousand on Italian marble. The subfloor looked clean to the naked eye. I turned off the overhead lights, laid my 1000 lumen torch on the slab, and it looked like the surface of the moon. Dust, drywall overspray, and tiny concrete pebbles were everywhere. If we had spread mortar over that, the tile would have debonded within a year. Flooring is not about the pretty surface. It is about the structural integrity of the bond between the substrate and the finish material.
Why your subfloor is lying to you
A subfloor may look flat and pristine under standard overhead lighting, but microscopic contaminants and subtle undulations often remain hidden. Using specialized lighting techniques reveals these flaws before they cause installation failure, such as hollow spots, cracking grout, or failed adhesive bonds in high-traffic areas.
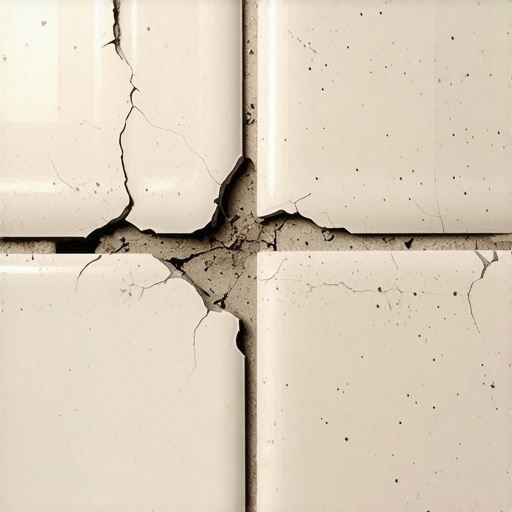
The physics of light is your best tool on a job site. When light hits a surface at a ninety degree angle, it washes out shadows. When you drop that light to a five degree angle, every grain of sand casts a shadow ten times its size. This is the difference between a floor that lasts fifty years and one that fails in five. I smell the WD-40 on my tools and the oak dust in the air, and I know that prep is the only thing that matters. We are talking about the interface between the concrete slab and the thin-set. If there is a layer of dust, the thin-set bonds to the dust, not the slab. This creates a shear plane. When the house settles or the temperature changes, the tile moves independently of the subfloor. You get a crunching sound. You get cracked grout lines. You get a phone call from an angry client at three in the morning.
The chemical reality of thin-set adhesion
Thin-set mortar relies on both a mechanical and chemical bond to secure tiles to a substrate. Dust acts as a bond breaker, preventing the cementitious paste from penetrating the pores of the concrete or wood, which leads to total installation failure in showers and high-moisture environments.
“A floor is only as good as the subfloor beneath it; deflection is the enemy of every joint.” – Master Flooring Axiom
When we discuss showers, the stakes are even higher. A shower floor is a hydraulic environment. If the thin-set does not have a ninety-five percent transfer rate to the back of the tile, water will sit in those voids. It will stagnate. It will grow mold. Eventually, the hydrostatic pressure will push the tile up. This is why the flashlight trick is non-negotiable in wet areas. You must see every speck of dust. You must vacuum with a HEPA filter, then damp mop, then vacuum again. I have seen guys try to tile over old adhesive residue. It never works. The chemistry of modern modified thin-sets requires a clean, porous surface to latch onto. Polymer additives in the mortar create bridges between the tile and the slab. If those bridges are built on dust, the bridge collapses. We are looking for a surface profile that meets International Concrete Repair Institute standards, usually a CSP 1 or 2 for thin-set applications.
The 1/8 inch that ruins everything
Floor leveling requires a tolerance of no more than one-eighth of an inch variation over a ten-foot span to meet industry standards. Anything beyond this threshold causes stress on the locking mechanisms of laminate or the structural integrity of large format tiles, leading to inevitable breakage.
| Metric | Hardwood | Laminate | Large Format Tile |
|---|---|---|---|
| Moisture Limit | 4% MVER | 5% MVER | 3 lbs / 1000sqft |
| Flatness Requirement | 1/8″ per 10ft | 3/16″ per 10ft | 1/8″ per 10ft |
| Acclimation Time | 72+ Hours | 48 Hours | None |
| Min. Subfloor Thick | 3/4″ Plywood | 5/8″ OSB | 1-1/8″ Total |
Precision is not an option. It is a requirement. When you are doing a carpet install, you can get away with a little bit of slope. But when you move to laminate or LVP, the subfloor must be like a mirror. If there is a dip, the plank will flex every time someone walks on it. That flexing is a mechanical stressor. Over time, the tongue and groove will snap. You will hear a click. That is the sound of money leaving your pocket. I use a ten-foot straight edge and my flashlight. I slide the light behind the straight edge. If I see light peeking through the bottom, I know I have a low spot. I do not guess. I do not assume the underlayment will fix it. Too much cushion under a floating floor is actually worse than no cushion. It creates a trampoline effect that destroys the joints. You want a high-density underlayment with a high compression strength. This is the structural zooming we need to focus on. We are managing the physics of load distribution.
The ghost in the expansion gap
Expansion gaps are essential perimeter spaces that allow flooring materials to expand and contract with fluctuations in temperature and humidity. Failure to provide these gaps leads to buckling, cupping, and peaked joints as the floor structural system fights against the vertical walls.
- Check subfloor moisture with a pin-less meter before starting.
- Ensure the HVAC system has been running for 10 days at normal occupancy levels.
- Remove all baseboards to allow for a true 1/4 inch or 1/2 inch gap.
- Undercut door jambs so the floor can slide underneath freely.
- Use a vacuum with a brush attachment to pull dust out of the perimeter gaps.
Humidity is the silent killer of floors. In a place like Houston, the air is thick enough to drink. If you install a solid oak floor there without a moisture barrier, it will cup before you finish the last row. In Phoenix, the dry air will suck the moisture out of your planks until they look like a skeleton. You have to understand the equilibrium moisture content of the wood. You have to know the Janka hardness. A soft wood like pine will dent if you look at it wrong. A hard wood like Brazilian Cherry will smoke your saw blades. But regardless of the species, if the subfloor is dusty or uneven, the expensive wood is worthless. I have seen million dollar homes with floors that felt like walking on a sponge because the installer didn’t want to spend an extra day on prep. Prep is the job. The flooring is just the victory lap.
Why your shower floor will fail
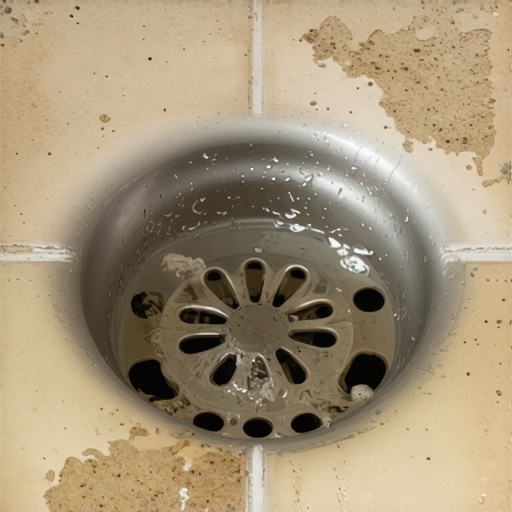
Shower floor failure usually starts at the drain interface where improper slope or contaminated surfaces prevent a watertight seal. Using the flashlight trick ensures the waterproofing membrane is bonded to a clean, solid substrate, preventing capillary action from rot.
“Water follows the path of least resistance, and dust is the path of least resistance for a leak.” – TCNA Handbook Principle
The chemistry of a shower build is fascinating. You have the pre-slope, the liner, and then the final mud bed. Or you have a modern bonded membrane like Kerdi. If you are using a bonded membrane, your thin-set is the only thing keeping that shower from leaking into the kitchen below. I have seen guys use the wrong notch trowel. They use a 1/4 inch square notch when they should be using a U-notch for better coverage. They leave dust in the corners. That dust prevents the thin-set from grabbing the membrane. Water eventually finds that weak spot. It travels along the dust layer like a highway. It hits the wood framing. It starts to rot. By the time the homeowner sees a spot on their ceiling, the subfloor is gone. I have replaced entire joists because of a handful of dust. It is a preventable tragedy.
The final scan and clean room protocol
A clean room protocol involves sealing the work area and using high-efficiency vacuums to maintain a contaminant-free environment during the final stages of floor preparation. This prevents airborne dust from settling on the prepared surface before adhesive or thin-set application.
Before the first tile touches the floor, I do one last sweep with the flashlight. I call it the ghost walk. I walk the entire perimeter with my light on the ground. I am looking for anything I missed. A stray screw. A blob of drywall mud. A hair. If the light finds it, the vacuum eats it. This is the discipline of a master. We are not just laying floor. We are engineering a surface that will outlast the people living on it. We are fighting gravity, moisture, and time. And our best weapon is a simple LED flashlight and the patience to use it. Never trust your eyes from six feet up. Get on your knees. Use the light. The subfloor will tell you the truth if you know how to ask. Avoid the shortcuts. Avoid the cheap products. Focus on the bond. The floor is a performance surface. Treat it with the respect it deserves. No excuses. No compromises. Just a perfectly flat, perfectly clean, perfectly bonded floor that will stand the test of time.