The ‘Blue Tape’ trick for cutting laminate planks
I spent three days grinding concrete on a job last month just so the floor wouldn’t click like a castanet. Most guys skip the leveling compound. They think the underlayment will hide the dip. It won’t. I had to get the 7-inch diamond cup wheel out. The dust was everywhere. But that is the only way to ensure the locking mechanisms don’t fail by next summer. This is the reality of professional flooring. It is not about the color of the wood. It is about the physics of the subfloor and the precision of the cut. If you want a floor that lasts twenty years instead of twenty months, you have to stop thinking like a decorator and start thinking like a structural engineer.
The physics of the brittle melamine layer
Blue painter tape increases surface tension and provides lateral support to the melamine wear layer during high speed saw blade rotation. This prevents chipping and fracturing of the aluminum oxide coating. By stabilizing the HDF core fibers, you achieve a factory edge finish on every cut. The science of a clean cut involves understanding the exit point of the saw tooth. When a blade tooth exits the material, it exerts upward or downward pressure that the brittle top layer cannot withstand. The tape acts as a sacrificial stabilizer, holding those microscopic fibers in place while the carbide tooth shears through the material. Without it, you are left with jagged white edges that no amount of putty can truly hide.
Why your subfloor is lying to you
Subfloor leveling requires a flat surface within 3/16 inch over a 10 foot radius to prevent joint failure and plank deflection. You must use a self leveling underlayment to fill low spots and a concrete grinder for high spots. Proper preparation ensures that the locking mechanisms do not snap under load. I have seen hundreds of installations fail because someone thought the foam underlayment was a magic carpet that could smooth out a valley in the slab. It is not. If your subfloor has a dip, your floor will bounce. Every time you walk on it, the tongue and groove rub against each other. Eventually, they will sheer off. Use a 10 foot straight edge. Mark your high spots with a pencil. Grind them down. Fill the low spots. It is tedious work. It is also the difference between a floor that feels solid and one that feels like a trampoline.
“A floor is only as good as the subfloor beneath it; deflection is the enemy of every joint.” – Master Flooring Axiom
The moisture trap in showers and bathrooms
Laminate flooring in showers or bathrooms requires a perimeter seal of 100 percent silicone to prevent moisture intrusion into the HDF core. Even waterproof laminate can fail if water seeps into the expansion gaps and reaches the untreated underside of the plank. The marketing departments of big box stores love to use the word waterproof. It is a dangerous term. The top of the plank is waterproof. The joints might be tight. But the edges near the bathtub or the toilet are the weak points. If water gets under the floor, the wood fibers will swell like a sponge. Once that HDF core expands, it never goes back down. You are looking at a total rip out. You must leave your 1/4 inch expansion gap, then fill that gap with backer rod and high grade silicone. This creates a gasket that allows for movement while keeping the water out.
The shift from carpet install to floating planks
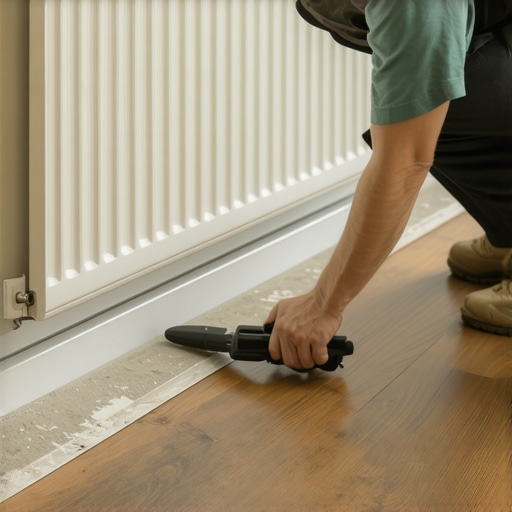
Carpet install removal leaves behind tack strip holes and divots that must be patched with feather finish before laminate installation. Failure to prep the concrete slab after removing carpet padding will result in telegraphing and audible clicking when the floor is walked upon. When you pull up old carpet, you are going to find a mess. There will be thousands of staples in the plywood or a perimeter of concrete craters where the tack strips were nailed down. You cannot just sweep and start laying planks. Every one of those holes is a potential air pocket. When the laminate bridges that pocket, it creates a drum effect. I use a floor scraper to get every last bit of pad glue off the deck. Then I vacuum. Then I vacuum again. If I find a hole larger than a nickel, it gets patched. No exceptions.
The 1/8 inch that ruins everything
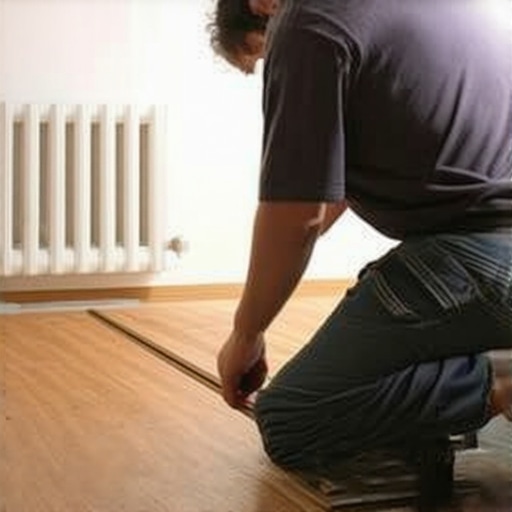
Expansion gaps of at least 1/4 inch to 3/8 inch are mandatory at every vertical obstruction to accommodate the hygroscopic expansion of the wood core. If the floor hits a wall or door casing, the resulting internal pressure will cause buckling or joint separation in the center of the room. Wood is alive. Even when it is ground up and glued back together into a laminate plank, it reacts to humidity. In the summer, the planks grow. In the winter, they shrink. If you pin the floor against a heavy kitchen island or a wall, it has nowhere to go. It will lift up off the subfloor. I have seen floors rise three inches off the ground because an installer didn’t want to remove the baseboards and tried to butt the flooring tight. It is a rookie mistake that costs thousands.
| AC Rating | Usage Level | Wear Layer Thickness | Janka Equivalent || :— | :— | :— | :— || AC3 | Heavy Residential | 12 mil | 1200 || AC4 | Light Commercial | 20 mil | 1500 || AC5 | Heavy Commercial | 22 mil+ | 1800+ |
Mastering the cut with specific tools
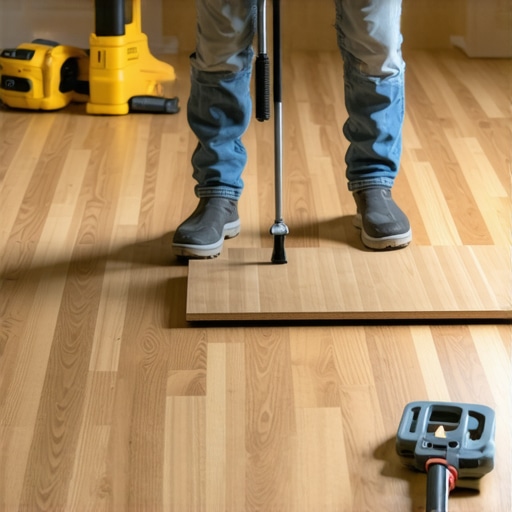
Precision cutting requires a high tooth count carbide blade with a negative hook angle to minimize tear out on the laminate surface. Using blue tape on the cut line further stabilizes the brittle melamine, ensuring a clean edge for transitions and thresholds. Here is your checklist for a professional result:
- 60-tooth to 80-tooth carbide saw blade
- High quality blue painter tape for surface marking
- Digital moisture meter for subfloor testing
- 10 foot aluminum straight edge for flatness check
- Dead blow hammer and professional tapping block
- Pull bar for end joint closure
- Self-leveling compound and mixing paddle
“Proper acclimation is the process of aligning the moisture content of the flooring with the ambient environment of the installation site.” – NWFA Technical Manual
The chemistry of HDF and aluminum oxide
High density fiberboard is composed of wood fibers saturated with phenolic resins and compressed under extreme pressure to create a stable core. The wear layer consists of paper impregnated with melamine resin and aluminum oxide particles, which are nearly as hard as diamonds. This is why your saw blades dull so quickly. You are essentially cutting through liquid sandpaper. The blue tape trick helps the blade teeth glide through that first fraction of a millimeter of aluminum oxide without shattering the resin bond. If the resin shatters, the paper underneath tears. That is how you get those ugly white chips. Use the tape. Use a fresh blade. Don’t push the saw too fast. Let the carbide do the work. If you see smoke, your blade is shot. Change it immediately or you will burn the core and ruin the plank. Every detail matters when you are building a surface that people will walk on for the next twenty years.