How to remove mold from the silicone in your shower
The harsh reality of shower moisture failures
To remove mold from shower silicone you must physically strip the compromised sealant and treat the substrate with an oxidizing agent like hydrogen peroxide. Scrubbing the surface provides a temporary visual fix but the hyphae remain embedded in the silicone matrix. Permanent removal requires a full mechanical extraction and a fresh bead of high-grade acetoxy silicone.
I once walked into a luxury bathroom where the homeowner spent forty thousand dollars on Carrara marble but the shower smelled like a swamp. They thought the black spots on the silicone were just a cleaning oversight. I took a utility knife to the corner and pulled back a strip. The back of that silicone was a velvet carpet of black mold because the installer did not use a backer rod or a proper primer. The moisture was trapped in a three-sided bond that never dried. It did not matter how much bleach they sprayed. The house was literally breathing spores because the mechanical seal failed at the molecular level. This is the difference between a floor guy who cares about physics and a handyman who just wants to finish the tube of caulk. If you ignore the science of the bond you are just painting over a disaster.
The chemical failure of antimicrobial additives
Silicone sealants fail when the integrated biocides leach out through constant water exposure and the polymer structure undergoes mechanical fatigue. Most consumer-grade silicones contain a small percentage of fungicides that eventually lose their efficacy. When these chemicals dissipate the porous surface of the silicone becomes an ideal habitat for biological colonization.
You have to understand the chemistry of the material. Most guys grab the cheapest tube at the big box store. That is a mistake. Professional grade RTV silicone is a different beast. RTV stands for Room Temperature Vulcanizing. It means the material transforms from a paste to a rubber by reacting with the moisture in the air. During this process it creates a series of cross-links that provide its elasticity. However if the shower is never allowed to dry the surface tension of the water allows microscopic organic matter to settle into the pores of the silicone. Once the mold takes hold it actually feeds on the organic dust and soap scum that accumulates on the bead. Bleach is often the first thing people reach for but it is a chemical lie. Bleach has high surface tension. It stays on top of the silicone while the water content in the bleach actually feeds the mold roots deeper into the substrate. You need a surfactant that can penetrate the surface or you need to get the knife out.
“A floor is only as good as the subfloor beneath it; deflection is the enemy of every joint.” – Master Flooring Axiom
The mechanical extraction of compromised sealant
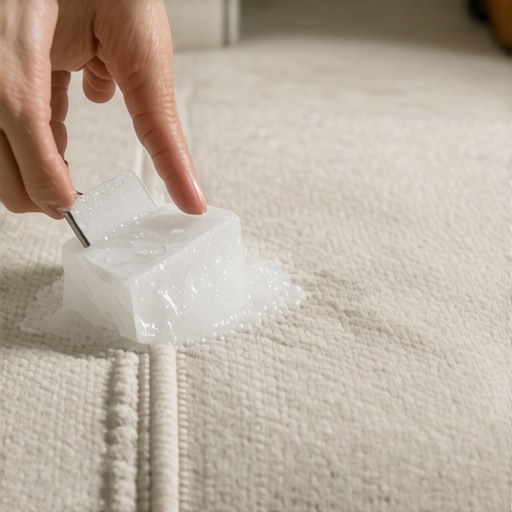
Successful mold removal starts with the total mechanical removal of the old bead using a sharp utility blade or a dedicated caulk shaver. You must expose the raw tile or stone edge to ensure that no residual spores remain trapped behind the new application. Chemical removers can soften the bond but physical scraping is the only way to ensure a clean surface.
The removal process is where most people get lazy. They leave a thin film of old silicone on the tile. If you do that the new silicone will not bond. It is called silicone contamination. Nothing sticks to silicone except more silicone and even then it is a weak bond at best. I use a fresh blade for every three feet of removal. You want to feel the blade hit the hard edge of the tile or the shower pan. When you pull the old strip out you should inspect it. If it is slimy on the back you have a moisture problem behind the wall. This is common in showers where the waterproof membrane was not integrated with the drain assembly correctly. I have seen laminate floors in adjacent hallways buckle because a shower leak was traveling under the baseboards. It starts with a bad bead of silicone and ends with a three thousand dollar floor repair.
The sterilization of the substrate gap
After the physical removal of the silicone you must treat the open joint with a high-concentration hydrogen peroxide solution or a specialized mold killer to neutralize remaining spores. This step prevents the immediate regrowth of mold underneath the new seal. The gap must be bone dry before the new application to ensure the chemical bond is not compromised.
Most people rush the drying phase. I tell my clients to put a fan in the shower for twenty-four hours. If you seal moisture into the gap you are just building a greenhouse for mold. I use a moisture meter to check the grout lines near the joint. If the reading is over twelve percent the new silicone will likely fail within a year. You are looking for a clean dry stable surface. I also wipe the joint down with denatured alcohol. This removes any skin oils or soap residue that could interfere with the wetting of the new silicone. The physics of the bond require the silicone to wet the surface at a molecular level. If there is a microscopic layer of soap the silicone will just sit on top. It will look fine for a month and then it will start to peel.
| Material Type | Shore A Hardness | Movement Capacity | Mold Resistance Rating |
|---|---|---|---|
| Standard Silicone | 25 | 25% | Moderate |
| High-Performance RTV | 30 | 50% | High |
| Siliconized Acrylic | 40 | 12.5% | Low |
| Polyurethane Sealant | 45 | 35% | Moderate |
The physics of the three-sided bond
A common mistake in shower sealing is allowing the silicone to bond to the back of the joint which restricts its ability to stretch and compress. For larger gaps a backer rod should be used to ensure the silicone only bonds to the two parallel surfaces of the tile and the pan. This allows the material to behave like a rubber band rather than a rigid plug.
When a house shifts or when the shower pan flexes under the weight of a person the silicone has to move. If it is stuck to the back of the corner it cannot stretch. It will tear at the edges. Once it tears water gets in. Once water gets in mold follows. By using a foam backer rod you create a two-sided bond. This is standard practice in commercial flooring and high-end tile work but homeowners rarely do it. It is the difference between a seal that lasts two years and one that lasts twenty. I always look at the expansion gaps. If the installer did not leave an eighth of an inch for the material to breathe the joint is doomed from the start. The physics of expansion and contraction are non-negotiable.
- Remove all old sealant using a sharp utility knife and a plastic scraper.
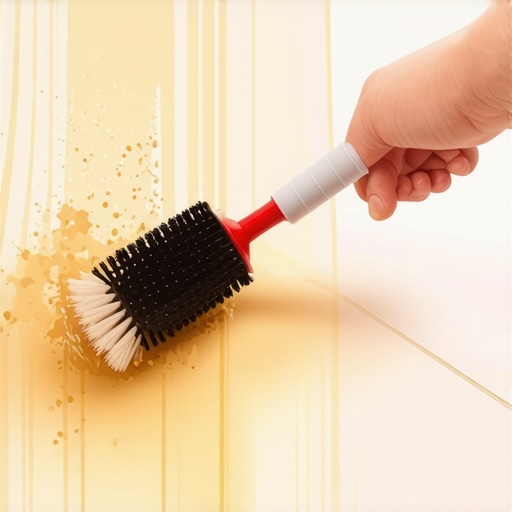
- Scrub the joint with a stiff brush and a non-residual cleaner.
- Apply a mold-killing solution and allow it to sit for at least thirty minutes.
- Use a heat gun or fan to ensure the joint is completely free of moisture.
- Wipe the area with denatured alcohol to remove fine particulates.
- Insert a backer rod if the gap exceeds one-quarter inch in width.
- Apply a continuous bead of 100 percent silicone without air pockets.
The selection of high-grade sealing materials
You must use 100 percent RTV silicone for shower applications rather than cheap acrylic caulks or hybrid sealants that contain organic fillers. Pure silicone is inorganic and does not provide a food source for mold spores. Look for products that specify ASTM C920 compliance which ensures the material meets professional standards for durability and movement.
“Waterproofing is not a suggestion; it is a structural mandate for the longevity of the building envelope.” – TCNA Handbook Commentary
I have seen guys try to use grout-caulk in the corners. It looks nice because it matches the color of the grout exactly but it is a disaster in a wet area. Grout-caulk is basically just latex paint with a bit of sand in it. It is porous. It absorbs water. It turns into a science project within six months. You need the chemical resistance of real silicone. There is a specific smell when you use the good stuff. It smells like vinegar. That is the acetic acid being released during the curing process. That acid helps the silicone etch itself into the surface of the tile for a permanent bond. If it does not smell like anything it is likely a neutral-cure silicone which is better for stone like granite but less aggressive for standard ceramic and porcelain showers. Pick the right tool for the job. Do not let the shopkeeper talk you into a bargain brand.
The geometry of the perfect bead
The shape of the finished silicone bead determines its ability to shed water and resist mold accumulation. A concave bead created with a specialized profiling tool is superior to a flat or convex bead because it prevents water from pooling at the edges. You should avoid using a finger to smooth the bead as skin oils and saliva can introduce bacteria into the wet sealant.
Every time I see an installer lick his finger and run it along a fresh bead of caulk I want to retire. You are literally seeding the silicone with bacteria. Use a profiling tool. They cost five dollars and they give you a consistent depth. The goal is to create a ramp for the water to run off. If the bead is too thick it creates a shelf. That shelf catches soap scum and skin cells. That is the buffet that mold loves. You want a clean 45-degree angle or a tight concave curve. This is why prep work is so tedious. If you do not tape off the edges or use a steady hand you end up with a mess that hides the beauty of the tile work. I spent thirty years learning how to pull a bead in one motion. It is an art form backed by engineering.
The integration with adjacent flooring systems
Shower leaks are a primary cause of subfloor rot and the failure of adjacent carpet or laminate installations. When silicone seals fail the water travels via capillary action along the subfloor reaching areas far beyond the bathroom walls. Ensuring a watertight transition at the shower threshold is vital for protecting the structural integrity of the home.
I have pulled up carpet in bedrooms that was soaking wet because the shower silicone three rooms away had failed. The water finds the path of least resistance. It travels along the tack strips and under the padding. If you have laminate floors near a bathroom you are at high risk. Laminate is basically compressed sawdust with a picture of wood on top. If it gets wet it expands and the joints peak. You cannot fix it. You have to replace it. All of that damage can start because of a tiny crack in the silicone in your shower. People think of flooring as separate rooms but the subfloor is one continuous system. A failure in the wet area is a failure for the whole house. Treat your silicone like it is the only thing keeping your house from rotting because in many ways it is.