The Secret to Tiling a Shower Bench with a Perfect Pitch
I spent three days grinding concrete on a job last month just so the floor wouldn’t click like a castanet. That is the difference between a professional and a guy who just watched a fifteen-minute video. Most guys skip the leveling compound. They think the underlayment will hide the dip. It won’t. If you leave a void under a plank, the air becomes a drum. If you leave a flat spot on a shower bench, the water becomes a mold factory. I have seen fifteen thousand dollar wide-plank walnut floors cupping because a guy ignored humidity. I have seen marble shower benches crumble because the installer thought level was good enough. In a shower, level is actually a failure. You need a pitch. You need gravity to work for you every second of every day. If water sits, you lose.
The dangerous myth of the flat bench
A shower bench must have a minimum slope of one quarter inch per foot toward the drain to ensure water evacuation. This pitch prevents standing water from saturating the grout joints and eventually compromising the waterproofing membrane through capillary action. When water sits on a horizontal surface, it exerts hydrostatic pressure on the microscopic pores of the sealer and grout. Over time, even the best epoxy grout will succumb to the constant weight of moisture. You are not just building a seat. You are building a watershed. If you treat a shower bench like a kitchen table, you are inviting rot into the framing. The physics of surface tension mean that water will cling to a flat surface rather than running off. You must break that tension with a calculated angle. It is not just about the tile. It is about the sub-structure. Most people think about the tile first. I think about the lumber and the cement board. If the bench frame is not pitched, the tile will not be pitched. You cannot fix a flat frame with thin-set. It will eventually shrink or crack. You build the pitch into the bones of the bench.
“A floor is only as good as the subfloor beneath it; deflection is the enemy of every joint.” – Master Flooring Axiom
The structural anatomy of a drainage failure
Structural integrity in wet environments starts with the deflection rating of the subfloor and the framing of the bench. For stone or heavy tile, you need a deflection rating of L/720, which is twice as stiff as what is required for a standard carpet install or a floating laminate floor. When you build a shower bench, you are adding significant dead weight to a small area. If that bench sags even a sixteenth of an inch under the weight of a person, the waterproof seal at the wall-to-bench transition will snap. I have seen it happen a hundred times. The installer builds a beautiful box, tiles it, and walks away. Six months later, the homeowner notices a brown stain on the ceiling below. The bench didn’t have the pitch to shed water, and the frame didn’t have the stiffness to hold the weight. Water found the crack. It always does. You have to think about the chemistry of the bond. We are talking about C2TE classified adhesives. These are cementitious mortars with high polymer content designed to resist water immersion. But even a C2 adhesive cannot hold a joint together if the wood underneath is moving. You need to use kiln-dried lumber or, better yet, high-density foam structural blocks that do not expand and contract with humidity.
| Material Type | Recommended Pitch | Deflection Requirement | Moisture Resistance |
|---|---|---|---|
| Ceramic Tile | 1/4 inch per foot | L/360 | High |
| Natural Stone | 1/2 inch per foot | L/720 | Moderate |
| Laminate (Non-Shower) | Zero (Flat) | L/360 | Low |
| Porcelain Slab | 1/4 inch per foot | L/720 | Maximum |
Why floor leveling is the silent partner of shower design
Floor leveling is a mandatory precursor to any shower installation because the shower pan and the bench rely on a stable, predictable base. If the bathroom floor is out of whack, your shower entrance will be crooked. This affects how the glass door sits. If the glass door doesn’t sit right, water sprays out. It is a chain reaction of failures. I always tell my clients that if they want a perfect shower, we start by pouring self-leveling underlayment across the entire room. This gives us a true baseline. From that baseline, we can calculate the exact height of the bench and the exact angle of the pitch. When you are doing a carpet install, a small hump in the floor is invisible. When you are installing laminate, you might get a little bounce. But in a shower, a hump in the subfloor means your drain is now the high point. That is a disaster. You end up with a pond in the corner of the shower. I use a laser level to map the entire room. I want to see the topography of the plywood or the concrete. If I see a three-sixteenths dip, I fill it. If I see a high spot, I grind it. This is the manual labor that separates a master from a tinkerer. The chemistry of the leveling compound is also vital. You want a calcium aluminate based leveler that dries fast and doesn’t shrink. This creates a monolithic slab that won’t move when the house settles.
The physics of the quarter inch
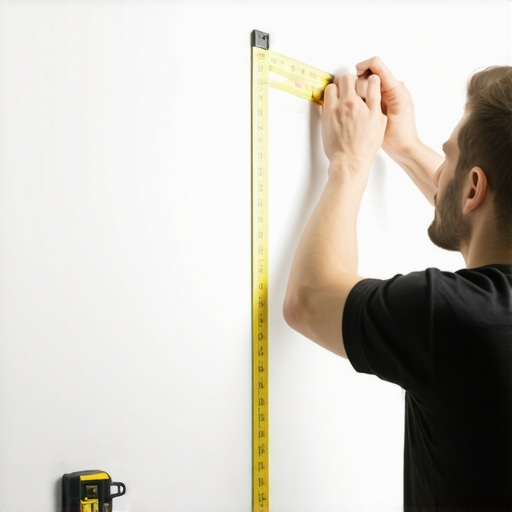
The one quarter inch per foot rule is the industry standard for a reason. It is the sweet spot where gravity overcomes the surface tension of water without making the seat feel like a slide. If you go too steep, the person sitting on the bench feels like they are falling off. If you go too shallow, the water pools. It is a game of millimeters. I use a digital level to verify every bench I build. I don’t trust a bubble level for this. I want to see 1.2 degrees of slope. This ensures that even if there is a slight variation in the tile texture, the water has enough velocity to move toward the floor pan. Think about the grout lines. Grout is porous. It acts like a sponge. If water sits on the grout for an hour after a shower, it begins to migrate downward. This is where the secondary drainage system comes in. Your waterproofing membrane, whether it is a liquid-applied guard or a bonded sheet like Kerdi, must also be sloped. Many installers pitch the tile but leave the membrane flat. This creates a sandwich of trapped water between the tile and the membrane. Eventually, the thin-set becomes saturated and loses its bond. The tile starts to sound hollow. Then it pops. You need the water to move off the surface and off the membrane simultaneously.
The chemical bond of modern waterproofing
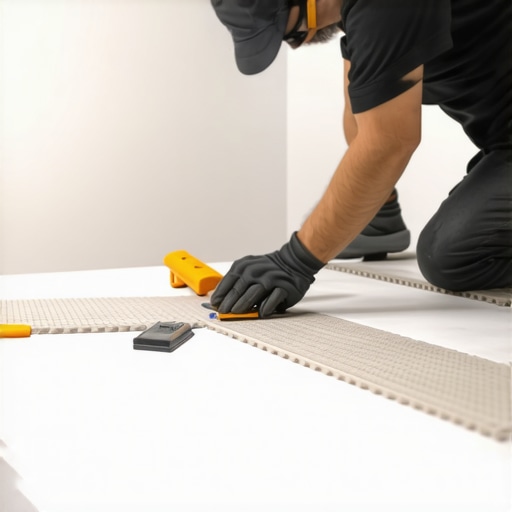
Waterproofing is not a single layer but a system of chemical and mechanical bonds. You have the substrate, the primer, the membrane, the thin-set, and finally the tile. Each layer must be compatible. If you use a cheap modified thin-set over a high-performance membrane, you might have a bonding failure. The polymers won’t cross-link correctly. I always stick to one manufacturer for the entire stack. If I am using a Schluter bench, I use Schluter thin-set and Schluter membranes. This ensures that the warranties are intact and the chemistry is proven. When you are building a bench, the corners are the weak point. You cannot just slap some caulk in the corner and call it a day. You need pre-formed inside and outside corners. You need to use a band of membrane that overlaps the bench and the wall by at least two inches. This is where the zooming happens. You look at the weave of the fabric in the membrane. You look at the notched trowel marks in the thin-set. You want one hundred percent coverage. No air pockets. An air pocket is a place where condensation can collect. Condensation leads to mold. Mold leads to a teardown. I have seen guys try to use leftover materials from a carpet install or a laminate job to shim a bench. That is insanity. You use cementitious materials or closed-cell foam. Nothing else.
- Verify subfloor stiffness and deflection ratings before framing.
- Use kiln-dried lumber or structural foam blocks for the bench core.
- Apply a continuous waterproof membrane with overlapping seams.
- Achieve a minimum pitch of 1/4 inch per foot using a digital level.
- Select a high-polymer modified thin-set for maximum adhesion.
- Ensure 100 percent mortar coverage on the back of the tile.
- Use epoxy grout for horizontal surfaces to minimize water absorption.
The ghost in the expansion gap
Every shower bench needs a movement joint where it meets the wall. Houses breathe. They expand in the summer and shrink in the winter. If you grout the corner where the bench hits the wall, that grout will crack within six months. It is inevitable. You need to use a 100 percent silicone sealant that matches the grout color. This allows the bench to move independently of the wall without breaking the waterproof seal. This is the same principle we use in a laminate floor installation. You leave an expansion gap at the perimeter so the floor can grow. In a shower, that gap is filled with flexible silicone. I see so many guys skip this. They think grout is stronger. Grout is not strong. Grout is brittle. When the house settles, the grout snaps. Then the water gets behind the tile. Then the mold starts. You have to think about the long-term life of the project. A shower should last thirty years, not three. I tell my apprentices that we are not just tiling. We are engineering a wet-room environment. We are managing fluid dynamics and structural stress. If you can’t handle the math of a 1.2-degree slope, you should go back to laying carpet. There is no shame in that, but there is no water in it either. In the shower, the water is the judge, the jury, and the executioner. If you don’t respect the pitch, the water will find your mistakes and punish you for them. It might take a year, or it might take five, but the water will win. Your job is to make sure the win happens in the drain, not in the subfloor.
“Water is the most patient architect in the world; it will find every void you left behind.” – Flooring Specialist Proverb