The Best Way to Clean Grout in a High-Moisture Shower
The science of grout maintenance in high moisture shower environments
I spent three days grinding concrete on a job last month just so the floor would not click like a castanet. That job taught me that most homeowners do not understand the physics of what lies beneath their feet. When I walked into a client home last week to look at a moldy shower, I saw the same problem. The homeowner was scrubbing the life out of their tile, but the grout was still black. They thought it was a cleaning issue. I knew it was a structural failure of the moisture barrier and a fundamental misunderstanding of grout chemistry. Grout is not just a filler. It is a porous, cementitious bridge that is constantly under attack by vapor drive and capillary action. If you do not treat it like the engineered component it is, you will never have a clean shower.
The microscopic war inside your shower joints
Cleaning grout in high moisture showers requires an alkaline cleaner to break down body oils followed by a pH neutral antimicrobial scrub. You must avoid acidic cleaners that eat into the cementitious structure. Effective cleaning is a battle against porous surfaces and the biofilm that feeds on soap scum. Most people reach for vinegar or harsh acids because they want to see a fizz. That fizz is the sound of your grout dissolving. When you use acid, you open up the microscopic pores of the Portland cement. This creates a larger surface area for mold spores to take root. You are essentially turning your shower floor into a sponge. A professional understands that we need to keep the grout density high. High density means fewer places for moisture to hide. When I talk about floor leveling in a bathroom, I am not just talking about making it flat. I am talking about the slope to the drain. If your floor leveling was done poorly, water pools in the grout lines. No amount of scrubbing can fix a floor that holds standing water. You have to understand that the grout is part of a system that includes the thin set, the waterproofing membrane, and the subfloor. If any part of that system fails, the grout becomes the visible symptom of a hidden disease.
Why your subfloor determines your cleaning frequency
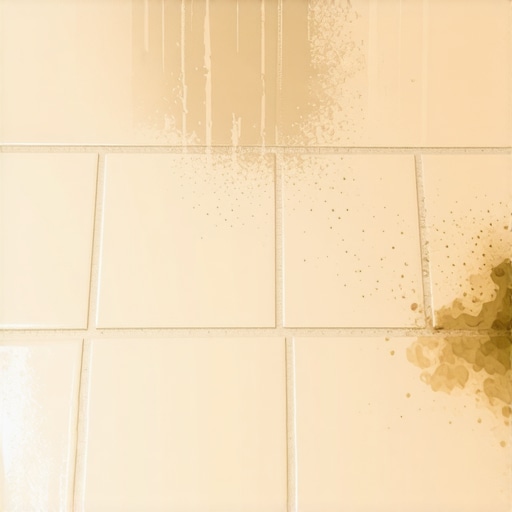
A stable subfloor prevents the micro cracking that allows mold and bacteria to penetrate deep into the grout assembly. If the floor has too much deflection, the grout will develop hairline fractures that act as straws for dirty water. Total structural rigidity is the primary defense against grout staining. Many installers think they can hide a dip in the floor with extra mortar. They are wrong. When I see a carpet install in a bedroom that meets a tile shower, I look at the transition. If that transition flexes, the grout in the first three rows of tile will crack. These cracks are too small to see with the naked eye, but they are wide enough for moisture to enter. Once water gets behind the tile, it stays there. It creates a dark, damp environment where mold thrives from the bottom up. This is why you can scrub the surface until your fingers bleed and the black spots will return within forty eight hours. You are not cleaning a surface stain. You are trying to bleach a subterranean colony. You need to ensure your subfloor is rock solid before the first tile is even laid. Deflection is the enemy of every joint in the house.
“A floor is only as good as the subfloor beneath it; deflection is the enemy of every joint.” – Master Flooring Axiom
The chemistry of grout failure and moisture wicking
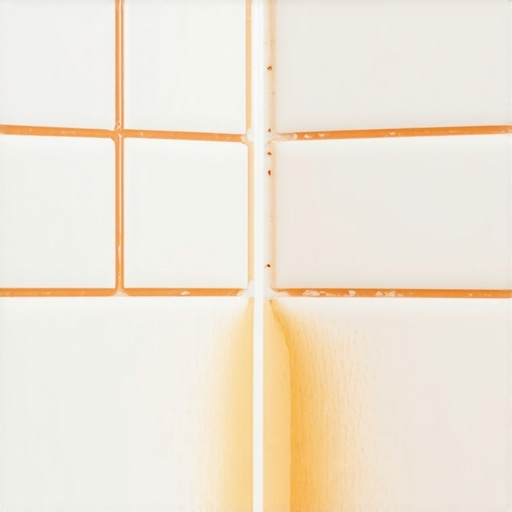
Grout failure occurs when the water to powder ratio is ignored during installation or when harsh chemicals strip the polymer binders. High moisture showers require epoxy or high performance cementitious grouts that resist water absorption through specialized chemical additives. When I am on my knees with a trowel, I am thinking about the specific gravity of the mix. If you add too much water to your grout bucket, the water will evaporate and leave behind a network of tunnels. These tunnels are what we call capillary pores. In a high moisture shower, these pores act like a highway for soap scum and skin cells. This organic matter decays and provides the food source for Serratia marcescens, that orange slime you see in the corners. To clean this properly, you need an oxygenated bleach or a professional grade alkaline cleaner. Do not use splashless liquid bleach. It contains thickeners that leave a film behind. You want a powder that you mix yourself. This ensures the chemical reaction happens on the grout line, not in the bottle.
| Grout Type | Porosity Level | Best Cleaning Agent | Scrub Pressure |
|---|---|---|---|
| Sanded Grout | High | Alkaline / Oxygen Bleach | Medium-Heavy |
| Unsanded Grout | Medium | pH Neutral Soap | Light |
| Epoxy Grout | Zero | Enzymatic Cleaner | Medium |
| High Performance | Low | Steam / Alkaline | Medium |
Structural secrets of a dry shower system
A dry shower system relies on a topical waterproofing membrane that keeps the mortar bed and subfloor dry. This prevents the efflorescence that often mimics white mold on grout lines. Keeping the moisture on the surface allows for faster evaporation and easier cleaning. I have seen guys install tile directly over cement board without a liquid membrane. That is a recipe for a forever damp shower. The cement board absorbs water, and the grout never truly dries out. This leads to a constant state of humidity at the floor level. If you are struggling with grout that always feels damp, your shower was likely built with an outdated water in water out method. In these systems, the water goes through the grout and tile into a mud bed, then out through a weep hole in the drain. If those weep holes are clogged with mortar, the water sits there. It becomes a stagnant pond under your feet. No cleaner in the world can fix a clogged weep hole. You have to maintain the structural integrity of the drainage path.
The proper way to scrub without destroying the seal
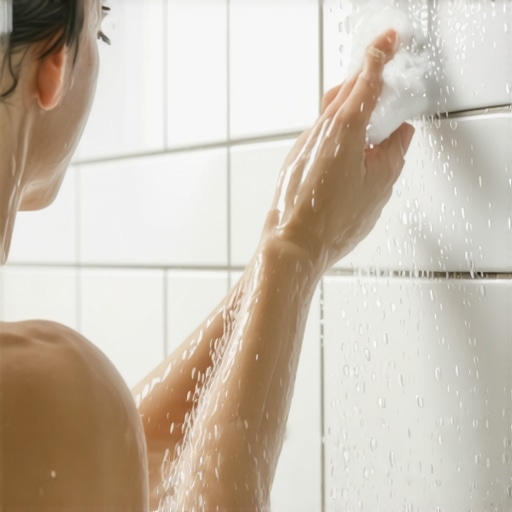
The proper way to scrub grout is to use a soft nylon brush in a circular motion after the cleaning agent has had ten minutes of dwell time. Avoid steel wool or stiff wire brushes that can scratch the tile glaze or gouge the grout. Here is a contrarian data point for you. While most people want the thickest underlayment or the most aggressive scrub brush, too much pressure actually causes the surface of the grout to become more porous over time. You are essentially sanding the grout every time you clean it. I recommend using a steam cleaner once a month. The heat opens the pores and lifts the oils without the need for abrasive scrubbing. After cleaning, you must let the grout dry for at least twenty four hours before applying a high quality solvent based sealer. If you seal moisture into the grout, you are just preserving the mold. I prefer fluorochemical sealers because they provide the best oil and water repellency without changing the look of the stone or tile.
- Apply the alkaline cleaner and let it sit for 10 minutes.
- Scrub gently with a nylon brush in circular patterns.
- Rinse with hot water to remove all chemical residue.
- Dry the area with a microfiber towel to prevent spotting.
- Wait 24 hours before applying a fresh coat of sealer.
Professional tools that beat the grocery store aisle
Professional grout cleaning requires a vapor steam cleaner and a pH test kit to ensure the surface is neutralized after cleaning. Grocery store cleaners are often too acidic or contain waxes that lead to faster resoiling. I keep a moisture meter in my kit for a reason. I want to know if the wall behind the tile is wet. If you are serious about cleaning your grout, stop buying those spray bottles with the pretty labels. Buy a gallon of professional alkaline tile cleaner and a pressurized sprayer. You need the chemical to penetrate. The cheap stuff just sits on top. Also, consider the Mohs scale of hardness. If you have marble tile in your shower, even a slightly stiff brush can ruin the polish. For ceramic or porcelain, you have more leeway, but you still need to be careful. The goal is to remove the dirt, not the floor. If you have laminate or carpet install questions in the adjacent rooms, remember that those materials hate the humidity coming off a poorly maintained shower.
“Grout is the most vulnerable part of the tile assembly; treat it with respect or it will betray you.” – Master Flooring Axiom
The 1/8 inch that ruins everything
The width of your grout joint dictates how much moisture it will hold and how difficult it will be to keep clean. Narrow joints of 1/8 inch or less are significantly easier to maintain than wide 3/8 inch joints. People love the look of wide, sanded grout joints in a rustic shower. I tell them they are signing up for a second job as a scrub technician. A wider joint has more surface area for biofilm to attach. If the floor leveling was off even by a fraction, those wide joints will become troughs for dirty water. If you are building a new shower, go with the smallest joint the tile manufacturer allows. Use a high performance grout that does not require sealing. It costs more upfront, but it saves you hundreds of hours of labor over the life of the floor. My knees are shot from years of fixing these mistakes. Do it right the first time. Keep the joints tight and the subfloor stiff. That is the only real secret to a clean shower.