How to Fix a Sloping Subfloor Without a Full Rip-Out
How to Fix a Sloping Subfloor Without a Full Rip-Out
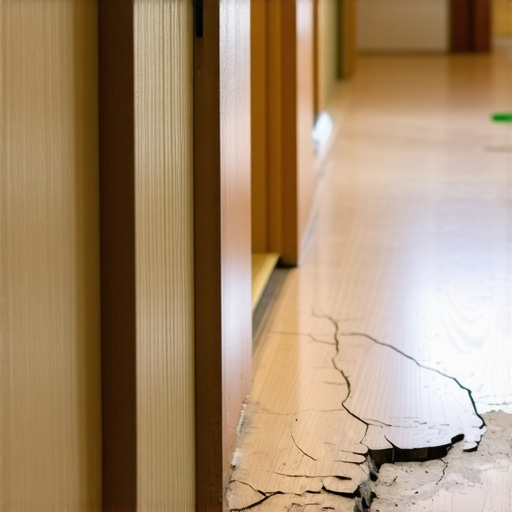
Most homeowners believe that a floor is just a surface you walk on, but to those of us who have spent twenty five years with sawdust under our nails, a floor is a structural assembly. It is a system of physics and chemistry. When you walk across a room and feel that sickening dip, or hear the click-clack of a laminate plank flexing into a void, you are not just experiencing a cosmetic flaw. You are witnessing the failure of a subfloor to meet the rigid standards of the National Wood Flooring Association. I have seen it a thousand times. A beautiful five inch wide white oak plank gets ruined because someone thought they could just slap it down over a subfloor that looked flat enough to the naked eye. It never is. The subfloor is the foundation of your interior life, and if it is sloping, your finish material is on a one way trip to the landfill.
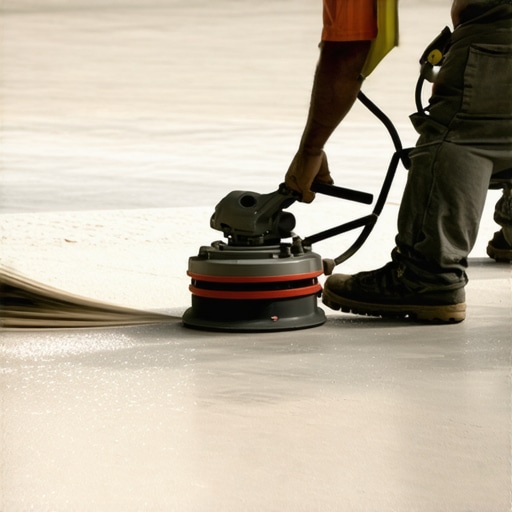
Most guys skip the leveling compound. They think the underlayment will hide the dip. It won’t. I spent three days grinding concrete on a job last month just so the floor wouldn’t click like a castanet because the previous contractor thought a bit of foam padding would bridge a half inch gap. It did not work. This guide focuses on the technical reality of the subfloor. We are not going to talk about paint colors or rug placement. We are going to talk about deflection, moisture vapor transmission, and the tensile strength of Portland cement based compounds. This is how you fix a sloping floor without the nuclear option of a total demolition.
The physics of the sag
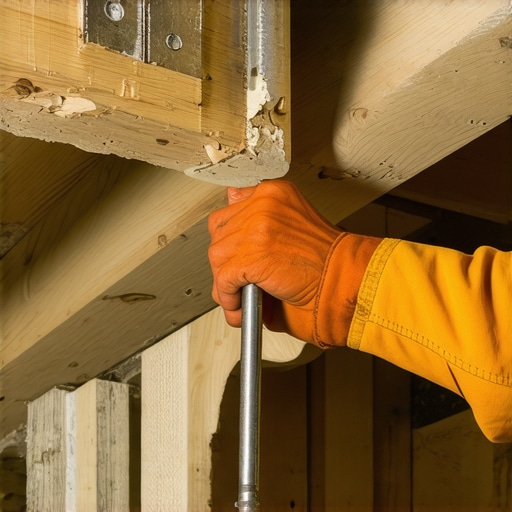
A sloping subfloor is typically the result of joist deflection, foundation settlement, or the slow degradation of the wood fibers under constant load. Fixing this requires an understanding of the L/360 standard, which dictates that the maximum allowable deflection for a floor under a live load must not exceed the span length divided by 360. If your joists are 16 feet long, they should not bend more than a half inch. When they do, the subfloor follows. This creates a valley. Over time, the cellulose in the plywood or the oriented strand board (OSB) begins to compress. This is not just a dip, it is a structural warning sign. Before you even think about floor leveling, you must determine if the slope is active or static. If the house is still settling, any fix you apply will crack within six months as the structure continues its slow march toward the center of the earth. We use laser levels, not bubble levels, to map the topography. A bubble level is for hanging pictures. A self leveling rotary laser is for floors.
“A floor is only as good as the subfloor beneath it; deflection is the enemy of every joint.” – Master Flooring Axiom
The chemistry of the subfloor is just as important as the physics. If you are working over concrete, you are dealing with a porous sponge that is constantly exhaling moisture. This moisture vapor can reach levels of five to ten pounds per 1,000 square feet over 24 hours. If you trap that moisture under a leveling compound without a proper primer, the osmotic pressure will blow the leveler right off the slab. You will be left with a crunchy, sandy mess under your new luxury vinyl plank. We look for a moisture vapor emission rate (MVER) that matches the manufacturer specifications, often requiring an epoxy moisture mitigator if the slab is fresh or sits on a high water table.
The diagnosis of the slope without the sledgehammer
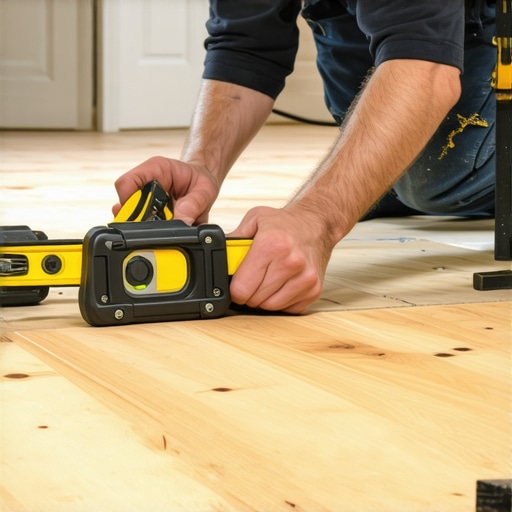
The first step in any subfloor repair is the mapping of the high and low points using a straightedge and a digital moisture meter. You need a ten foot straightedge. Anything shorter will bridge gaps and hide the true extent of the problem. You slide the straightedge across the room and mark the floor with a wax pencil. You are looking for variations greater than 1/8 inch over a ten foot radius. This is the industry standard for most hard surface installations. If you ignore this, the locking mechanisms on your laminate or engineered wood will experience cyclic loading. Every time you step on the floor, the tongue and groove will rub together. Eventually, they will snap. This is why floors squeak. It is the sound of a floor dying. [IMAGE_PLACEHOLDER]
Self leveler chemistry
Self leveling underlayment or SLU is a sophisticated blend of Portland cement, high strength polymers, and graded aggregates designed to flow like water and cure to a flat surface. Many rookies think they can just pour this stuff out and walk away. That is a mistake that costs thousands. You must first treat the subfloor with a dedicated primer. This primer serves two functions. It stops the subfloor from sucking the water out of the leveler too fast, which prevents the leveler from hydrating properly. Second, it creates a chemical bridge between the old substrate and the new pour. If you are pouring over wood, you need a lath or a fiber reinforced leveler. Wood expands and contracts at a different rate than cement. Without reinforcement, the leveler will crack as the house breathes with the seasons.
| Method | Best For | Max Depth | Cure Time |
|---|---|---|---|
| Portland Patch | Small Dips | 1/2 inch | 2 Hours |
| Self Leveling Underlayment | Large Rooms | 2-5 inches | 24 Hours |
| Plywood Shims | Deep Sags | Unlimited | Instant |
| Concrete Grinding | High Spots | 1/4 inch | Instant |
The plywood shim method
When the slope is too aggressive for liquid levelers, the most effective structural fix is the installation of tapered plywood shims and a second layer of underlayment. This is the mechanical approach. You find the deepest part of the sag and you cut strips of plywood or luan to fill that void. You are essentially building a ramp. This is common in older homes where the center beam has settled. You cannot just pile up leveler until it is three inches thick because the weight would exceed the load bearing capacity of the joists. A gallon of leveler weighs about 12 pounds. If you pour twenty bags, you just added 1,000 pounds of dead load to your floor. That is like parking a motorcycle in the middle of your living room. Plywood is lighter and provides a better bond for the next layer of subfloor. You glue and screw every six inches on center. If you skip the glue, you are just building a giant drum that will bang every time someone walks by.
The role of the moisture barrier
A moisture barrier is a non-negotiable component of any floor leveling project because it protects the integrity of the patch and the finish floor. For a basement shower or a laundry room, the moisture levels are extreme. You are not just fighting the vapor from the ground, you are fighting the humidity from the air. We use a 6 mil poly film or a liquid applied membrane. In the world of showers and floor leveling, the TCNA Handbook is the law. If you are leveling a floor for a tile install, you must ensure the deflection is even more restricted, often L/720 for natural stone. Stone does not bend. If your subfloor has a 1/4 inch slope, your marble will crack. It is a mathematical certainty.
“Substrate preparation is the most critical and often overlooked phase of any ceramic tile or stone installation.” – TCNA Handbook
The guide for laminate and carpet
Laminate requires a flatter floor than carpet because the rigid planks cannot conform to the contours of a sloping subfloor. Carpet is the most forgiving. You can have a 1/2 inch dip and the padding will mask it. But laminate is different. If the floor is not flat to within 3/16 inch over 10 feet, the laminate will feel bouncy. This bounce is actually the plank air-cushioning. To fix this for laminate, we often use a dry leveling method involving roofing felt or asphalt shingles for minor dips. It is an old school trick that works. Shingles are stable, they do not compress, and they are exactly the right thickness to feather out a small slope. For carpet install, the main concern with a sloping floor is the tack strip. If the floor slopes at the perimeter, the tack strip won’t hold the tension of the stretch, leading to wrinkles within a year.
- Vacuum the substrate to remove all gypsum dust and drywall mud.
- Seal all seams with a rapid setting patch to prevent leveler from leaking into the basement.
- Apply the manufacturer specific primer using a soft bristle broom.
- Mix the leveler with a high torque drill and a specialized paddle to avoid entraining air.
- Use a gauge rake to set the depth and a spiked roller to release bubbles.
When the shower drain dictates the height
The most complex leveling jobs occur in bathrooms where the slope of the floor must integrate with the fixed height of a shower drain and the curb. This is where the math gets hard. You have to calculate the pitch. If you are doing a curbless shower, the entire bathroom floor becomes part of the drainage system. You have to slope the floor away from the door and toward the drain at a rate of 1/4 inch per foot. This is not a slope you fix, it is a slope you create. We use a mud bed of dry pack mortar, a mix of one part Portland cement to four parts sand. It is damp, like a snowball, and you tamp it down until it is as hard as a rock. This is the only way to get a perfect, consistent slope for tile. Any shortcut here results in standing water and mold. I have ripped out dozens of showers because the installer thought they could just use more thin-set to create the slope. Thin-set is an adhesive, not a structural filler. It shrinks as it dries. If you use it too thick, it will pull the tile and crack the grout lines.
You must treat the floor as a performance surface. Whether you are prepping for a carpet install or a high end laminate, the slope is your enemy. You map it, you prime it, and you fill it with the right material for the job. Do not trust the marketing on the bag that says no prep required. Prep is the job. Everything else is just the victory lap. If you take the time to understand the chemistry of your leveler and the physics of your joists, you will have a floor that lasts for fifty years. If you don’t, you will be calling me in six months to rip it all out and start over. And I am not cheap.