The Pin-Hole Test for Your Shower’s Final Waterproofing Layer
Most guys skip the leveling compound. They think the underlayment will hide the dip. It won’t. I spent three days grinding concrete on a job last month just so the floor wouldn’t click like a castanet. That job was for a high-end client in a coastal condo. They wanted wide-plank laminate that looked like driftwood. If I hadn’t spent those seventy-two hours covered in grey dust with a diamond-cup wheel, that floor would have failed within a season. This same logic applies to your shower. If you ignore the microscopic details of the subfloor and the waterproofing membrane, you are just waiting for a disaster. People think a shower is about the tile. It is not. A shower is a managed hydraulic system. If you fail the pin-hole test on your liquid-applied membrane, you are essentially inviting water to rot your studs and grow a mold colony that will eventually eat your drywall from the inside out.
The invisible gaps that flood a home
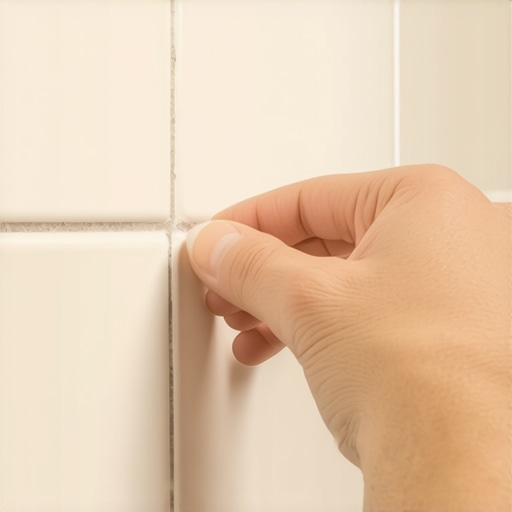
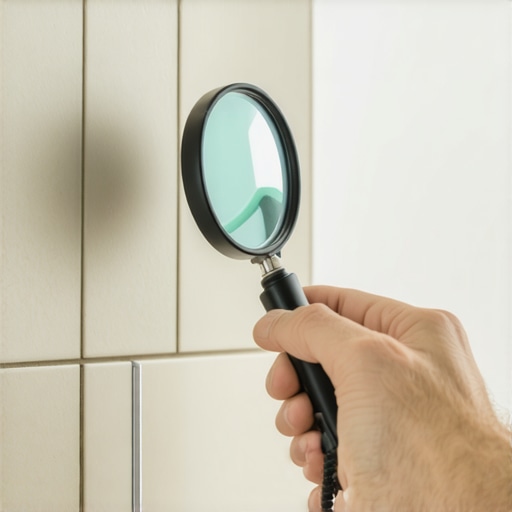
A pin-hole test is a visual and tactile inspection of a liquid-applied waterproofing membrane to ensure no microscopic voids exist in the cured layer. These voids occur when air bubbles trapped in the wet product pop during the curing process. If these tiny openings remain unsealed, capillary action will draw water through the membrane and into the substrate. This is why a second coat is never optional. You must apply the second pass in a perpendicular direction to the first to bridge any gaps. I have seen entire walk-in showers ripped out because an installer thought one thick coat was enough. It never is. The chemistry of these membranes relies on a continuous, monolithic film. Any break in that film is a failure point. We are talking about thicknesses measured in mils. If the manufacturer specifies thirty mils dry thickness, and you have a pin-hole, your thickness at that specific coordinate is zero. That is a leak waiting to happen.
“A floor is only as good as the subfloor beneath it; deflection is the enemy of every joint.” – Master Flooring Axiom
Why a flat floor matters more than the finish
Floor leveling is the process of creating a subfloor surface that deviates by no more than one eighth of an inch over a ten foot radius. Whether you are installing carpet, laminate, or tile in a wet area, the flatness of the substrate determines the lifespan of the wear layer. In a shower, a floor that is not perfectly sloped toward the drain creates standing water. In a living room, a dip in the concrete makes laminate click and eventually snaps the locking mechanisms. I have walked into homes where the carpet felt like walking on a sponge because the installer didn’t bother to patch the gouges in the plywood. They thought the padding would hide it. Padding is for comfort, not for structural correction. You need to understand the physics of compression. When you step on a floor over a void, the material flexes. That flex creates friction. Friction creates heat and wear. Eventually, your expensive floor becomes junk because you saved fifty dollars on a bag of self-leveling underlayment.
The chemistry of liquid membranes and bond breakers
Liquid waterproofing membranes use advanced polymers to create a flexible barrier that can bridge small cracks in the substrate. These products are usually styrene-butadiene rubber or acrylic-based. When they dry, they form a rubbery skin. However, you cannot just slap this stuff on and call it a day. You have to consider the bond breaker at the change of plane. Wherever a wall meets a floor, the house will move. This is known as differential movement. If you do not reinforce those corners with fabric tape or a specific sealant, the membrane will stretch until it snaps. I always tell my apprentices that the corner is where the battle is won or lost. You look for the pin-holes there first. If the wet film thickness was too thin at the corner, the curing process will pull the material tight and open up a gap. You need to use a wet film thickness gauge. Do not guess. If you guess, you lose.
Comparing subfloor preparation and waterproofing materials
| Material Type | Primary Application | Drying Time | Key Vulnerability |
|---|---|---|---|
| Liquid Membrane | Showers and Wet Rooms | 2 to 4 Hours | Pin-holes from air bubbles |
| Sheet Membrane | Steam Showers | Instant | Seam failure |
| Self-Leveling Underlayment | Laminate and Tile Subfloors | 12 to 24 Hours | Over-watering the mix |
| Cement Backer Board | General Tile Support | N/A | Moisture wicking at edges |
A checklist for the perfect installation
- Vacuum the entire subfloor to remove every grain of dust before applying primer.
- Check for floor levelness using a ten foot straight edge and a set of feeler gauges.
- Apply the first coat of waterproofing membrane in a vertical motion.
- Wait for the first coat to change color or become tack-free before the second pass.
- Apply the second coat in a horizontal motion to ensure full coverage of previous voids.
- Perform a flood test by plugging the drain and filling the pan for twenty-four hours.
- Inspect the perimeter for any signs of wicking or dampness in the adjacent rooms.
Regional moisture challenges from Florida to Phoenix
Humidity and regional climate dictate the specific type of moisture barrier and acclimation time required for any flooring installation. In the swampy humidity of Houston, solid wood is a death wish for most residential projects. The moisture in the air will cause the wood to expand so forcefully it can literally pop the nails out of the subfloor. You need engineered cores in those environments. Conversely, the dry heat of Phoenix will shrink your baseboards until they show a gap large enough to hide a pencil. If you are doing a shower in a high-humidity area, the drying time for your waterproofing will be doubled. Do not trust the bucket instructions. The bucket was tested in a climate-controlled lab at seventy degrees and fifty percent humidity. If you are in a humid zone, your pin-hole test is even more vital because the slow cure time allows more air to escape the substrate and form bubbles. You have to be patient. If you rush the tile onto a wet membrane, you trap that moisture. That leads to a chemical bond failure where the thin-set never actually hardens.
“Moisture is the single greatest cause of flooring failure in North America; ignore the meter at your own peril.” – NWFA Technical Guidelines
The myth of the waterproof floor
Waterproof flooring ratings usually refer to the material itself and not the installation as a whole system. This is the biggest lie in the industry today. Salesmen tell people that LVP is waterproof. While the plastic plank won’t rot, the water that seeps through the joints will grow black mold on the subfloor. If you have a flood, you still have to rip up that waterproof floor to dry the house out. In a shower, the tile is the dress, but the membrane is the skin. If the skin has a hole, the dress doesn’t matter. I have seen laminate floors buckled because the homeowner used a steam mop. A steam mop is a localized pressure cooker. It forces vapor into the seams where the glue is weakest. You have to treat every surface as if it is vulnerable. Level the floor. Seal the joints. Test for pin-holes. If you do those three things, your floor will outlive your mortgage. If you don’t, I will be the guy you call in five years to tear it all out and start over. And trust me, I am expensive when I have to fix someone else’s laziness.