How to Level a Plywood Subfloor Without Creating a Weight Problem
I spent three days grinding concrete on a job last month just so the floor wouldn’t click like a castanet. Most guys skip the leveling compound because they think the underlayment will hide the dip. It won’t. When you are dealing with a plywood subfloor, especially on a second story or an older home with thin joists, you cannot just dump six hundred pounds of standard self-leveling cement and hope the house holds up. You will bow the joists and crack the ceiling downstairs. My hands still smell like oak dust and the WD-40 I use to keep my saw blades from gumming up. I have seen too many installers treat a structural subfloor like a suggestion. A floor is a performance surface. If the substrate is garbage, the finish will be garbage. You have to understand the physics of deflection and the chemistry of lightweight polymers if you want a flat floor that does not collapse the floor system below it.
The physics of the sag
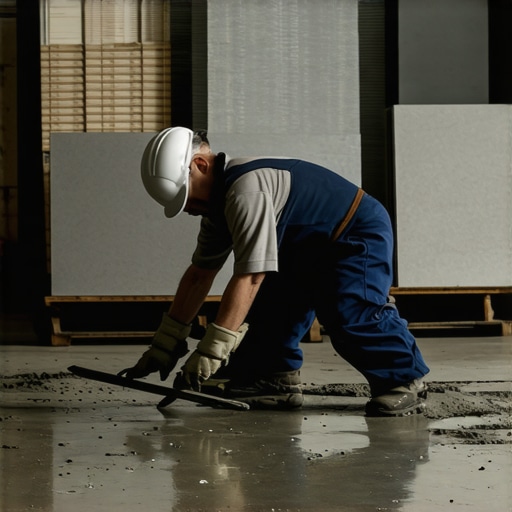
Plywood subfloor leveling requires understanding joist deflection and weight distribution to prevent structural failure. Traditional self-leveling compounds add significant dead load, often exceeding the L/360 deflection limit required for ceramic tile or heavy laminate. Using lightweight cementitious patches and strategic plywood shimming reduces the overall weight burden on the structure effectively. When a floor dips in the center, it is usually because the joists have taken a permanent set or the span is too long for the lumber grade. Standard self-leveling compound weighs approximately 12 to 15 pounds per square foot at an inch of thickness. If you have a large room with a deep trough, you are adding hundreds of pounds of dead load. This weight can actually increase the sag over time, creating a vicious cycle of structural failure. You must measure the joist span and check the species of wood. Douglas Fir behaves differently than Southern Yellow Pine under a load. If the joists are spaced at 24 inches on center instead of 16, your margin for error is almost zero. Heavy compounds will cause the plywood to ‘belly’ between the joists, which leads to the dreaded clicking sound when you walk across your new laminate or LVP. The goal is flatness, not necessarily levelness. Gravity does not care if your floor is perfectly level as long as it is flat enough for the locking mechanisms to stay engaged. [image_placeholder]
“A floor is only as good as the subfloor beneath it; deflection is the enemy of every joint.” – Master Flooring Axiom
Why your subfloor is lying to you
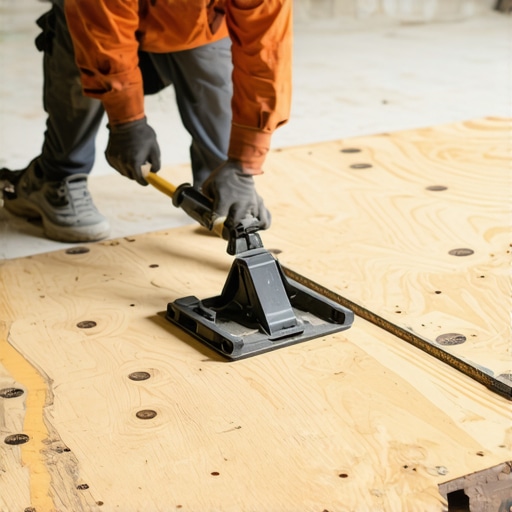
Subfloor flatness is often obscured by old adhesive residues and uneven plywood seams that create false readings on a spirit level. You must strip the surface to the raw wood and use a ten-foot straightedge to identify high and low spots before applying any leveling materials. Identifying these voids prevents the over-application of heavy compounds. Most homeowners think their floor is level because the carpet hides the sins. When you pull that carpet up, you see the truth. You see the gaps in the OSB and the places where the builder missed the joist with the framing nailer. If you find a hump, do not reach for the leveler. Reach for the belt sander. Removing a quarter inch of a high spot is much better for the structural integrity than adding a quarter inch of weight to the rest of the room. I have seen guys try to level a floor over old ‘cutback’ adhesive from the seventies. The leveler will pop right off. You need to understand the molecular bond between the wood fibers and the primer. If the wood is sealed with old wax or grease, the polymer-modified patch will not bite. It will just sit there like a scab until someone walks on it and it cracks. You have to be meticulous. Vacuum every speck of dust. If you leave sawdust in the low spots, the leveler will bond to the dust, not the floor. It is a recipe for a hollow-sounding floor that will drive you crazy every time you step on it.
Lightweight solutions for heavy problems
Lightweight leveling solutions involve using polymer-modified feathering compounds and wood-based shims to build up low areas without adding excessive mass. These materials use hollow microspheres or high-strength resins to provide structural support at a fraction of the weight of traditional Portland cement. This approach preserves the lifespan of the underlying joists and subfloor panels. Instead of pouring a lake of cement, I use a technique called shimming and skinning. If I have a half-inch dip, I will cut shingles or thin strips of luan and staple them into the trough. Then I skin over the top with a high-quality feathering patch. This uses the structural strength of the wood to take up volume. The feathering compound only fills the tiny transitions. This keeps the weight down to a few pounds rather than a few hundred. You also need to look at the chemistry of the patch. Modern compounds like those made by Ardex or Mapei use sophisticated polymers that allow them to be applied as thin as a feather’s edge without cracking. This is essential for laminate and carpet install projects where a smooth transition is required. If you are prepping for showers or wet areas, you must ensure the patch is water-resistant. Even though it is under the tile, moisture can migrate through the grout and soften a cheap gypsum-based leveler. Use a cement-based patch with a high latex content for those areas. It costs more but it will not turn to mush in five years.
| Leveling Method | Weight per Sq Ft (1/2″ Depth) | Ideal Use Case | Cure Time |
|---|---|---|---|
| Standard SLC | 6.5 lbs | Concrete slabs only | 24 hours |
| Lightweight SLC | 3.8 lbs | Second story plywood | 12 hours |
| Feathering Patch | 1.2 lbs | Minor dips and seams | 30 minutes |
| Plywood Shimming | 0.5 lbs | Deep structural sags | Immediate |
The 1/8 inch that ruins everything
Laminate and luxury vinyl plank installations require a subfloor flatness tolerance of 1/8 inch over a ten-foot radius to prevent joint failure. Exceeding this tolerance puts extreme stress on the click-lock mechanisms, leading to separation and noisy boards. Precision in the subfloor preparation phase is the only way to guarantee a long-lasting floating floor installation. I have seen $10,000 floors ruined because the guy thought 1/4 inch was ‘close enough.’ It isn’t. When you walk on a floating floor over a dip, the boards flex. That flex acts like a lever on the plastic locking tongue. Eventually, the tongue snaps. Now you have a gap. Dirt gets in the gap. The floor starts to grind. You can avoid all of this by being a stickler for the straightedge. For a carpet install, you have more leeway, but a dip will still be felt under the pad. It feels like a hole in the ground. If you are doing a shower floor leveling job, the tolerances are even tighter because you have to maintain the slope to the drain. You cannot have any birdbaths where water can sit. The physics of water tension means that if the floor isn’t perfectly pitched, the water will just hang out under the tile and grow mold. It is about discipline. You have to be willing to spend more time on the prep than on the actual flooring. That is what separates a master from a handyman.
- Check for moisture in the plywood using a pin-type meter before starting.
- Screw down any squeaky areas into the joists with 2.5-inch deck screws.
- Apply a high-solids primer to the wood to ensure a chemical bond.
- Map the room with a laser level to find the absolute high and low points.
- Mix the leveling compound with a high-shear mixer to avoid air bubbles.
Showers and the moisture barrier paradox
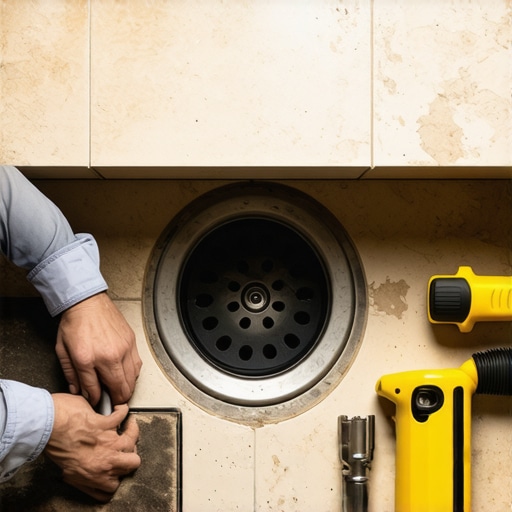
Shower subfloor preparation on plywood requires a robust waterproof membrane and a reinforced mortar bed to handle the dynamic loads of water and foot traffic. Plywood is prone to expansion and contraction, which can shear the bond of thin-set mortar if a proper decoupling mat is not used. Ensuring a stable, level base is the first step in preventing leaks. In a bathroom, you are fighting the natural movement of wood. Wood breathes. Tile does not. When the humidity in the shower rises, the plywood wants to swell. If you have glued your tile directly to a leveled plywood subfloor, the tile will pop. You need a decoupling layer. This layer allows the wood to move independently of the tile. But for that layer to work, the floor beneath it must be flat. If there is a hump, the decoupling mat will have a void under it. That void will act like a drum. Every time you step on it, the tile will flex. Eventually, the grout will crack. I always use a fiber-reinforced leveler in bathrooms. The fibers act like rebar in concrete, giving the material enough tensile strength to resist the movement of the plywood. It is a structural engineering challenge. You are building a rigid stone box inside a moving wooden house. If you do not get the physics right, the house will win every time.
“Deflection at the joist level is the silent killer of modern open-concept floor plans.” – TCNA Technical Bulletin
The transition between different types of flooring is where most people fail. They use bulky T-moldings that look like speed bumps. If you level your subfloor correctly, you can achieve a zero-threshold transition. This means the laminate or tile sits perfectly flush with the carpet in the next room. It requires calculating the thickness of the underlayment, the floor itself, and the leveling compound down to the millimeter. It is tedious. It is frustrating. But when you see that clean line, it is worth the effort. Do not be the guy who thinks a thick pad will hide a bad subfloor. The pad will compress, and the flaw will reveal itself. Treat the plywood like the foundation of a skyscraper. If the foundation is off by an inch at the bottom, the building is off by a mile at the top. Get your straightedge out and do the work. Your knees and your clients will thank you years later when the floor is still silent and solid. It is about pride in the craft and respect for the materials. If you cannot do it right, do not do it at all.