How to Fix a Chip in Your Laminate Flooring Surface
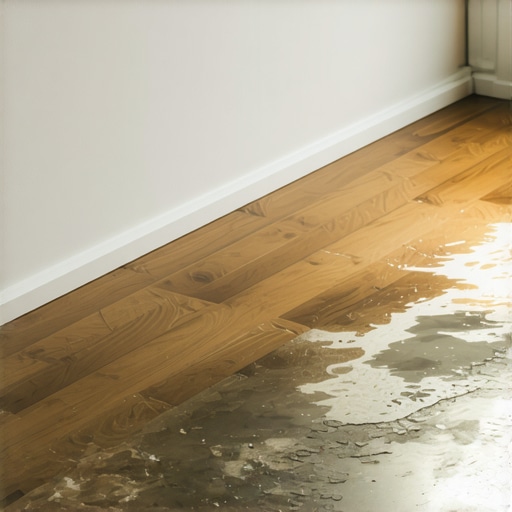
It happens in a split second. A heavy cast iron skillet falls. The edge hits the floor. Now you have a crater in your kitchen floor. Most people think it is just a cosmetic issue. They are wrong. That chip exposes the high density fiberboard core. That core is thirsty. It will suck up moisture from your mop. Then the edges swell. Soon your entire floor is ruined. I have seen it a thousand times. A small chip turns into a five hundred dollar repair because the homeowner waited too long. You need to understand that laminate is a sandwich of technology. It is not wood. It is a photographic layer protected by melamine resin and aluminum oxide particles. When that shell is breached, the structural integrity of the plank is at risk. I spent three days grinding concrete on a job last month just so the floor wouldn’t click like a castanet. If that subfloor is not flat, the laminate planks flex. When they flex, the tension on the surface increases. A small impact that should have bounced off suddenly becomes a deep chip because the board had no support beneath it. Most guys skip the leveling compound. They think the underlayment will hide the dip. It won’t. You need to fix the surface but you also need to understand why it failed. A chip is a window into the health of your floor.
The anatomy of a laminate failure
Repairing a chip in laminate flooring involves filling the void with a hard-setting polymer or wax to seal the core. This process requires cleaning the damage, selecting a matching pigment, and applying a medium that mimics the refractive index of the original wear layer. The goal is to prevent moisture ingress into the HDF core. High density fiberboard is essentially compressed wood fibers and resin. It has a high specific gravity but is incredibly hydro-scopic. If you live in a high humidity area like the Pacific Northwest, an open chip is a ticking time bomb. The air moisture alone can cause the core to expand. This expansion leads to peaking at the seams. You are not just fixing a hole. You are sealing a vacuum. The wear layer of your laminate is likely rated by the AC (Abrasion Class) system. Most residential floors are AC3. This means they can handle a lot of foot traffic but they are brittle. When an object hits the surface, the aluminum oxide layer shatters like glass. This is the molecular reality of your floor. It is hard but it lacks the ductility of solid oak.
“A floor is only as good as the subfloor beneath it; deflection is the enemy of every joint.” – Master Flooring Axiom
The chemistry of synthetic repair polymers
Acrylic resins and hard waxes are the primary materials used to restore the surface of a damaged laminate plank. These materials are chosen for their ability to bond to the non-porous melamine surface while providing enough flexibility to move with the floor. Many cheap kits use soft putties. These are a mistake. Soft putties never truly cure. They attract dirt. Within six months, your repair will look like a black smudge. You want a hard wax that requires a heating element to melt. This wax is a high-performance thermoplastic. It flows into the microscopic crevices of the fiberboard core and creates a mechanical lock. Once it cools, it reaches a shore hardness that matches the surrounding floor. This is vital for areas near showers or kitchens where water is frequent. If the bond is not water-tight, the repair is useless. I prefer using a two-part epoxy for larger chips. The chemical reaction between the resin and the hardener creates a cross-linked polymer chain. This is the same logic used in industrial coatings. It is tough. It is permanent. It does not shrink as it dries.
| Method | Material | Cure Time | Durability |
|---|---|---|---|
| Wax Fill | Hard Paraffin | 5 mins | Moderate |
| Acrylic Resin | Synthetic Polymer | 2 hours | High |
| Epoxy Putty | Two-part Resin | 24 hours | Maximum |
The ghost in the expansion gap
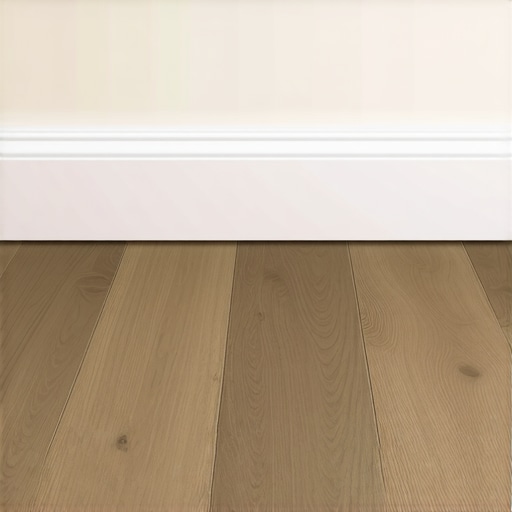
Proper expansion gaps at the perimeter of the room reduce the internal stress that makes laminate prone to chipping. When a floor is installed too tight against the walls, it has nowhere to go when the temperature changes. This creates internal tension. A floor under tension is much easier to chip than a floor that is relaxed. I have walked into houses where the floor was buckled so bad it felt like a trampoline. The installer forgot the half inch gap. If your floor is tight, every footstep adds stress to the click-lock joints and the surface. When you drop a key or a can of soup, the surface fails because it is already stretched to its limit. You should check your baseboards. If you see the floor pushing hard against the wood, you have a problem. You might need to pull the trim and trim the edges of the laminate with a multitool. This is the difference between a floor that lasts thirty years and one that fails in five. People focus on the chip. They should focus on the physics of the entire room. A floor is a living system that breathes with the seasons.
The professional toolkit for surface restoration
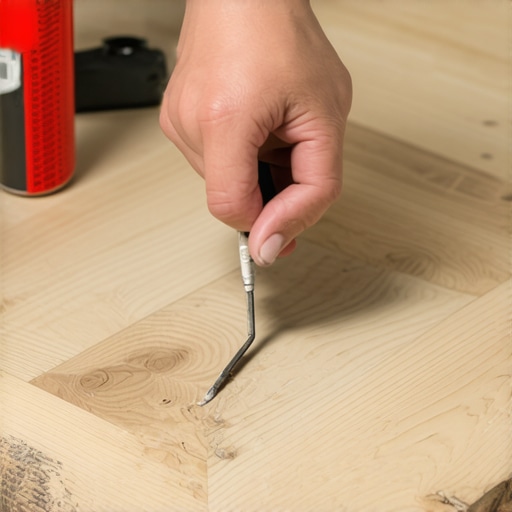
A successful repair requires a specific set of tools including a battery-operated melting iron and various pigment bars. You cannot just use a crayon. You need a way to blend colors to match the natural grain of the wood pattern. Laminate is not a solid color. It is a mix of ochre, burnt sienna, and deep browns. To make a chip disappear, you must layer the colors. Start with the lightest base color. Fill the crater halfway. Then use a darker shade to draw in the grain lines. This is where the artistry meets the engineering. Use a plastic scraper to level the filler while it is still warm. Never use a metal putty knife. Metal will scratch the surrounding AC3 or AC4 wear layer. I have seen guys ruin a whole plank trying to fix a tiny nick because they were sloppy with a steel blade. Patience is the key. You are building a microscopic structure. If you rush the cure time, the material will pull away from the edges. This creates a hairline crack where water can enter. Use a 2000 grit sandpaper for the final polish if the finish is high gloss. For matte floors, leave the filler as it is after scraping.
- Clean the debris from the crater using a vacuum and alcohol.
- Tape off the surrounding planks to prevent overspread of resin.
- Mix the pigment to match the darkest grain of the wood pattern.
- Overfill the void slightly to account for material shrinkage during cooling.
- Level the patch with a specialized plastic scraper tool.
“The National Wood Flooring Association emphasizes that moisture testing is the most critical step in any installation or repair process.” – NWFA Technical Manual
Why your subfloor is lying to you
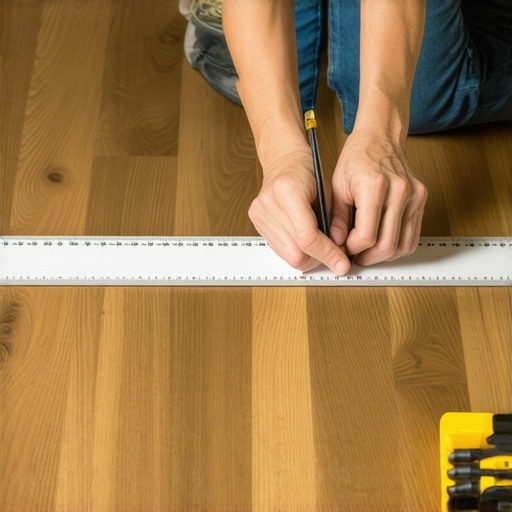
Subfloor flatness is the most overlooked factor in surface damage and plank failure. If there is a dip in the subfloor, the laminate plank acts like a bridge. Every time someone walks over that bridge, the plank bends. This bending motion causes the melamine surface to fatigue. Eventually, the wear layer can crack or flake off even without a direct impact. This is called delamination. Most homeowners blame the product. They say the laminate is cheap. In reality, the installer was lazy. A floor needs to be flat within three sixteenths of an inch over a ten foot radius. If it is not, you are building on a foundation of sand. I use a straight edge on every job. If I find a low spot, I fill it with a high-compression strength leveling compound. This prevents the vertical movement that kills floors. If you are fixing chips frequently, you should check for floor leveling issues. You might have a subfloor that is moving. If you have carpet install experience, you know that padding hides a lot of sins. Laminate is the opposite. It reveals every lump and every dip in the concrete or plywood beneath it.
The final word on structural integrity
Repairing a chip is about more than aesthetics. It is a technical necessity to preserve the HDF core from environmental degradation. By using hard waxes or epoxy resins, you recreate the protective barrier that the manufacturer intended. This prevents the dreaded swelling and peaking that forces a total floor replacement. Always address the root cause, whether it is a lack of expansion gaps or an uneven subfloor. A floor that is properly supported and sealed will withstand the rigors of daily life. Do not let a small chip become a structural failure. Take the time to do the repair correctly with the right chemical bonds and the right tools. Your floor is the foundation of your home. Treat it with the respect that structural engineering demands. The sawdust under my nails is a reminder that every eighth of an inch matters. Precision is not an option. It is the requirement for a floor that lasts a lifetime. Avoid the temptation of quick fixes and cheap fillers. Invest in a professional repair kit and follow the physics of the material. Your laminate will thank you for it.