Why Your Floor Leveler is Drying Way Too Fast to Work With
Most guys skip the leveling compound. They think the underlayment will hide the dip. It won’t. I spent three days grinding concrete on a job last month just so the floor wouldn’t click like a castanet. I walked into a site where a previous installer tried to pour self-leveling underlayment (SLU) over a dry, unprimed slab in the middle of a July heatwave. The product seized up within three minutes. It looked like a topographic map of the Rockies rather than a flat surface for a laminate floor. He was trying to push it around with a rake, but the chemical reaction had already locked the material in place. This is the nightmare of floor leveling. You have a bucket of liquid that wants to become a rock, and it is in a race against physics that you are currently losing. My job is to explain why your clock is ticking faster than it should and how to stop the flash-set from ruining your laminate or carpet install. I have seen thousand-dollar pours turn into scrap because the installer ignored the microscopic reality of the slab.
The thirsty concrete slab is stealing your moisture
Concrete slabs are porous structures that act like a giant, hard sponge. When you pour a wet mixture onto a dry slab, the concrete immediately begins to wick away the water through capillary action. This moisture loss prevents the leveler from flowing and causes it to seize or flash-set. This process happens at the molecular level where the surface tension of the water is broken by the dry pores of the substrate. If you do not seal those pores, you are basically pouring your expensive leveler into a vacuum. The water is the lubricant for the polymers and the cementitious particles. Once that water leaves the mix and enters the slab, the leveler loses its ability to self-smooth. You end up with a chunky, unworkable mess that won’t even cover the screw heads in your subfloor. This is why priming is the most important step in the entire process. A good acrylic primer fills those pores and creates a film that keeps the water in the leveler so it can do its job.
“A floor is only as good as the subfloor beneath it; deflection is the enemy of every joint.” – Master Flooring Axiom
Why the bucket temperature matters more than you think
Ambient temperature and the temperature of your mixing water dictate the speed of the exothermic reaction within the floor leveler. High temperatures provide kinetic energy that accelerates the chemical bonding of the cement and polymers. Cold water slows the reaction and extends your working time significantly. If your bags of leveler have been sitting in the back of a van in the sun, they are already primed for a fast reaction. The powder itself holds heat. When you add water to that warm powder, you are essentially starting the engine at full throttle. I always tell people to keep their bags in a conditioned space for 24 hours before the pour. If you are working in a room without climate control, you are fighting a losing battle. Even the friction from a high-RPM drill can add enough heat to the mix to shave five minutes off your open time. Use a low-speed mixer. Keep your water bucket in the shade. If the room is over 80 degrees, you might as well be pouring liquid gold onto the sun.
The hidden cost of skipping the primer
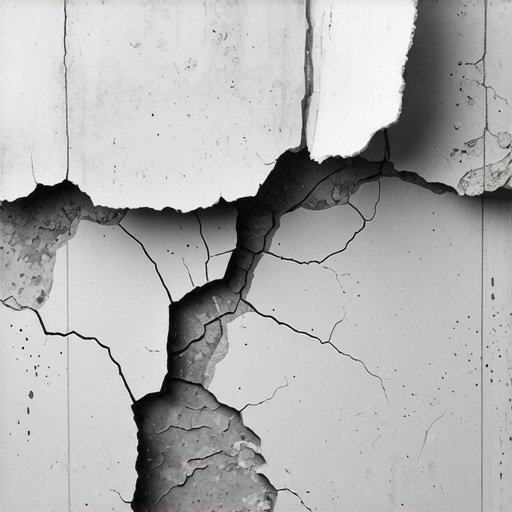
Primer acts as a bridge between the old slab and the new leveler while preventing air bubbles from rising through the mix. Without a proper primer coat, the leveler will not bond and the air escaping the slab will create pinholes. This ruins the structural integrity of the floor. I have seen guys try to use water as a primer. That is a mistake that leads to delamination. A proper primer is usually a concentrated acrylic or epoxy that creates a tacky surface. It regulates the absorption rate of the subfloor. In showers where the substrate might be a mix of wood and cement board, the primer ensures that both materials react to the leveler at the same speed. Without it, the leveler might dry at different rates across the room, leading to stress cracks. Those cracks will eventually telescope through your finished floor, whether it is tile or vinyl. You cannot skip the primer and expect a professional result. It is the chemical glue that holds your project together.
| Factor | Impact on Open Time | Mitigation Strategy |
|---|---|---|
| Ambient Temperature | High temp speeds reaction | Use air conditioning or night pours |
| Water Temperature | Warm water accelerates set | Use ice-chilled water for mixing |
| Slab Porosity | High porosity steals water | Apply a double coat of acrylic primer |
| Mixing Speed | High RPM creates friction heat | Keep drill speed under 650 RPM |
The physics of the mixing ratio disaster
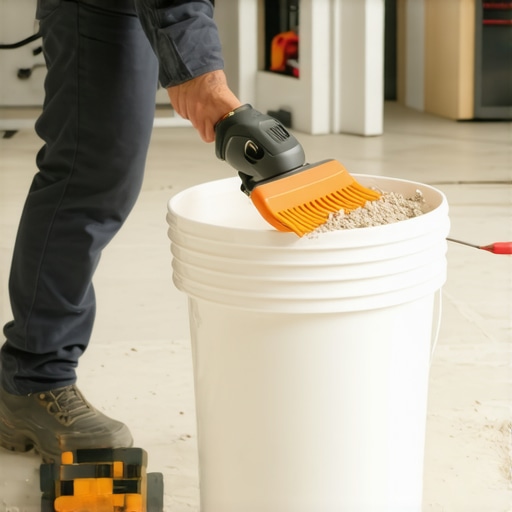
Floor leveler chemistry is a precise balance of water and solids designed to achieve a specific flow rate and compressive strength. Adding too much water leads to separation and a weak surface while too little water causes immediate hardening. Precision is the only way to succeed. I see people eyeballing the water in a five-gallon bucket and it makes my skin crawl. Use a dedicated measuring container. Even a half-pint of extra water can ruin the polymer chains that give the leveler its strength. Conversely, if you are short on water, the mix will be too thick to find its own level. It will sit there in a pile like pancake batter. You need the leveler to be thin enough to move but thick enough to hold its weight. When you are prepping for a carpet install, any ridge in the leveler will show through the pad over time. If the mix is too thick because you didn’t measure right, you are going to spend the next day with a floor grinder. Measure twice, pour once.
The ghost in the expansion gap
Every floor leveler pour must respect the perimeter of the room to allow for the natural movement of the structure. If you pour leveler tight against the walls, the floor has nowhere to go when the house settles or the humidity shifts. This leads to buckling. I always use foam expansion strips around the edges. This creates a buffer. It also prevents the leveler from seeping into the wall cavities or under the baseboards. Think of the floor as a living thing. It expands and contracts. If you lock it in with a rigid pour, something has to give. Usually, it is the bond between the leveler and the slab. This is especially true when preparing for laminate which needs a floating environment. If your leveler is drying too fast, you might be tempted to skip the perimeter prep to save time. Do not do it. The prep is 90 percent of the job. The pour is just the final act. If the prep is wrong, the play is a tragedy.
- Check the subfloor for any holes or gaps and seal them with caulk.
- Vacuum the floor three times to ensure there is no dust or debris.
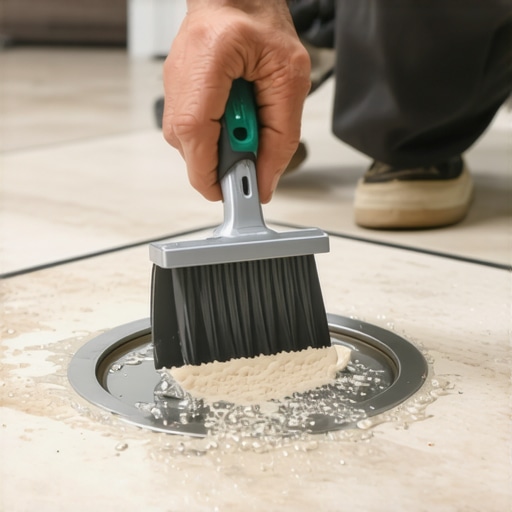
- Apply the primer with a soft-bristled broom to work it into the pores.
- Always have a second person mixing while you are pouring.
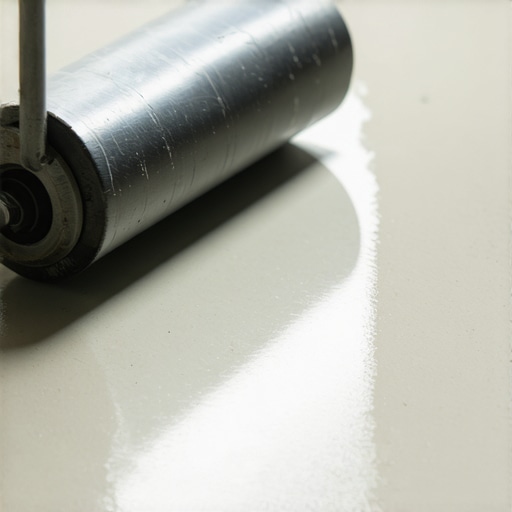
- Use a spiked roller to release air bubbles immediately after spreading.
Why your subfloor is lying to you
Subfloors often look flat to the naked eye but harbor deep dips and high spots that can ruin a flooring installation. Using a 10-foot straight edge is the only way to reveal the truth about your surface. Do not trust your eyes. I once worked a job where the homeowner swore the slab was perfect. I put a level on it and found a half-inch dip right in the middle of the kitchen. If I had laid the laminate over that, the joints would have snapped within a month. The leveler is meant to fix these issues, but it only works if you know where the problems are. You need to map the floor before you start mixing. Mark the low spots with a pencil. This tells you where you need more material and where you can go thin. If you start pouring blindly and the leveler starts to set, you won’t have time to find those low spots. You will be chasing the wet edge until it turns to stone under your feet.
“Standard subfloor flatness requires a deviation of no more than 3/16 inch in 10 feet for most installations.” – TCNA Handbook Guidelines
The 1/8 inch that ruins everything
Small mistakes in floor leveling height can create massive problems with door clearances and appliance fitment. A floor that is just 1/8 inch too high can prevent a dishwasher from sliding into its nook or a door from swinging. You have to account for the thickness of the floor leveler plus the thickness of the final floor covering. People often forget that the leveler adds height. They pour it thick to get it flat, but then they realize they can’t put their trim back on. If your leveler is drying too fast, you lose the ability to feather the edges. You end up with a hard shoulder that is difficult to sand down. I always look at the transitions to other rooms first. If you are going from a leveled room to a carpeted hallway, you need a smooth ramp, not a cliff. Speed is your enemy when you are trying to manage these fine details. Slow down the dry time by using cold water and you will have the time to get the height exactly right.
Specific challenges of showers and wet areas
Leveling a shower floor requires a different mindset than a living room because you are often dealing with slopes and waterproofing membranes. Traditional self-leveler is not always the right choice for a shower pan where you need a pitch. However, for the area outside the shower, you need a perfectly flat surface for the tile. Any slope toward the bathroom door is a recipe for standing water. I use a high-flow leveler for these areas but I am extra careful about the moisture barrier. If the leveler gets under the waterproofing, it can lift the whole system. You also have to consider the weight. A thick pour of leveler adds significant weight to the floor joists. If you are in an old house, you need to make sure the structure can handle the load. I’ve seen floors sag under the weight of too much leveling compound. It is a structural engineering challenge, not a decorative one.
The danger of overworking the material
Once floor leveler begins its initial set, any attempt to move it will break the forming crystalline bonds and result in a weak, crumbly surface. You must leave the material alone once it starts to lose its gloss. I see guys with flat trowels trying to smooth out a ridge twenty minutes after the pour. They are making it worse. You are essentially tearing the molecular structure of the cement. If you missed a spot, let it dry, sand it, and do a second thin pour. Trying to fix it while it is semi-solid is a disaster. The leveler needs to be left in peace to undergo its chemical transformation. This is why having a plan and enough help is vital. You should be pouring in a continuous wet edge, moving from one side of the room to the other without stopping. If you stop to take a phone call, that edge will dry, and the next bucket won’t blend. You will have a cold joint that will eventually crack.