Why Your Kitchen Laminate is Bubbling Near the Dishwasher
The physics of a bubbling kitchen floor and why your dishwasher is the culprit
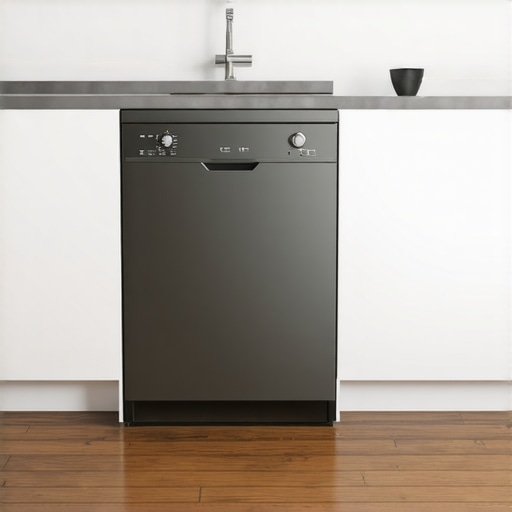
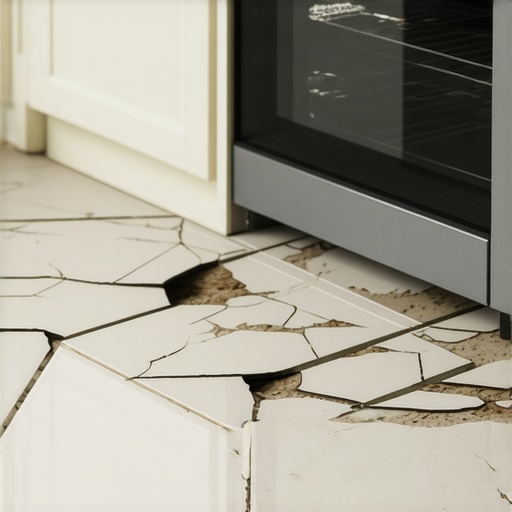
Homeowners always ask why their waterproof vinyl or laminate is buckling. Usually, it is because they locked it under a heavy kitchen island or a dishwasher, killing the floor ability to breathe. I once walked into a house where a beautiful grey oak laminate had erupted like a mountain range right in front of the sink. The owner was convinced it was a bad batch of material. I pulled up the dishwasher kickplate and found the real criminal. The installer had run the laminate all the way back under the dishwasher feet and then screwed the unit down through the floor. When that dishwasher hit the drying cycle, the heat caused the planks to expand. Because they were pinned, they had nowhere to go but up. It is a four thousand dollar mistake I see every month. If you are seeing bubbles, your floor is gasping for space.
The molecular failure of high density fiberboard cores
Bubbling laminate flooring near appliances is caused by hydrostatic pressure and capillary action within the HDF core of the planks. When moisture vapor or liquid spills penetrate the locking joints, the compressed wood fibers swell and lose structural integrity, leading to permanent deformation and delamination of the wear layer. You have to understand that laminate is not plastic. It is wood flour and resin. When water hits that core, the fibers act like a sponge. They expand at a different rate than the decorative overlay. This creates a shear force that rips the glue bond apart.
“A floor is only as good as the subfloor beneath it; deflection is the enemy of every joint.” – Master Flooring Axiom
Why steam is the silent killer of kitchen joints
Dishwasher steam cycles release high-temperature humidity that settles into floor seams and triggers moisture-induced expansion. The thermal energy softens the adhesives and allows water molecules to bypass wax-coated edges, resulting in edge peaking and bubbling near the base of the appliance. Most people think a dishwasher just sits there. It does not. It is a heat engine. The air under that machine gets hot and wet. That moisture is forced down into the floor under pressure. If you did not use a moisture barrier or if you did not seal your edges with 100 percent silicone, that floor is doomed from the first load of dishes. It is pure chemistry. The heat makes the wood expand while the moisture makes it swell. It is a double hit that no laminate can survive long term without proper isolation.
The expansion gap myth and the dead load problem
Peripheral expansion gaps are required by NWFA standards to allow floating floors to move during seasonal humidity shifts. When a heavy dishwasher or kitchen cabinet is placed on top of the laminate, it creates a dead load that pins the floor, leading to buckling when the planks try to expand against the fixed point. Most guys skip the leveling compound. They think the underlayment will hide the dip. It won’t. I spent three days grinding concrete on a job last month just so the floor wouldn’t click like a castanet. If the floor is not level, the dishwasher sits at an angle. This puts uneven pressure on the planks. When the floor tries to move, it hits those dishwasher legs like a brick wall. The result is a bubble three feet away that you cannot explain. But the cause is right there under the appliance. It is the 1/8 inch that ruins everything.
The role of subfloor leveling in kitchen longevity
Floor leveling is the most critical step in a kitchen laminate installation to prevent puddle formation and joint stress. A subfloor that deviates more than 3/16 inch over 10 feet will cause mechanical failure in the click-lock system, allowing water infiltration at the high points and moisture collection in the low spots. I have seen guys try to use carpet install techniques on laminate. They think they can just stretch it or force it. You can’t. If your concrete has a dip near the dishwasher, water from a small leak will find that hole. It will sit there. It will rot your planks from the bottom up while the top looks fine. By the time you see the bubble, the damage was done months ago. You need a flat surface. Not just a smooth one. A flat one.
“Moisture is the single greatest cause of flooring failure in residential environments.” – NWFA Technical Manual
Comparing kitchen flooring durability and moisture resistance
Laminate flooring requires meticulous sealing compared to luxury vinyl plank or ceramic tile in wet environments. Selecting the right wear layer and core material is essential for commercial grade durability in a residential kitchen setting. Not all floors are equal. Some are built for the desert, others for the coast. In a high humidity area like Houston, a cheap laminate is a death wish. You need something with a high resin content and a tight locking profile. Look at the table below to see how these materials stack up when the dishwasher starts leaking.
| Material Type | Moisture Resistance | Thermal Expansion | Repair Difficulty |
|---|---|---|---|
| Laminate (HDF) | Low to Moderate | Moderate | High |
| LVP (SPC Core) | Extreme | High | Moderate |
| Ceramic Tile | Maximum | Low | Low |
| Solid Hardwood | Very Low | Very High | Moderate |
The 10 point checklist for a survivor kitchen floor
Professional installation involves a multi-step verification process to ensure the laminate floor can withstand kitchen moisture. This includes calibrating expansion zones, sealing perimeter edges, and testing subfloor moisture content before a single plank is laid down. Do not skip these steps. If you do, you are just waiting for a bubble to appear. Follow this list to the letter.
- Verify subfloor flatness within 1/8 inch over 10 feet.
- Test concrete moisture using an ASTM F1869 calcium chloride test.
- Install a 6 mil polyethylene vapor barrier on all concrete slabs.
- Leave a minimum 3/8 inch expansion gap at all vertical obstructions.
- Do not install cabinets or heavy islands on top of the floating floor.
- Apply a manufacturer approved joint sealant to planks near the sink.
- Fill the expansion gap around the dishwasher with 100 percent silicone.
- Check the dishwasher drain hose for micro leaks every six months.
- Ensure the dishwasher leveling legs are not piercing the laminate.
- Maintain indoor humidity between 35 and 55 percent year round.
The chemistry of the expansion gap seal
Silicone caulking in the perimeter gaps creates a flexible waterproof barrier that allows for plank movement while preventing surface spills from reaching the HDF core. This is the information gain most DIY guides miss. They tell you to leave a gap, but they do not tell you how to protect it. If you leave the gap open near a dishwasher, steam goes right into it. You have to fill that gap with something that stretches. Pure silicone is the answer. It bonds to the edge but stays soft. When the floor grows, the silicone squishes. When the floor shrinks, it pulls. But it never lets the water in. It is the only way to save a kitchen floor from the inevitable spill. If you see a bubble, check your perimeter. Chances are it is bone dry and exposed to the air.
Why showers and bathrooms require a different approach
Wet area flooring like those in bathrooms or near showers requires a total moisture lockout strategy that goes beyond standard kitchen laminate practices. While you can get away with some things in a kitchen, a bathroom will kill a laminate floor in weeks. The ambient humidity from a shower is constant. It is not just the floor you have to worry about; it is the walls and the baseboards. If you are dead set on laminate in a bathroom, you better be a master of the sealant gun. Every single joint needs to be treated. Every perimeter gap must be a fortress. Otherwise, you should be looking at tile or SPC vinyl. Laminate is a great product, but it has limits. It is wood. Never forget that. Wood and water are ancient enemies.