How to Fix a Spongy Spot in Your Laminate Without a Full Teardown
The ghost in the expansion gap
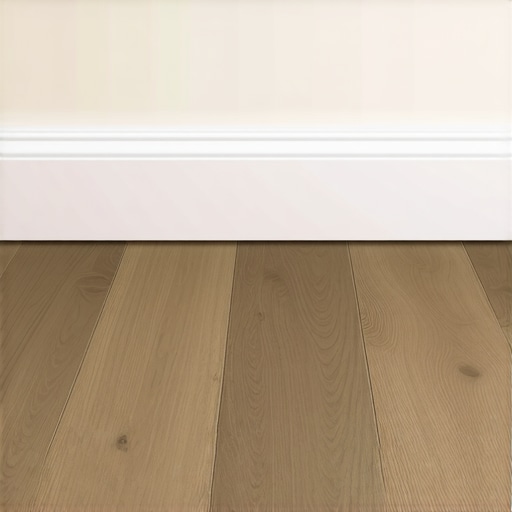
Laminate flooring requires a specific expansion gap around the perimeter of the room to prevent buckling and peaking. If the floor planks are tight against the drywall or baseboards, the floating floor cannot move. This lack of clearance causes the planks to lift, creating a spongy feel. I spent three days grinding concrete on a job last month just so the floor wouldn’t click like a castanet. Most guys skip the leveling compound. They think the underlayment will hide the dip. It won’t. I have seen thousand dollar floors ruined by a quarter inch dip that the installer thought was negotiable. Most guys skip the leveling compound. They think the underlayment will hide the dip. It won’t. I spent three days grinding concrete on a job last month just so the floor wouldn’t click like a castanet. That is the reality of professional flooring. You cannot hide a bad subfloor under a cheap pad and expect a miracle. A spongy floor is a warning sign. It is the sound of your locking mechanisms slowly dying under the weight of your footsteps. When you feel that bounce, you are witnessing the physical deflection of high-density fiberboard (HDF) being pushed beyond its structural limits. The core of a laminate plank is basically sawdust and resin under immense pressure. It has a high compressive strength but very little flexural strength. When it bends, the urea-formaldehyde bonds begin to micro-fracture. If you do not stop that movement, the tongue will eventually snap off, and you will be left with a gap that no amount of tapping will close.
Why your subfloor is lying to you
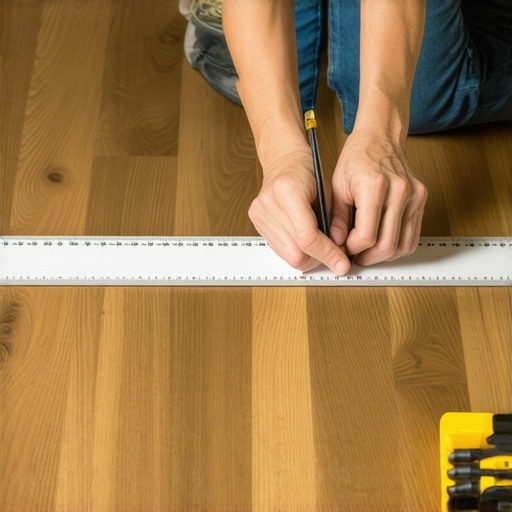
A subfloor that appears flat might actually have deviations that exceed the 3/16 inch over 10 feet standard. These low spots or valleys in the concrete slab or plywood sheeting create voids beneath the laminate underlayment. The planks then flex into these hollow spaces when walked upon. You have to understand the physics of the subfloor. A concrete slab might look flat to the naked eye, but it is a landscape of peaks and valleys. In the Great Lakes region, especially in places like Chicago or Milwaukee, frost heaves and soil settlement can shift a foundation just enough to create a 1/4 inch dip in the middle of a living room. That dip is a death sentence for a floating floor. You walk over it, the floor goes down, the air is pushed out, and you hear that annoying ‘thump’ or ‘click.’ The underlayment, whether it is basic foam or high-end rubber, only has so much compression. It is not designed to bridge a canyon. If the subfloor is out of spec, the floor will be spongy. It is that simple. Professionals use a 10-foot straightedge to find these dips before the first plank is laid. If you missed that step, you are now playing catch-up with a surgical repair.
“A floor is only as good as the subfloor beneath it; deflection is the enemy of every joint.” – Master Flooring Axiom
The 1/8 inch rule for flat surfaces
Industry standards from the NWFA dictate that a subfloor must be flat within 1/8 inch over a 6-foot radius. If your foundation has dips or humps, the click-lock joints will experience deflection. This mechanical stress leads to joint separation and audible clicking as the locking profile rubs against itself. To understand why this matters, we have to look at the chemistry of the laminate core. Most quality laminate has a density of around 850 to 950 kg/m3. This density provides the weight and ‘thunk’ that mimics real wood. However, that density makes the plank rigid. When the plank is forced to span a void, the weight of a 180-pound human generates massive shear force on the 3-millimeter wide tongue. Over thousands of cycles, the resin holding the wood fibers together fatigues. This is why a spongy spot usually starts quiet and gets noisier over time. You are literally grinding the joint into dust every time you walk to the kitchen. Checking for flatness is the most ignored step in a DIY install, and it is the primary reason for warranty denials. No manufacturer will cover a failed joint if the subfloor was out of spec.
| Material Type | Max Deflection Tolerance | Density (kg/m3) | Acclimation Time |
|---|---|---|---|
| Solid Hardwood | 1/16 inch | 700-900 | 7-14 Days |
| Engineered Wood | 1/8 inch | 650-800 | 3-5 Days |
| Laminate (HDF) | 1/8 inch | 850-950 | 2-3 Days |
| LVP (Rigid Core) | 3/16 inch | 1200-1800 | 0-2 Days |
Surgical repairs with floor leveling foam
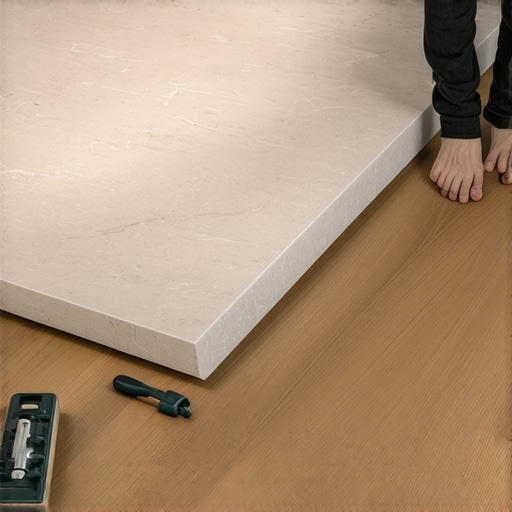
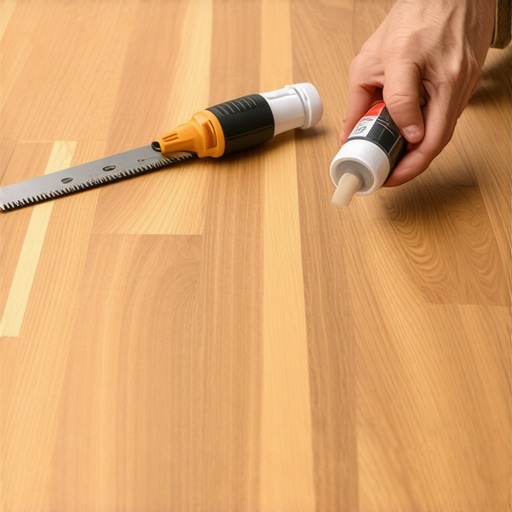
Fixing a spongy spot without a teardown involves injecting a high-density structural foam or floor adhesive through a small drill hole. This filler material occupies the void between the laminate and the subfloor. Once cured, the foam provides a solid foundation that stops vertical movement and joint flex. This is not the stuff you buy at the hardware store to seal gaps around windows. That stuff is soft. You need a specialized, low-expansion, high-density polyurethane resin. The process is precise. You find the deepest part of the sponge. You drill a tiny hole, usually 1/16 or 1/8 inch, right through the laminate. You then inject the resin. This resin travels into the void, following the path of least resistance, and expands to fill the cavity. You must weigh the floor down immediately with 50-pound sandbags or weights. If you do not, the foam will lift the entire floor, creating a hump that is worse than the dip. This is a one-shot deal. Once that resin cures, it is as hard as the subfloor itself. It provides the support the installer forgot to put there in the first place.
The impact of moisture on core stability
**High-density fiberboard** cores are sensitive to **relative humidity** and **vapor emissions** from the **subfloor**. When **moisture levels** rise, the **laminate planks** expand in **width** and **length**. If the **vapor barrier** is compromised, the **core material** may soften, worsening the **spongy sensation** and compromising **structural integrity**. Think about the molecular structure of the wood fibers. They are like tiny sponges. In a high-humidity environment like a basement in Ohio or a laundry room in Florida, those fibers pull moisture from the air and the slab. This causes the edges of the planks to swell, a condition we call ‘peaking.’ When the edges peak, the center of the plank loses contact with the subfloor. Now you have a bridge. Every step you take flexes that bridge. If you are fixing a spongy spot in a humid area, you must check the moisture content of the subfloor first. Injecting foam into a floor that is moving due to moisture is a waste of time. The floor will just continue to move as the seasons change. You have to stabilize the environment before you can stabilize the structure.
- Identify the exact center of the deflection using a level.
- Drill a 1/16 inch pilot hole in a dark grain line or knot to hide the repair.
- Clear the dust with a vacuum to ensure the adhesive bonds to the subfloor.
- Inject the structural resin slowly to prevent over-expansion.
- Place heavy weights over the repair site for at least 24 hours.
- Fill the pilot hole with a matching color-putty or wax stick.
How to avoid the click and clack
Preventing **noisy floors** and **sponginess** requires using the correct **underlayment density**. A **pad** that is too thick or too soft allows for excessive **compression**. Professionals recommend a **high-density rubber** or **cork underlayment** to provide **support** while maintaining **sound dampening** and **moisture resistance**. People often think a thicker pad will make the floor feel ‘softer’ or ‘more expensive.’ That is a lie. A thick, squishy pad is the enemy of a click-lock joint. Every time you step, the pad compresses, the joint flexes, and the plastic or HDF tongue rubs against the groove. This creates friction and heat. Over time, that friction wears down the locking profile. You want an underlayment with a high ‘compression strength.’ Look for something rated at 20 psi or higher. This ensures the floor stays stable. If you are installing over concrete, a 6-mil poly film is mandatory. It stops the vapor from the slab from reaching the HDF core. Without it, your floor is a ticking time bomb of swelling and sponginess. Do it right the first time, or you will be back with a drill and a syringe of resin in two years.
“Deflection in a floating floor is usually a symptom of a skipped step in the subfloor preparation phase.” – NWFA Technical Guidelines
The final technical summary for any spongy laminate repair is that you are treating the symptom of a subfloor failure. While injection can save you from a full teardown, it requires a steady hand and the right chemistry. You are not just filling a hole; you are re-engineering the support structure of your living space. If you have a massive area of sponginess, over 4 square feet, the injection method may not be enough. In those cases, you have to bite the bullet, pull up the trim, and address the subfloor with a self-leveling compound. It is a lot of work, but a floor is a permanent part of your home structure. Treat it like the engineering challenge it is, and it will last twenty years. Treat it like a rug, and you will be replacing it in five.