How to repair a deep scratch in a hardwood floor
The hardwood heartbreak and why moisture matters
Fixing a deep scratch in hardwood requires a mechanical understanding of wood fiber tension and the molecular properties of the finish. I once walked into a house where a $15,000 wide-plank walnut floor was cupping so bad it looked like a potato chip because the installer didn’t check the crawlspace humidity. That job taught me that wood is a living material that never stops moving. When a heavy piece of furniture or a dropped tool creates a deep gouge, it does more than just ruin the aesthetics. It ruptures the cellular structure of the timber and creates a pathway for moisture to infiltrate the core of the plank. This is not a task for a simple wax crayon if you want the repair to last through seasonal expansion and contraction cycles. You have to treat the repair like a structural surgery. If you ignore the underlying physics of the wood, your patch will eventually pop out or discolor as the floor breathes. Smelling the sharp scent of oak dust and WD-40 is part of the job when you are doing it right. You are not just painting over a problem, you are restoring the integrity of a performance surface. Most homeowners think they can just smudge some putty in there and be done. They forget that the subfloor determines how much that plank flexes. If there is a dip in the subfloor, every time someone walks near that scratch, the wood fibers will rub together, grinding your repair into dust.
The ghost in the expansion gap
Every deep scratch repair must begin with a precision moisture assessment and a cleanup of the damaged wood fibers. A gouge is an open wound. If you leave splinters or loose lignin at the bottom of the trench, your filler will never bond. You need to use a sharp chisel or a vacuum with a HEPA filter to clear the site. I always tell guys that the 1/8 inch that ruins everything is the gap you leave between the repair and the healthy wood. If your filler is too brittle, it will crack during the humid months when the floor expands. If it is too soft, it will sink into the grain. We are looking for a chemical bond that mimics the natural density of the wood species. White oak has a Janka hardness of 1360 while maple sits at 1450. You cannot use the same filler for both and expect the same results underfoot. Unlike a quick carpet install where you can hide the subfloor defects under a pad, hardwood shows everything. If you are working near showers or bathrooms, you also have to worry about the localized humidity spikes that cause the grain to raise, which can push a fresh repair right out of the hole.
“A floor is only as good as the subfloor beneath it; deflection is the enemy of every joint.” – Master Flooring Axiom
Molecular bonds in wood filler chemistry
The chemical composition of your filler dictates whether the repair will survive the next five years of foot traffic. Solvent-based fillers are superior for deep gouges because they shrink less and dry harder than water-based alternatives. However, they are harder to stain. You have to understand cross-linking. When the resin in the filler dries, it forms a lattice that must grip the jagged edges of the wood fiber. If the scratch is smooth, you may actually need to roughen the interior of the gouge with 80-grit sandpaper to give the filler some mechanical tooth. I have spent decades watching guys try to skip this. They think the adhesive will just stick. It won’t. Wood is oily, especially species like teak or walnut. You have to wipe the area with mineral spirits to remove surface oils before you even think about applying a patch. If the floor was improperly installed without correct floor leveling, the constant movement will fatigue the repair. This is why professional installers are so obsessed with the subfloor. A stable floor is a repairable floor. If the floor is bouncing, no filler in the world will stay put.
| Wood Species | Janka Hardness | Repair Complexity | Recommended Filler Type |
|---|---|---|---|
| White Oak | 1360 | Medium | Solvent-Based Wood Paste |
| Hard Maple | 1450 | High | Epoxy-Resin Component |
| Black Walnut | 1010 | Low | Shellac Stick or Soft Putty |
| Brazilian Cherry | 2350 | Very High | High-Density Hardwax |
The 1/8 inch that ruins everything
Precision sanding and grain replication are the final steps that separate a master repair from a DIY mess. Once the filler is cured, which usually takes 24 hours in a climate-controlled room, you must sand it flush. But you cannot just sand the spot. You have to follow the direction of the grain or you will create cross-grain scratches that show up like a sore thumb once the polyurethane hits it. I use a block to ensure the surface is perfectly flat. If you feel a hump, even the thickness of a piece of paper, you aren’t done. The light hitting the floor from a window will reveal that hump from twenty feet away. After sanding, you need to replicate the grain lines. I use a fine-tipped artist brush and thinned-out pigments. You aren’t just matching the color, you are matching the movement of the wood. Many people compare this to laminate repair, but laminate is essentially plastic. Hardwood repair is an art form. You are rebuilding the organic structure of the timber. If the scratch is deep enough to reach the subfloor, you might even need to inject a bit of adhesive beneath the plank first to stop any clicking. Most guys skip the leveling compound and think the underlayment will hide the dip. It won’t. I spent three days grinding concrete on a job last month just so the floor wouldn’t click like a castanet. That same logic applies to your scratch. If the board moves, the repair fails.
- Inspect the scratch for moisture or rot using a pin-less meter.
- Clear loose fibers with a precision dental pick or vacuum.
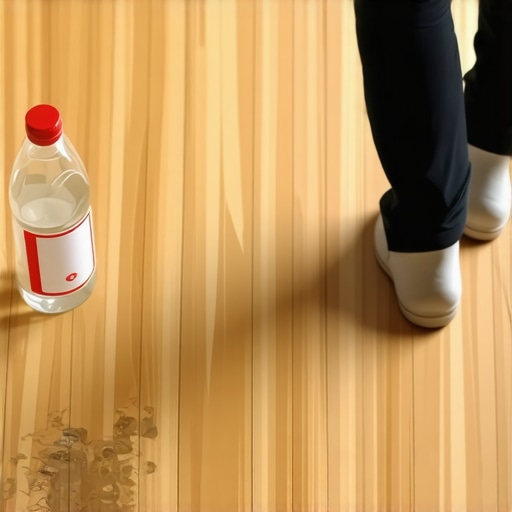
- De-wax the area using a high-quality solvent or mineral spirits.
- Select a filler that matches the Janka hardness of the specific wood species.
- Apply filler in thin layers to minimize shrinking and air pockets.
- Level the repair with a sanding block using 120-grit then 220-grit paper.
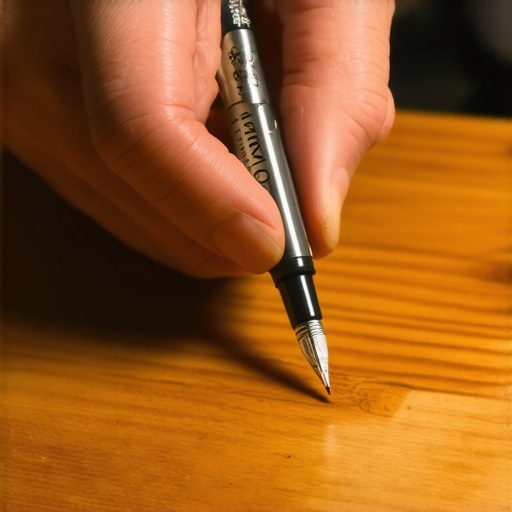
- Re-draw wood grain using technical pens or fine brushes.
- Seal with a compatible polyurethane or oil finish to match the sheen.
Why your subfloor is lying to you
Structural stability is the silent partner in every successful hardwood repair project. If you find that scratches are appearing frequently in one area, it is rarely the wood’s fault. It is usually a subfloor issue where the planks are rubbing against one another due to lack of support. This creates friction and heat which can actually make the wood finish more brittle. While most people want the thickest underlayment, too much cushion actually causes the locking mechanisms on LVP or the tongue-and-groove on hardwood to snap under pressure. This excessive vertical movement is the primary cause of repair failure. You have to ensure the floor is solid before you fix the surface. If you are in a high-humidity area like Houston, you must account for the fact that the wood will swell. A repair done in the winter might be crushed by the expanding wood in the summer. Always leave a tiny bit of room for the wood to breathe. Professionals know that the environment dictates the method. You can’t fight physics. You can only work with it. [IMAGE_PLACEHOLDER]