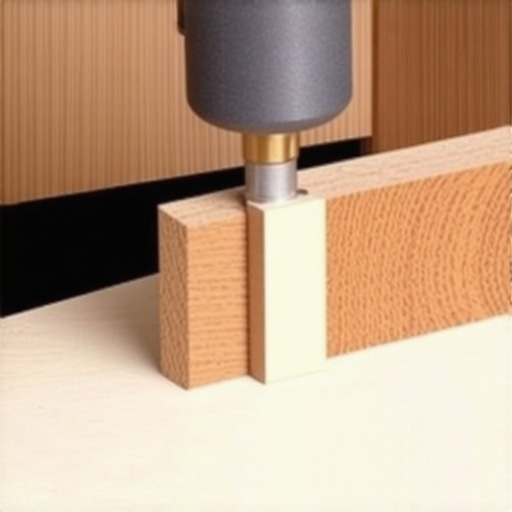
The ‘Tapping Block’ secret for tight laminate joints
I spent three days grinding concrete on a job last month just so the floor wouldn’t click like a castanet. Most guys skip the leveling compound. They think the underlayment will hide the dip. It won’t. I have seen thousand dollar floors ruined by a half inch dip in the subfloor that the installer ignored. You can feel it when you walk. The planks give. The locking mechanism groans. Eventually, the tongue snaps and you are left with a gap you can fit a nickel into. That is why I do not talk about aesthetics until I have talked about the substrate. If your subfloor is not flat to within 3/16 of an inch over 10 feet, your laminate is a ticking time bomb. I do not care how pretty the pattern is. I do not care if it was on sale at the big box warehouse. If the foundation is garbage, the finish is garbage. That is the reality of the trade. I have spent 25 years on my knees fixing the mistakes of people who thought a hammer and a prayer were enough to set a floating floor. It is not about strength. It is about precision. It is about the chemistry of the high density fiberboard and the physics of the locking profile.
The physics of the kinetic strike
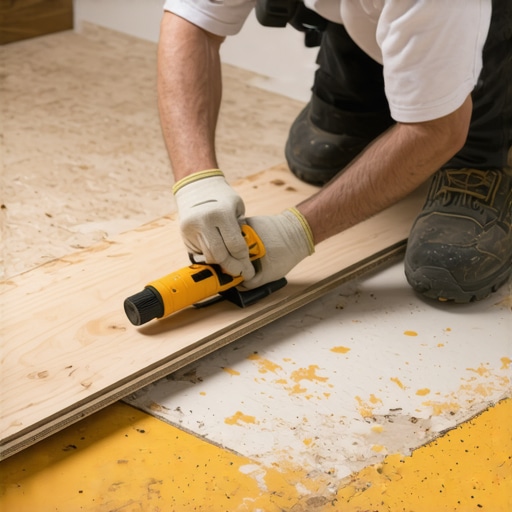
The tapping block secret for tight laminate joints involves using the block to distribute force evenly across the tongue profile without damaging the fiberboard edge. By angling the strike slightly downward, you ensure the locking mechanism seats fully into the groove, preventing microscopic gaps that lead to moisture intrusion. This is not about swinging a heavy mallet like a blacksmith. It is about controlled vibration. When you strike a tapping block, the energy travels through the plastic or wood and hits the tongue of the laminate plank. If that energy is not perfectly horizontal, the plank will lift. If it lifts even a millimeter, the lock will not engage. It will just sit on top of the previous row. You might think it is tight, but three months of foot traffic will prove you wrong. The plank will shift. The gap will open. Then the homeowner calls me to fix it. I tell them the same thing every time. The tool is only as good as the hand holding it. You need a block that matches the specific profile of your floor. A universal block is a myth that leads to crushed tongues and broken hearts.
Why your subfloor is lying to you
Floor leveling is the most overlooked phase of a laminate installation because it requires patience and a 10 foot straightedge to identify low spots. You must use a high quality self leveling compound to fill dips and a diamond cup wheel to grind down high spots in concrete. I have seen guys try to use extra layers of underlayment to fill a hole. That is a recipe for disaster. Underlayment is designed for sound dampening and moisture protection, not structural support. When you put a rigid laminate plank over a soft pocket of air or foam, you create a lever. Every time someone walks over that spot, the plank bends. The click lock system is made of compressed wood fibers and resin. It has a breaking point. If you exceed the deflection limit, which is usually L/360 of the span, the joint will fail. I use a laser level to map the entire room before I even open a box of flooring. If I see a dip, I fix it. If the homeowner does not want to pay for the leveling, I do not do the job. My reputation is worth more than a quick paycheck from a floor that is going to fail in a year.
“A floor is only as good as the subfloor beneath it; deflection is the enemy of every joint.” – Master Flooring Axiom
The ghost in the expansion gap
Expansion gaps are required around the entire perimeter of a laminate floor to allow for the natural movement caused by changes in temperature and humidity. A minimum of 3/8 inch is standard, though larger rooms may require up to 1/2 inch to prevent the floor from buckling. People hate the look of the gap. They want the floor to go right up to the drywall. That is how you get a floor that peaks in the middle of the room like a mountain range. Laminate is basically a giant sponge made of wood dust. When the humidity goes up, it grows. If it has nowhere to go, it pushes against the wall. The wall does not move, so the floor does. It lifts off the subfloor. I have seen floors rise three inches off the ground because some DIY guy decided to skip the spacers. You cover the gap with baseboard or quarter round. You do not nail the trim into the floor. You nail it into the wall. The floor must be free to slide underneath. It is a floating floor. Let it float.
| Material Property | Laminate HDF Core | Solid White Oak | Luxury Vinyl (SPC) |
|---|---|---|---|
| Janka Hardness | N/A (Wear Layer Dependent) | 1360 lbf | N/A (Rigid Core) |
| Expansion Rate | High | Moderate | Low |
| Moisture Resistance | Moderate to Low | Low | High |
| Acclimation Time | 48-72 Hours | 7-14 Days | 0-24 Hours |
Why carpet install logic fails with laminate
Carpet installation relies on tension and stretching while laminate relies on compression and structural integrity. You cannot approach a hard surface floor with the same mindset as a soft surface because the physics of force distribution are diametrically opposed. I see old carpet guys try to transition to laminate and they struggle. They want to pull things tight. With laminate, you have to push things together. You are building a puzzle, not stretching a skin. In a carpet install, the subfloor can have minor imperfections because the padding hides a lot of sins. In a laminate job, every grain of sand on that subfloor will feel like a boulder under the planks. I have seen installers leave tack strip remnants under a laminate floor. Within a week, the homeowner can hear the crunching sound. It is a nightmare. You have to be a surgeon. You need a vacuum, not a broom. Cleanliness is the difference between a professional result and a hack job.
The moisture trap under your feet
Moisture barriers are essential when installing laminate over concrete slabs to prevent vapor emissions from degrading the HDF core. A 6 mil polyethylene film is the industry standard for preventing the wood fibers from absorbing ground moisture and swelling. Concrete looks dry. It is never dry. It is a porous material that breathes moisture from the earth. If you do not trap that moisture, it goes straight into the bottom of your laminate. The edges will start to curl. This is called cupping. Once a laminate floor cups, it is garbage. You cannot sand it. You cannot fix it. You throw it in the dumpster and start over. I always perform a calcium chloride test or use a pinless moisture meter before I lay a single plank. If the RH levels are too high, we wait. We put fans on it. We use a dehumidifier. We do not rush the science. The chemistry of the adhesive resins in the board will break down if they stay damp. It is a slow death for a floor.
- Check subfloor levelness with a 10 foot straightedge.
- Acclimate the planks in the room for at least 48 hours.
- Install a 6 mil moisture barrier on all concrete surfaces.
- Use a tapping block specifically designed for the floor profile.
- Maintain a 3/8 inch expansion gap at all vertical obstructions.
- Vacuum the subfloor three times before laying underlayment.
The 1/8 inch that ruins everything
The locking mechanism of a laminate floor is engineered to a tolerance of less than a millimeter which means any debris in the groove will prevent a flush fit. You must inspect every plank for manufacturing defects or shipping damage before attempting to click it into place. I keep a stiff brush in my back pocket. Every time I pick up a plank, I check the groove. If there is a little piece of HDF dust in there, the joint will not close. You will hit it with the tapping block. You will hit it harder. You will break the tongue. All because of a speck of dust. This is the zooming I talk about. You have to look at the floor at the molecular level. The fit should be snug but not forced. If you have to hammer the living daylights out of it, something is wrong. Stop. Pull the plank back. Look at the groove. Fix the obstruction. The tapping block is a tool for seating, not for forcing. People forget that. They think more power is the answer. In flooring, finesse wins every time.
Showers and the moisture barrier paradox
Installing laminate near showers requires specialized caulking at the expansion gaps to prevent topical moisture from seeping under the floor. While many modern laminates are marketed as waterproof, the joints are still vulnerable to standing water and high humidity. I tell people all the time that waterproof laminate is a marketing term. The surface might be waterproof, but the core is still wood. If water sits on the joint for six hours, it will find a way in. In a bathroom, you have to seal the perimeter with 100 percent silicone caulk. You put the foam backer rod in the gap first, then the silicone. This allows the floor to move while keeping the water out. It is a technical maneuver that most DIY installers skip. Then they wonder why their floor is peeling near the tub. It is because the steam and the splashes are attacking the one weak point in the system. The joint. Use the tapping block to make that joint as tight as possible, then seal the edges. That is the only way to make it last.
“A floor is only as good as the subfloor beneath it; deflection is the enemy of every joint.” – Master Flooring Axiom