The ‘Paper Strip’ Method for Checking Floor Leveler Dryness
The physics of subfloor preparation and the paper strip dryness test
I spent three days grinding concrete on a job last month just so the floor wouldn’t click like a castanet. Most guys skip the leveling compound because they think the underlayment will hide the dip. It won’t. I was in a basement in Seattle where the previous installer ignored the moisture in the slab. They put down a beautiful laminate floor that looked perfect for two weeks. Then the summer humidity hit. The slab started breathing. Because the leveling compound hadn’t fully cured, the moisture was trapped. The floor started to buckle. The locking mechanisms snapped. I had to rip out three thousand dollars of material because someone didn’t want to wait forty-eight hours for a test. Flooring is a structural engineering challenge. It is not just a cosmetic choice. If you treat it like a weekend DIY project without respecting the chemistry of the subfloor, the house will eventually win. You smell the oak dust and the WD-40 on my clothes because I have lived through these failures. I follow the National Wood Flooring Association standards to the letter. Most homeowners want the thickest underlayment. They think it adds comfort. In reality, too much cushion causes the locking mechanisms on LVP to snap under pressure. It creates a trampoline effect. You need a rock-solid, bone-dry base before you even think about the finished product.
The 1/8 inch that ruins everything
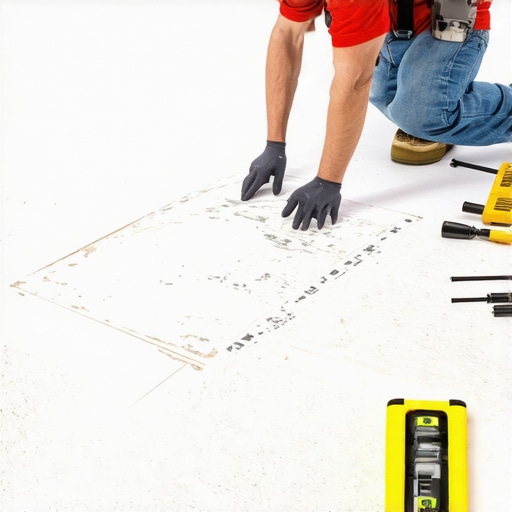
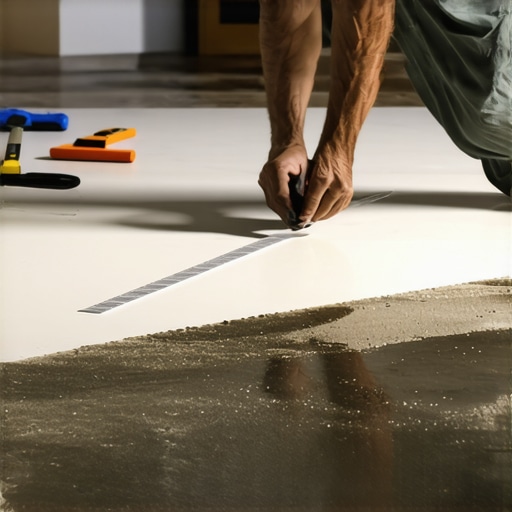
Floor leveling requires total evaporation of residual moisture before any finished material like laminate or carpet install can begin. The Paper Strip method involves taping a small piece of plastic or paper to the leveler surface to observe condensation or darkening of the substrate over twenty-four hours. This test is the only way to verify that the internal moisture of a thick pour has actually left the building. You can use an electronic moisture meter, but those often only read the top three-quarters of an inch. A deep pour of self-leveling compound can stay wet at the bottom for days. If you seal that moisture in with a vapor-impermeable flooring, you are building a mold factory. The paper strip method is a low-tech version of the ASTM D4263 plastic sheet test. It works because it creates a micro-climate. If the leveler is still off-gassing water vapor, the paper or plastic will trap it. You will see it. It will be clear as day. If the paper is even slightly damp, you wait. You do not install. You turn on the dehumidifiers. You move the air. You respect the cure time.
Why your subfloor is lying to you
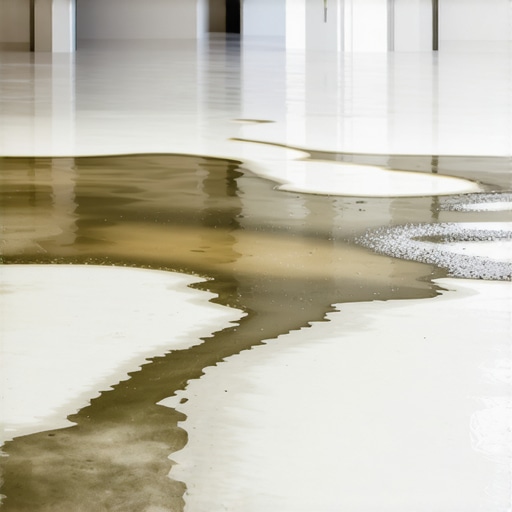
Surface dryness is a deceptive metric because concrete and self-leveling compounds dry from the top down. While the top looks white and chalky, the bottom of the pour remains saturated with water that will eventually rot your laminate backing or cause mold under a new carpet install. The chemistry of a self-leveling compound is a delicate balance of portland cement or calcium aluminate and polymers. These polymers need water to hydrate. Once that hydration is done, the excess water must leave the matrix. If the air is humid, the water stays. If the slab is cold, the water stays. A subfloor can look dry to the naked eye while still holding enough moisture to delaminate a shower’s waterproofing membrane or turn a carpet pad into a swamp. I have seen guys throw down laminate eight hours after a pour. That is a crime. The floor will fail. It is not a matter of if, but when. The expansion gaps at the perimeter are there for a reason, but they cannot save a floor from a wet subfloor. The water vapor will travel up through the joints and cause the edges of the laminate to swell. This is called peaking. It turns your floor into a series of mini-mountains.
“A floor is only as good as the subfloor beneath it; deflection is the enemy of every joint.” – Master Flooring Axiom
The ghost in the expansion gap
Expansion gaps provide the necessary room for a floating floor to move as the seasons change and the wood or vinyl reacts to ambient humidity. Without these gaps, the floor will hit the wall and buckle in the center of the room, destroying the integrity of the installation. People hate the look of a T-molding. I get it. I am a minimalist at heart too. But unless you are doing a full glue-down over a perfectly prepped slab, you need those transitions. The physics of wood fiber dictates that it will expand across the grain. If you have a thirty-foot run of flooring, that expansion can be significant. If you lock that floor under a heavy kitchen island, you have pinned the floor. It can no longer move. The next time the humidity spikes, the floor will find the weakest point and pop up. I see this most often in modern open-concept homes. Homeowners want a continuous look from the kitchen to the living room. They forget that the subfloor in the kitchen might be a different material than the living room. This creates different rates of movement. You need to account for this at the molecular level. You need to understand the moisture vapor transmission rate of your specific slab.
Moisture physics in showers and wet areas
Shower installations require a specialized approach to leveling because the substrate must handle constant hydrostatic pressure and liquid water. A self-leveling compound in a wet area must be rated for submerged applications and must be fully dry before a waterproofing membrane is applied. If you apply a liquid-applied membrane over a damp leveler, the membrane will not bond. It will peel off like a sunburn. This creates a cavity where water can sit and grow bacteria. I have torn out showers where the entire floor assembly was floating on a layer of slime because the installer didn’t check for dryness. In a shower, the pre-slope is your best friend. It directs water to the weep holes. If your leveler isn’t dry, that slope can actually shift or crack during the curing process. You are looking for a bone-dry substrate. The paper strip test is especially vital here because the stakes are so high. A leak in a second-story shower can cause twenty thousand dollars in damage to the ceiling below. You do not guess. You test.
Subfloor dryness requirements by material
| Substrate Material | Max Moisture Content | Drying Time (Est) | Test Method |
|---|---|---|---|
| Concrete Slab | 3.0% (Calcium Chloride) | 28-60 Days | Paper Strip / Meter |
| Plywood Subfloor | 12% MC | 24-48 Hours | Pin Meter |
| Self-Leveler (Deep) | Below 5% | 72+ Hours | Plastic Sheet / Paper |
| Gypsum-Based | Below 1% | 7-14 Days | ASTM F2419 |
The chemical bond of modified thin-set
Modified thin-set mortars contain polymers that increase the bond strength and flexibility of the adhesive, which is essential for large format tiles and high-traffic areas. These polymers rely on a dry and porous substrate to create a mechanical and chemical lock. If the leveler is still wet, the thin-set cannot penetrate the pores. The water in the leveler is trying to get out, while the thin-set is trying to grip. They fight each other. The result is a hollow sound when you walk on the tile. Eventually, the tile will crack or the grout will start to crumble. I always tell my apprentices that the prep is 90% of the job. The actual laying of the tile is the easy part. If you spend your time grinding the high spots and filling the low spots, the tile will go down like butter. If you rush the prep, you will spend the whole job fighting lippage and uneven joints. A flat floor is a happy floor. A dry floor is a permanent floor.
Preparation checklist for a successful floor install
- Check subfloor levelness with a 10-foot straightedge to ensure a 1/8 inch tolerance.
- Clean all dust and debris using a HEPA vacuum to ensure proper primer adhesion.
- Apply the manufacturer-recommended primer to prevent the leveler from drying too fast.
- Perform the Paper Strip dryness test in three locations per 500 square feet.
- Verify that the ambient temperature remains between 65 and 75 degrees Fahrenheit during curing.
- Confirm that all HVAC systems are running to regulate humidity.
The science of acclimation for laminate and wood
Acclimation is the process of allowing the flooring material to reach equilibrium with the humidity and temperature of the room where it will be installed. Skipping this step leads to immediate shrinking or swelling once the floor is pinned down. I have seen people leave wood in a garage for a week and think it is acclimated. It isn’t. It needs to be in the actual room. It needs to be stacked in a way that air can circulate around every plank. The moisture content of the wood should be within 2% of the moisture content of the subfloor. If you are installing laminate, the core material is essentially compressed sawdust and resin. It is incredibly sensitive to moisture. If the subfloor is off-gassing, that laminate will soak it up like a sponge. The paper strip test is your insurance policy. If that paper comes back dry, you know you aren’t feeding your new floor a steady diet of water vapor from the slab below. You want a stable environment. You want a floor that stays where you put it.
The danger of over-cushioned underlayment
Thick underlayment pads often marketed for sound reduction can actually compromise the structural integrity of a click-lock flooring system by allowing too much vertical movement. This movement puts excessive stress on the tongue and groove joints, leading to eventual failure. I prefer a high-density rubber or felt underlayment. It provides the sound dampening without the squish. If you walk across a floor and it feels like a cloud, you are in trouble. That floor is moving too much. Every step is a hammer blow to the plastic locking mechanism. Over time, those locks will fatigue and break. Then you get the clicks. Then you get the gaps. A floor should feel solid underfoot. It should feel like it is part of the house, not a rug thrown over a pile of leaves. The IIC and STC ratings are important for apartments, but you have to balance those with the physical needs of the floor. Don’t let a salesperson talk you into a thick foam pad just because it feels soft in the store. You are building a performance surface. You are not buying a mattress.
Final inspection and the path forward
The paper strip method is a testament to the fact that the old ways are often the most reliable. In a world of digital sensors and fast-track construction, taking twenty-four hours to tape a piece of plastic to the floor seems like an eternity to some people. To me, it seems like the only way to sleep at night. I have seen too many failures to take shortcuts. I have seen the heartbreak of a homeowner who saved for years for a new floor, only to have it ruined by a pint of water trapped in a slab. We are architects of the ground we walk on. We have to respect the materials. We have to respect the physics of moisture. We have to respect the time it takes to do a job the right way. If you follow these steps, if you wait for the dryness, and if you level the subfloor with precision, your floor will outlast the paint on the walls. It will be a foundation for the life lived on top of it. Check your levels. Check your moisture. Do it once. Do it right. That is the only way I know how to work.