
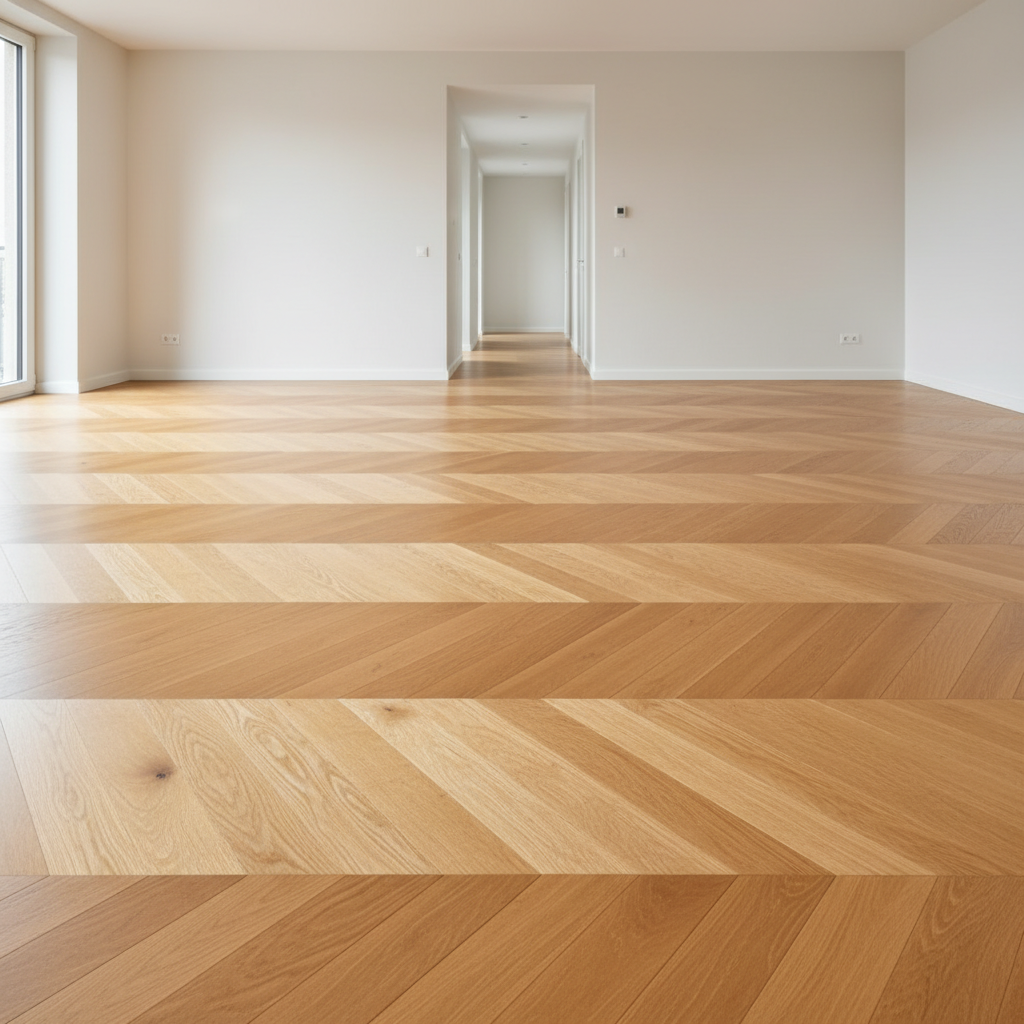
Stop Installing Beautiful Floors Over Failing Subfloor Systems
Precision engineering for the foundation of your home.
Surface aesthetics mean nothing if your foundation deflects or traps moisture. We document the exact technical specifications, moisture mitigation protocols, and leveling compounds required to engineer a permanent floor.
The Architecture of a Permanent Floor

📐 Subfloor Deflection Analysis
Hardwood and large-format tile fail when joists flex. We analyze L/360 and L/720 deflection standards to ensure your structural framing supports the dead load of your materials.
💧 Moisture Mitigation Protocols
Concrete slabs emit moisture vapor that destroys adhesives and warps wood. Learn how to test Relative Humidity (RH) and apply two-part epoxy vapor retarders.
🚪 Precision Millwork Transitions
A 3/4-inch solid hardwood meeting a 5/16-inch tile requires exact height calculations. We detail the underlayment math required to eliminate tripping hazards at doorways.
🧪 Self-Leveling Compound Chemistry
Pouring self-leveling underlayment over a 400-square-foot room requires exact water ratios and primer selection. We break down the curing times and compression strengths.
🪚 Door Casing Undercutting
Amateurs caulk around door jambs. Master craftsmen undercut the casing by exactly 1/16th of an inch above the finished floor height for a precision fit.
How to Engineer Your Flooring Project
1
Calculate Structural Requirements
Measure your joist spacing, span, and subfloor thickness. Compare these metrics against the National Wood Flooring Association guidelines for your specific material.
2
Execute Moisture Testing
Drill and place in situ relative humidity probes into your concrete slab. Wait 72 hours to record the exact moisture emission rate before selecting an adhesive.
3
Map the Layout and Expansion
Calculate the exact center line of the room and factor in a 1/2-inch expansion gap at all vertical obstructions. This prevents buckling during seasonal humidity shifts.
Technical Interventions and Case Studies

Historic home renovation, Los Angeles
Before: The 1920s pier and beam foundation exhibited a 2-inch height variance across a 15-foot span.
After: Installed sistered joists and a 3/4-inch CDX plywood subfloor to achieve a perfectly flat plane within 1/8-inch over 10 feet.
⏱ 14 days
Coastal property, Encinitas
Before: A newly poured concrete slab registered 95% RH, preventing the installation of wide-plank European oak.
After: Applied a 100% solids epoxy moisture barrier, dropping the vapor emission rate to acceptable warranty standards.
⏱ 48 hours
Commercial gallery, Palm Desert
Before: Large-format porcelain tiles cracked repeatedly due to expansion joint failure and subfloor deflection.
After: Retrofitted an uncoupling membrane and mapped movement joints every 25 feet to isolate the tile from substrate stress.
⏱ 5 days
Feedback from the Field
Gregory’s articles on self-leveling underlayment saved my entire first floor. I followed the exact primer ratios and achieved a perfectly flat substrate for my 8-inch planks.
Marcus T. — Homeowner, Sterling
Most sites just talk about wood grain and color. Floor Craft Store actually explains how to calculate the L/360 deflection rating before laying natural stone.
Sarah L. — General Contractor, San Marcos
The guide on undercutting stone fireplace hearths gave me the exact diamond blade specifications I needed. The final fit has zero gaps and requires no shoe molding.
David R. — DIY Renovator, Rockville
I was about to glue engineered hardwood directly to a green concrete slab. The moisture testing protocol outlined here prevented a $15,000 disaster.
Elena M. — Property Developer, Garner
The Science of the Substrate
I am Gregory Ruvinsky, an independent arts and crafts professional who spent decades studying the mechanics of building materials. Early in my career, I watched beautiful, expensive hardwoods buckle and cup within six months of installation. The industry blamed the wood. I knew the failure started deeper in the foundation.
Flooring is not a decorative finish. It is a highly engineered system that must withstand thousands of pounds of dead load, constant foot traffic, and aggressive seasonal humidity swings. When a floor fails, it is almost always because the installer ignored the chemistry of the adhesive, the deflection of the joists, or the moisture content of the slab.
I created Floor Craft Store to document the exact technical specifications required for permanent installations. We do not write about interior design trends or the latest color palettes. We write about the mathematics of stair tread rise and run, the curing times of Portland cement-based levelers, and the physics of wood expansion.
Whether you are sistering joists in a 19th-century Encinitas bungalow or pouring a 2,000-square-foot slab in Palm Desert, the laws of physics remain the same. Our technical guides provide the exact measurements, tool specifications, and chemical protocols you need to build a floor that outlasts the house itself.
Frequently Asked Questions
Do I really need to test my concrete slab for moisture if it is 20 years old?
Yes. Older slabs frequently lack an intact sub-slab vapor barrier. Ground moisture travels upward through capillary action, and covering the slab with a non-permeable floor traps that moisture, destroying adhesives and warping wood.
How flat does my subfloor need to be for large-format tile?
The industry standard requires a variance of no more than 1/8-inch over a 10-foot radius. Any dips or crowns beyond this measurement require grinding or the application of a self-leveling underlayment to prevent the tiles from cracking under pressure.
Can I install 3/4-inch solid hardwood directly over particleboard?
No. Particleboard lacks the structural density to hold flooring cleats or staples. You must remove the particleboard and install a minimum 5/8-inch CDX plywood or OSB subfloor before nailing down solid hardwood.
Why do I need a 1/2-inch expansion gap around the perimeter of my room?
Wood and laminate floors expand and contract with seasonal changes in relative humidity. If the material touches the drywall or baseplates, it has no room to grow and will buckle upward in the center of the room.
Master the Mechanics of Your Next Installation
Stop guessing with your subfloor preparation. Access our complete library of technical specifications, moisture testing protocols, and leveling guides.
Written & Reviewed By
Gregory Ruvinsky
Independent Arts and Crafts Professional
Gregory Ruvinsky is an accomplished independent arts and crafts professional with an extensive background in creating high-quality decorative works. With several years of experience in the field, Gregory has established himself as a respected figure in the international arts community, having participated in numerous prestigious Judaica exhibits across both Israel and the United States. His commitment to craftsmanship and artistic integrity is evidenced by the fact that many of his original works are currently held in permanent displays, showcasing his ability to blend traditional techniques with contemporary aesthetic appeal. At floorcraftstore.com, Gregory brings this same level of precision and artistic vision to the world of floorcraft and home design. He leverages his years of hands-on experience in the arts and crafts sector to provide readers with authoritative insights into material selection, design principles, and the technical nuances of creating beautiful, lasting spaces. Gregory is dedicated to sharing his deep knowledge of artistic processes to help others transform their creative visions into reality through expert guidance and professional-grade advice.
Latest from Our Blog
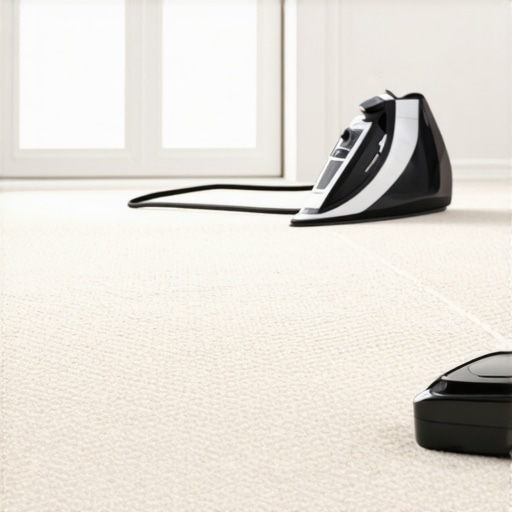
Why Your New Carpet Has Permanent Fold Lines and How to Steam Them
The factory fold that haunts your living room Permanent fold lines in new carpet are often the result of improper…
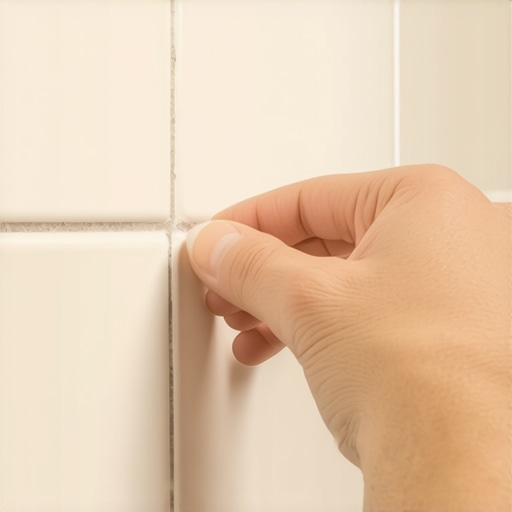
The ‘Wet Fingertip’ Move for Sealing Shower Corner Joints
I spent three days grinding concrete on a job last month just so the floor wouldn’t click like a castanet.…
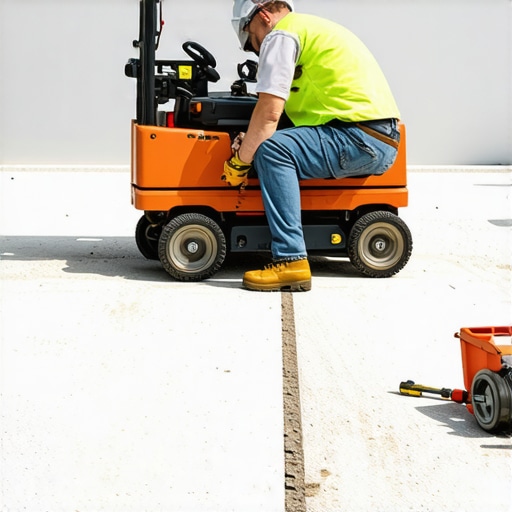
How to Salvage Floor Leveler That Is Setting Too Fast
How to Salvage Floor Leveler That Is Setting Too Fast You can smell the panic before you see it. It…