Why Your Floor Leveler is Cracking Near the Threshold and How to Patch It
I spent three days grinding concrete on a job last month just so the floor wouldn’t click like a castanet. Most guys skip the leveling compound. They think the underlayment will hide the dip. It won’t. I walked into a house recently where the owner had just spent a fortune on high-end laminate, only to have it sound like a bowl of Rice Krispies every time they walked through the master bedroom door. The self-leveling underlayment, or SLU, had turned into a graveyard of grey powder right at the threshold. This happens because people treat leveler like paint when they should treat it like structural engineering. If your subfloor is moving, your leveler is breaking. It is a simple law of physics that most installers ignore because they want to finish the job and get paid before the first crack appears. A floor is a performance surface, not a rug. If the foundation is a lie, the finish will be a failure. My knees are permanently scarred from fixing mistakes like these. You smell the WD-40 on my tools and the oak dust on my shirt, and you know I have seen every way a floor can fail. We are going to look at why that threshold is the primary point of failure and how to fix it so it stays fixed for the next thirty years.
The physics of threshold failure and subfloor deflection
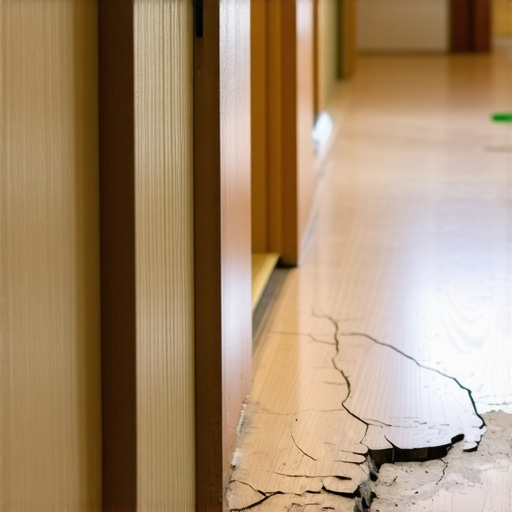
Floor leveler cracks at thresholds because these areas experience the highest concentration of structural stress and vertical deflection in a building. Doorways are the transition points between different structural spans. When you walk through a door, you are often moving from one set of floor joists to another or crossing a load-bearing beam. If those joists are not stiff enough to meet the L/360 deflection standard, the subfloor will flex. This flex is the death of rigid leveling compounds. Most Portland-based levelers have high compressive strength but almost zero tensile strength. They can handle being pushed down, but they cannot handle being bent. At a threshold, the lack of continuous support causes the leveler to snap like a dry cracker. You also have the issue of the 1/8 inch gap. Most installers fail to bridge the gap between the subfloor and the door frame correctly. They let the leveler flow right up to the wood, which then expands and contracts with the seasons, putting lateral pressure on the brittle leveler until it crumbles into dust.
“A floor is only as good as the subfloor beneath it; deflection is the enemy of every joint.” – Master Flooring Axiom
The chemistry of the molecular bond
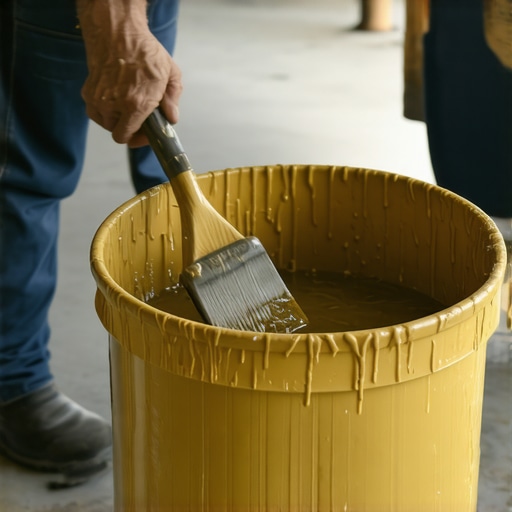
The failure of floor leveler often starts with a microscopic lack of adhesion caused by improper priming or substrate contamination. When you pour leveler, you are initiating a chemical reaction known as hydration. The water in the mix needs to stay in the mix to form the crystalline lattice that gives the material its strength. If you pour leveler onto a thirsty, unprimed concrete slab or plywood subfloor, the substrate will suck the water out of the leveler before it can cure. This results in a “flash dry” scenario where the bottom layer of the leveler becomes a weak, chalky mess that never actually bonds. I use a high-solids styrene-butadiene rubber primer for every pour. This creates a film that prevents water loss and provides a mechanical key for the leveler. Without this bond, the leveler just sits on top of the floor like a giant, unattached pancake. The moment someone steps on it at the threshold, the air gap underneath collapses and the leveler shatters. This is especially vital when preparing for a carpet install or laminate where the floor will be subjected to constant foot traffic vibration.
Regional climate impact on subfloor stability
The humidity in regions like the Gulf Coast or the Pacific Northwest can cause subfloor materials to expand at rates that exceed the tolerance of rigid levelers. If you are in a swampy environment like Houston, your wooden subfloor is a living, breathing thing. It expands when the AC goes out and shrinks when the heater kicks in. Solid leveler cannot keep up with this movement. In dry climates like Phoenix, the wood can shrink so much that it pulls away from the leveler entirely, creating a hollow sound. This is why acclimation is not just for the hardwood. You have to ensure the subfloor is at its equilibrium moisture content before you even think about opening a bag of leveler. If the subfloor moves 1/16 of an inch after you pour, the leveler will crack. It is inevitable. I always check the moisture levels with a pin-type meter. If the plywood is over 12 percent, we wait. We don’t rush. Rushing is for amateurs who enjoy doing the job twice.
| Material Type | Compressive Strength (PSI) | Flexural Strength | Ideal Application |
|---|---|---|---|
| Portland Cement SLU | 4,000 – 5,000 | Low | Main floor areas on concrete |
| Gypsum-Based SLU | 2,500 – 3,500 | Moderate | Renovations over old adhesive |
| Fiber-Reinforced Patch | 5,000+ | High | Thresholds and joist seams |
| Polymer-Modified Thinset | 3,000+ | Very High | Tile prep and minor dips |
The 1/8 inch that ruins everything
Precision at the threshold requires a deep understanding of expansion gaps and the mechanical properties of transition strips. Most homeowners want a zero-threshold look, but they don’t realize that the floor needs to breathe. When leveler is poured right up to a door sill, it creates a hard bridge. When the house shifts, that bridge is the first thing to go. You need to leave a perimeter expansion gap even with your leveling compound. Use a foam barrier strip around the edges of the room and at the thresholds. This allows the subfloor to move independently of the walls. If you are prepping for showers, this is even more critical. Showers involve heavy waterproofing membranes that need a stable, flat base. If the leveler underneath a shower curb cracks because of threshold movement, the waterproofing can fail, leading to rot in the floor joists. It is a domino effect of failure that starts with a single crack.
How to patch a failed threshold leveler
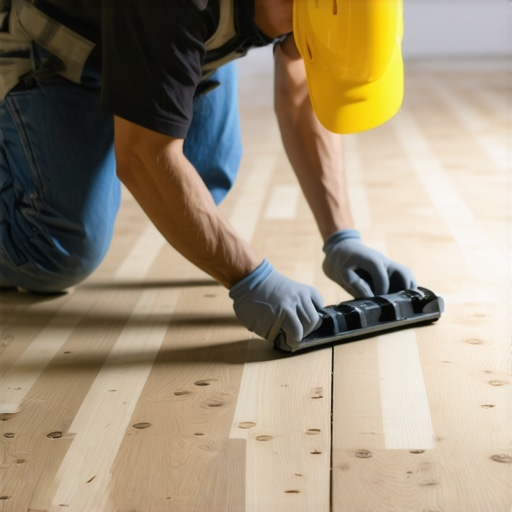
Patching a cracked threshold requires the total removal of loose material followed by the application of a high-performance fiber-reinforced compound. You cannot just pour more leveler over a crack. It will not stick. You have to get on your knees with a hammer and a chisel. Tap the area. If it sounds hollow, it has to go. Remove the chunks until you reach leveler that is firmly bonded to the subfloor. Vacuum the dust out. Dust is the enemy of adhesion. Once clean, apply two coats of primer, letting the first coat dry completely. For the patch itself, I never use standard self-leveler. I use a featheredging compound reinforced with polymers or fibers. These materials are designed to be troweled into thin layers without losing their integrity. They have the flexibility to handle the minor vibrations of a doorway. Work the material into the crack with a flat trowel, pressing hard to force out any air pockets. Smooth it out so it feathers into the existing floor. If you do it right, you won’t even need to sand.
“Deflection is not an opinion; it is a measurable failure of structural rigidity.” – TCNA Handbook Reference
- Remove every piece of loose or hollow-sounding leveler with a cold chisel.
- Vacuum the substrate twice to ensure no microscopic dust remains.
- Apply a high-solids primer and wait for it to become tacky.
- Check the subfloor fasteners and add screws to the joists to stop any bounce.
- Mix the patch compound with a high-shear mixer to ensure no dry lumps.
- Trowel the patch flat using a straightedge to match the surrounding height.
- Allow the patch to cure for the full duration specified by the manufacturer.
- Apply a crack isolation membrane over the patch for extra security.
- Verify the moisture content of the patch before installing the final floor.
- Install the transition strip with enough clearance for floor movement.
The specific requirements for laminate and carpet install
Laminate flooring requires a much flatter surface than carpet because the locking mechanisms will snap if they are forced to bridge a dip. When I prep for laminate, I am looking for a tolerance of 1/8 inch over ten feet. If the leveler at the threshold is cracked and uneven, the laminate planks will bounce. This creates a bellows effect, puffing air and dust out from under the baseboards every time you step. Carpet is more forgiving of minor cracks, but a major failure at the threshold will eventually wear a hole through the backing of the carpet. The constant friction of the carpet rubbing against the sharp edges of the broken leveler acts like sandpaper. Regardless of the finish, the subfloor must be a monolithic, stable plane. If you see a crack, fix it now. Don’t assume the padding or the underlayment will save you. They are there to provide comfort and sound dampening, not to act as a structural bridge for a failing subfloor.
Information gain on underlayment thickness
While most people want the thickest underlayment possible to hide floor defects, too much cushion actually causes the locking mechanisms on LVP and laminate to snap under pressure. This is a contrarian reality that many DIYers miss. They buy the 5mm thick foam thinking it will make the floor feel like a cloud. Instead, it turns the floor into a trampoline. Every time you step, the planks dip into the foam, putting massive stress on the tongue-and-groove joints. At a threshold, where you already have movement issues, this extra cushion is the final nail in the coffin. You want a high-density, low-compression underlayment. It should feel firm to the touch. This supports the leveler and prevents the vertical movement that causes the leveler to crack in the first place. Fix the floor with leveler, don’t try to mask it with foam. That is the mark of a professional. My knees are sore, but my floors are flat. That is the only trade-off that matters in this business.