How to Repair a Cracked Shower Grout Line Yourself
The myth of the waterproof grout
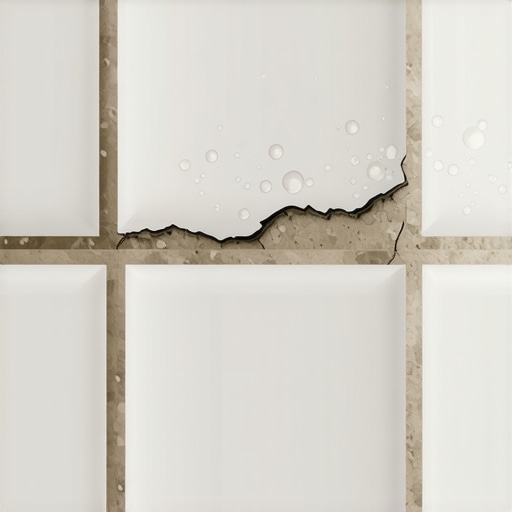
Grout is a porous mineral bridge that serves as a sacrificial joint between rigid ceramic or stone units. It does not provide the primary waterproofing layer in a shower assembly. Most homeowners assume that if the grout is solid, the shower is dry. That is a dangerous lie that leads to rotted subfloors and mold. Most guys skip the leveling compound. They think the underlayment will hide the dip. It won’t. I spent three days grinding concrete on a job last month just so the floor wouldn’t click like a castanet. The same logic applies to your shower. If the grout is cracking, the structure underneath is moving. I once walked into a house where a custom shower looked perfect, but the grout lines were spider-webbing because the installer used a cheap, non-modified thin-set over a plywood base that was flexing every time someone stepped inside. You have to understand that grout is the canary in the coal mine. It tells you when the engineering has failed.
The physics of shower floor movement
Cracked grout lines are almost always the result of deflection or the improper selection of materials for the specific joint width. When we talk about deflection, we are talking about the floor joists or the subfloor bending under weight. In the flooring world, we use the L over 360 standard. This means the floor should not bend more than the length of the span divided by 360. If you are installing heavy natural stone, that requirement jumps to L over 720. If your shower was built on a subfloor that is too thin, no amount of grout will stay in place. It is like trying to glue two pieces of glass together while you are standing on a trampoline. This movement is why a professional carpet install or a floating laminate floor can hide issues that a shower will expose in months. While a laminate floor can shift and expand, a tiled shower is a rigid system that demands absolute stability. If the subfloor is not leveled and stiffened, the grout is the first thing to snap under the pressure of hydrostatic forces and mechanical stress.
The chemistry of your grout bucket
The structural integrity of grout depends on the hydration process where water molecules react with Portland cement to create a crystalline lattice. If you add too much water to the mix, you create microscopic voids as that water evaporates. These voids weaken the grout and make it prone to cracking. You also have to choose between sanded and unsanded varieties. Sanded grout uses silica sand as a structural filler. This sand acts like the rebar in concrete, providing tensile strength that prevents shrinkage. However, if the joint is narrower than one eighth of an inch, the sand particles are too large to pack tightly into the gap. This results in a weak, honeycombed structure. Conversely, unsanded grout is essentially pure cement and pigments. It is prone to significant shrinkage as it cures, which is why it is only used for very tight joints. When you are repairing a shower, you are likely dealing with a sanded joint that has failed due to a lack of polymer additives which would have given the material the flexibility it needs to survive the thermal expansion of hot water cycles.
“A floor is only as good as the subfloor beneath it; deflection is the enemy of every joint.” – Master Flooring Axiom
Tools that actually work for grout removal
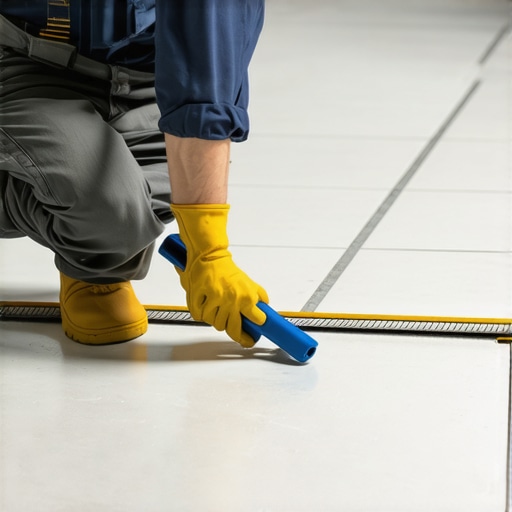
You cannot simply smear new grout over the old cracked lines because the new material will not have enough depth to create a mechanical bond. You need to remove at least two thirds of the depth of the old grout to ensure the new application stays put. Do not use a flathead screwdriver or a kitchen knife. You will chip the glaze on your expensive tiles. Use a dedicated grout rake or a carbide tipped scoring tool. For larger jobs, an oscillating multi-tool with a diamond grit blade is the industry standard. It allows for surgical precision without the erratic bouncing of a rotary tool. You must be careful not to nick the waterproofing membrane that lives just beneath the thin-set. If you puncture that membrane, a simple grout repair turns into a five thousand dollar tear out. Professionals also keep a shop vacuum running during the entire process. Grout dust is essentially pulverized rock and cement. It is abrasive and will ruin your shower drain if you wash it down with water.
| Grout Type | Ideal Joint Width | Structural Benefit | Best Use Case |
|---|---|---|---|
| Sanded Grout | 1/8″ to 1/2″ | High tensile strength | Shower floors and large tiles |
| Unsanded Grout | Less than 1/8″ | Smooth finish | Polished marble and glass tile |
| Epoxy Grout | Any width | Chemical resistance | Commercial kitchens and steam showers |
| High Performance Cement | 1/16″ to 1/2″ | Fast curing, low shrinkage | Premium residential installs |
The step by step repair protocol
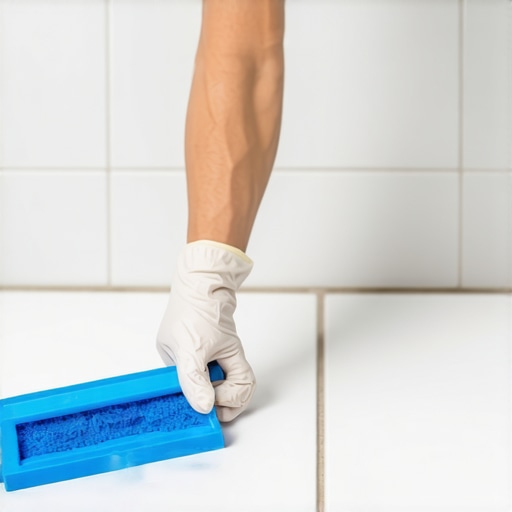
Begin by removing the failed material and cleaning the channel with denatured alcohol to remove any soap scum or body oils that inhibit adhesion. Once the channel is dry, mix your grout to a peanut butter consistency. If it is too runny, it will shrink. If it is too dry, it will not hydrate properly. Use a rubber grout float held at a forty five degree angle to the joint. You must pack the material in. Do not just wipe it over the top. You want to force the grout deep into the crevice to eliminate air pockets. Wait approximately fifteen to twenty minutes for the grout to take a set. You can test this by touching the joint with your finger. If it feels firm and does not stick to your skin, it is time to wash. Use a professional grout sponge that is damp, not dripping. If you use too much water during the cleanup phase, you will wash out the pigments and weaken the cement top. This leads to a splotchy, soft finish that will fail again within a year.
- Inspect the subfloor for signs of deflection before starting.
- Remove old grout to a minimum depth of two thirds the tile thickness.
- Vacuum all debris from the joints to ensure a clean bonding surface.
- Mix the grout according to the manufacturer’s specific water ratio.
- Pack the joints fully using a rubber float at an angle.
- Wipe the tile surfaces with a damp sponge to remove haze.
- Allow the grout to cure for 72 hours before exposing it to moisture.
Why floor leveling matters even in showers
The success of a shower install is determined before the first tile is even laid by the flatness of the substrate and the pitch of the pan. In the same way that floor leveling is the secret to a high quality laminate or hardwood installation, it is the foundation of a shower. If the floor is not level, the water will pool in the corners. Standing water exerts constant pressure on the grout joints. Over time, this water penetrates the microscopic pores and begins to break down the bond between the grout and the tile. This is why we see so many failures in the corners where the floor meets the wall. These transitions should actually be filled with a high quality 100 percent silicone sealant rather than hard grout. Silicone is flexible. It can handle the expansion and contraction that occurs when you turn on the hot water. Hard grout cannot. If you put hard grout in a change of plane, it will crack every single time. It is a law of physics. The house moves, the wood swells, and the rigid cement snaps.
“Cementitious grout is a rigid material in a world that is constantly in motion.” – TCNA Installation Guide
The final inspection of the work
Once the grout has cured, you must apply a high quality penetrating sealer to close the pores and prevent moisture from wicking into the substrate. This is the step most DIY homeowners skip because they want to use their shower immediately. If you skip the sealer, you are leaving your work vulnerable to staining and mold. A good sealer does not change the look of the grout. It sits just below the surface and creates a hydrophobic barrier. You should also take this time to look at your transition strips and baseboards near the shower. If you have carpet install nearby or laminate, ensure there is a proper moisture barrier at the threshold. Water does not stay in the shower. It travels through the grout and out into the surrounding rooms if the architecture is not sound. By following these professional steps, you are not just fixing a cosmetic crack. You are reinforcing the structural integrity of your home. You are thinking like an architect, not just a handyman. The longevity of the repair is found in the chemistry of the mix and the precision of the removal. Anything less is just a temporary patch on a sinking ship.